
How to Create Personalized Gifts with 3 Cricut Ornaments SVG Designs
This is a sponsored post written by me on behalf of Cricut. Making your DIY clear ornaments look professional is simple with the help of a Cricut Explore Air 2 Machine. Keep scrolling for 3 festive Cricut ornaments with downloadable SVG files, and my top tips for creating your own beautiful clear disc ornaments.
Make Personalized Clear Ornaments with a Cricut Machine
The possibilities for filling these clear ornament is endless. I love filling mine with paint, glitter, and bells, but you can also use feathers, ribbon, beads, or even a special heirloom or handwritten recipe. These clear ornaments really allow you to let your creativity flow. Once they are filled you can personalize them by adding a name, date, or fun design.
What you need to make personalized disc Cricut ornaments
Filler material, paint, or glitter
Cricut Permanent vinyl
Cricut Transfer tape
Scissors
Templates that are below
If you want to fill the Ornament with Glitter or paint You will Need These Tools
Beacon Glitter It, if filling with glitter
Funnel
Cup, for excess glue, glitter, or paint

How to Fill your Ornament with Glitter or Paint
To fill with glitter
- Remove the tops from the ornaments.
- Pour a small amount of Glitter It into the ornament and slowly swirl around until the inside is coated.
- Remove the excess Glitter It by pouring into a cup.
- Using a funnel, pour glitter into the ornament and shake around until completely coated.
- Tap the ornament upside down over a different cup to remove excess glitter.
- If a thicker coat of glitter inside the ornament is desired, allow the ornament to dry and repeat the previous steps.
- Once the glue is dry, replace the cap.
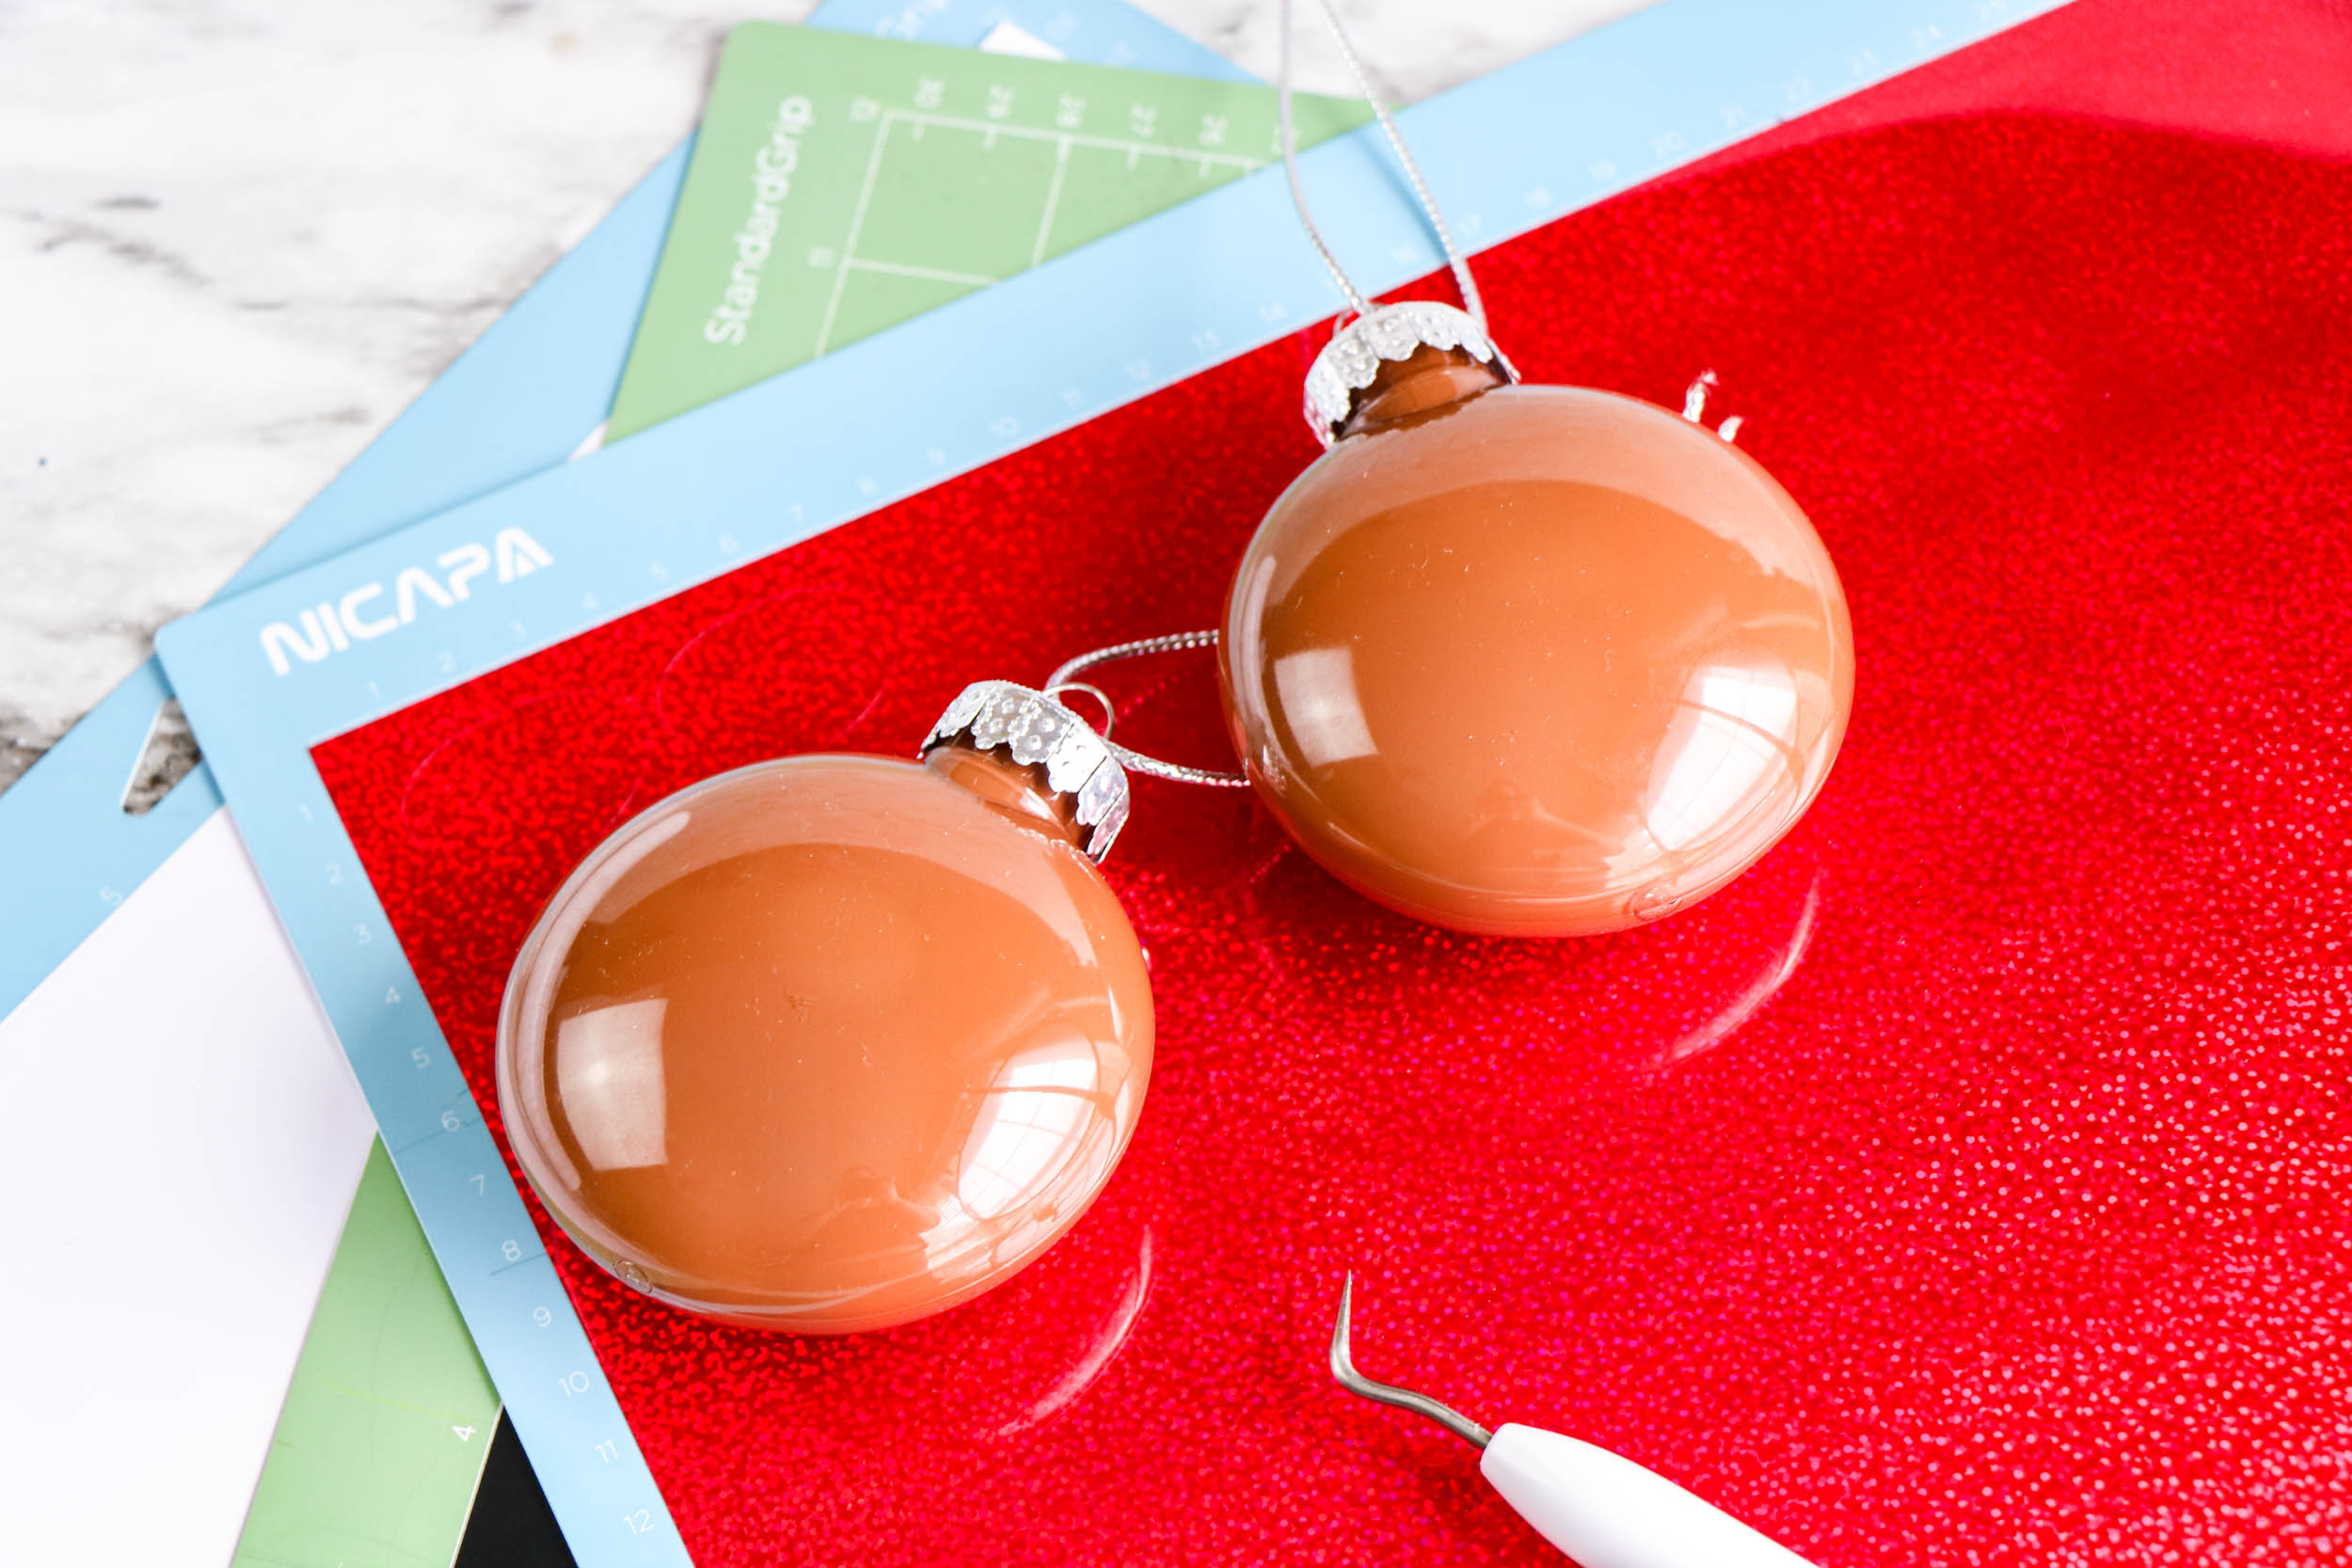
To fill with paint
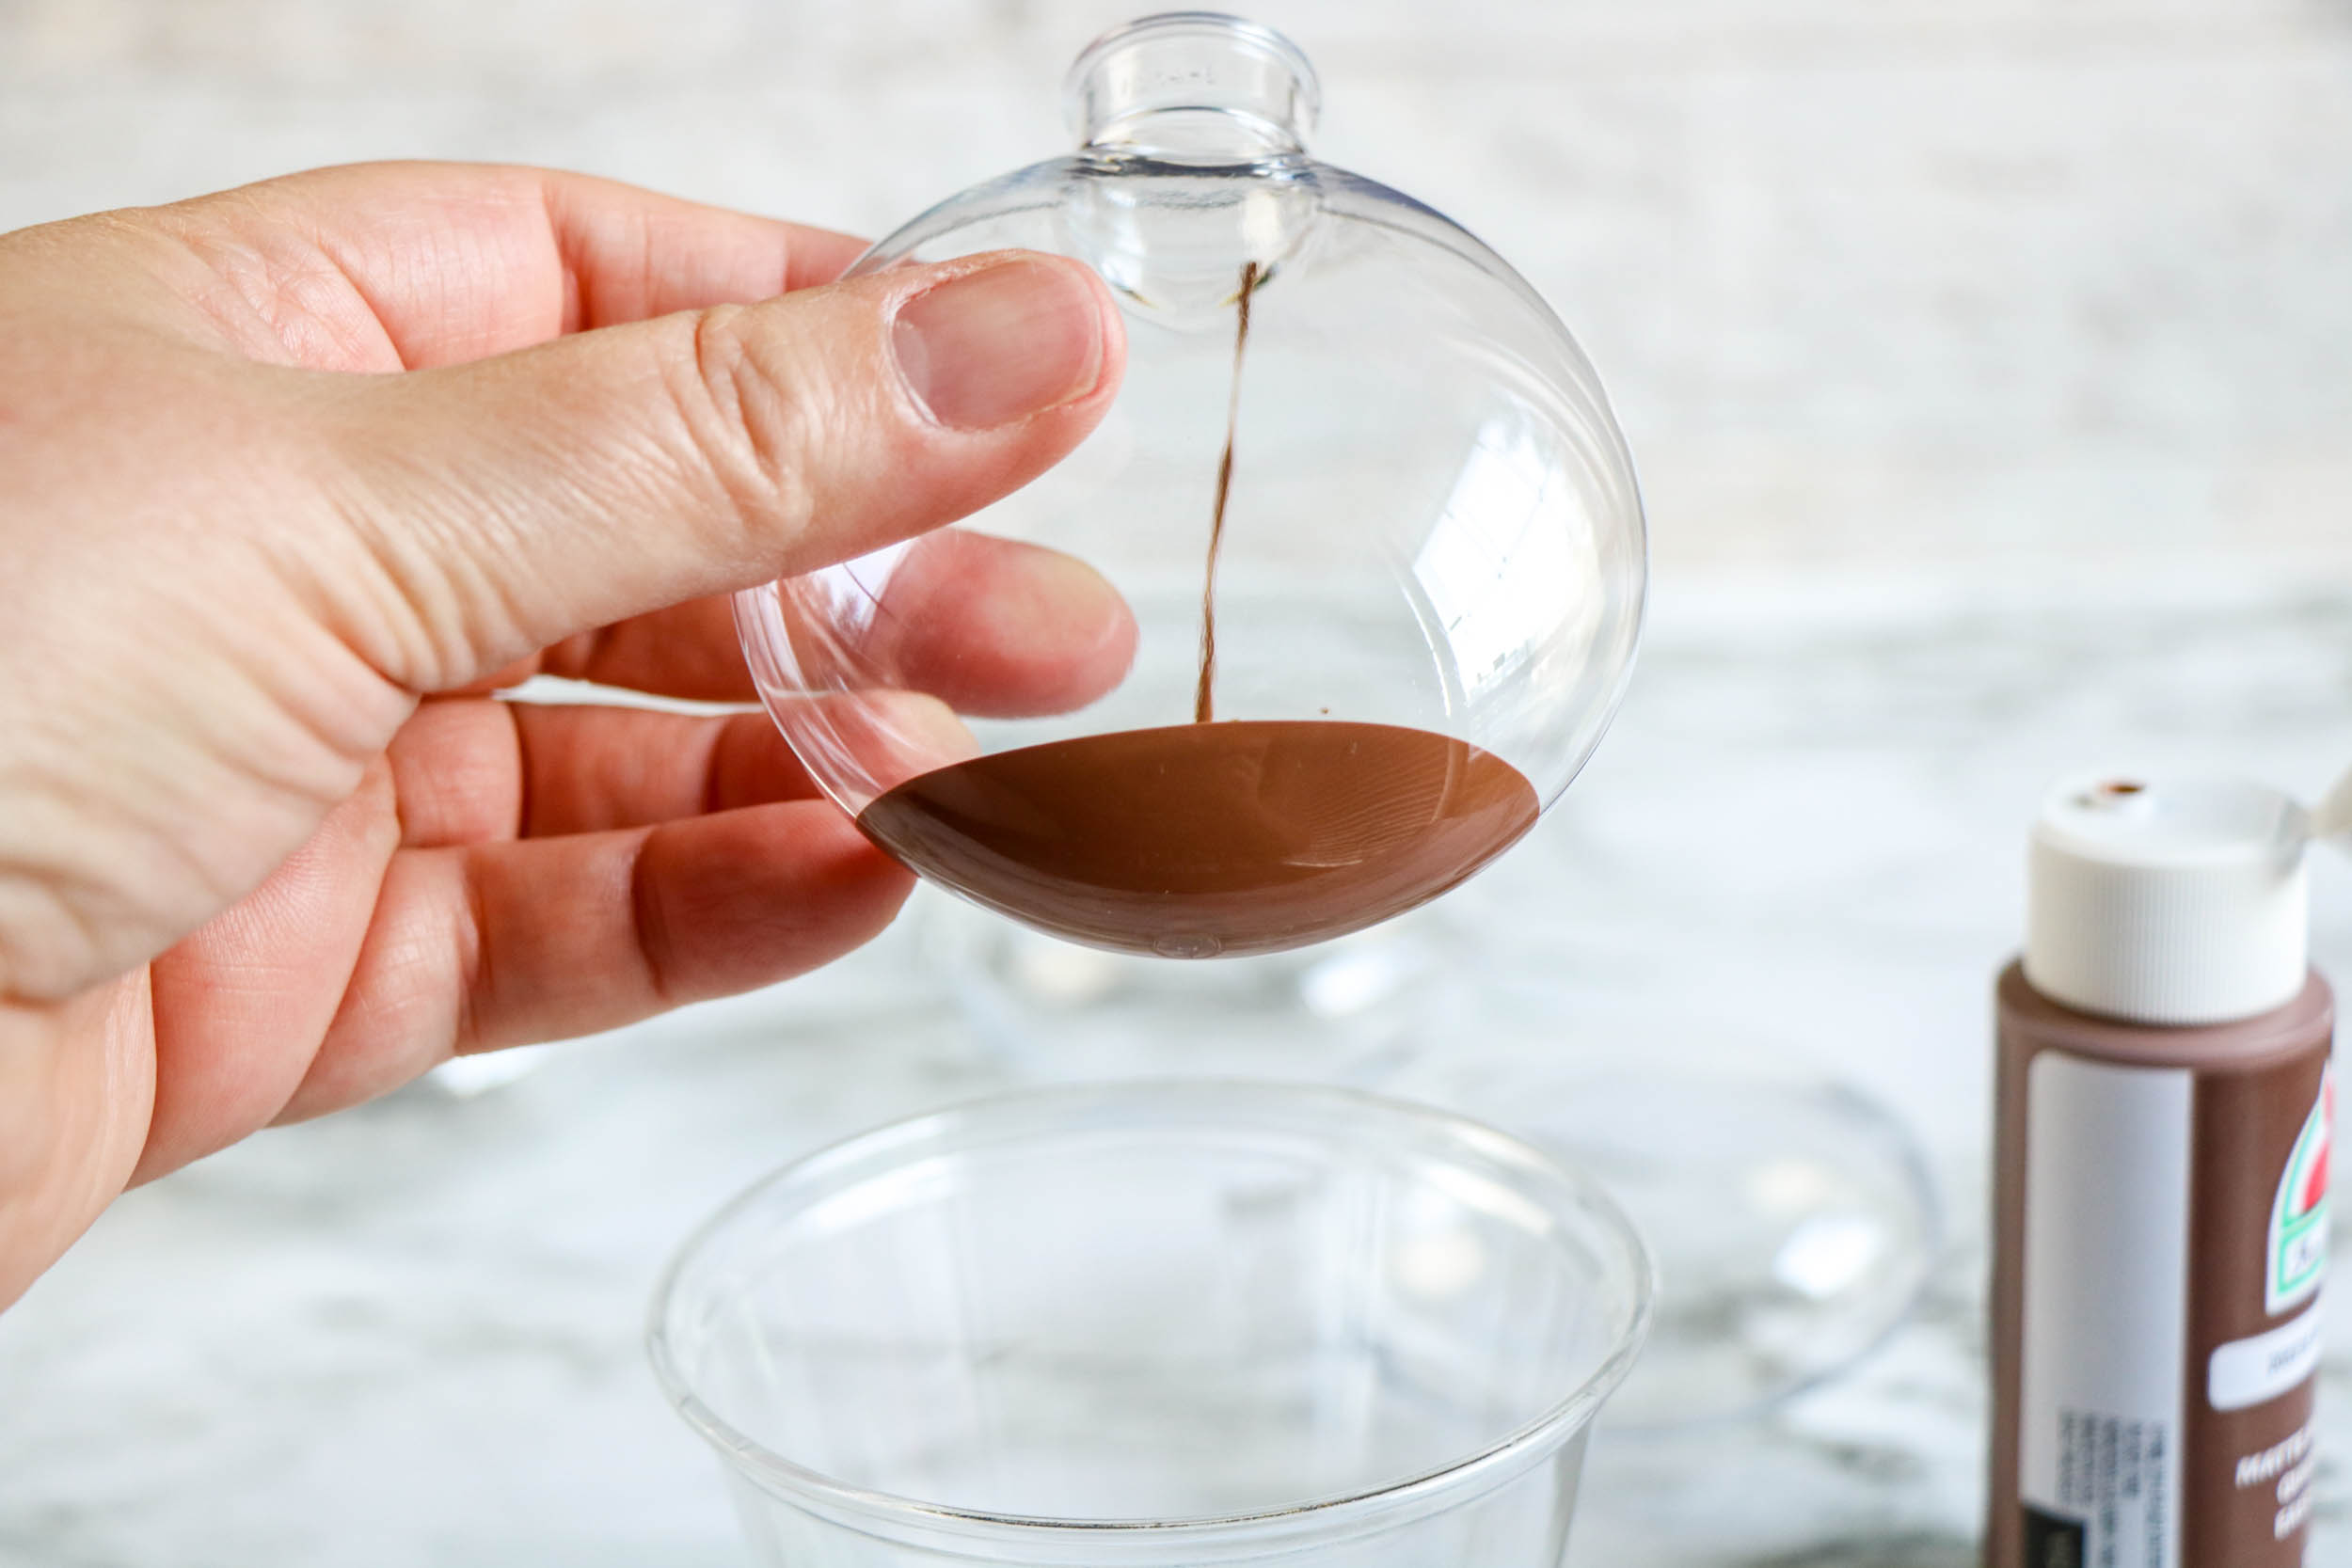
- Remove the tops from the ornaments.
- Pour a small amount of paint into the ornament and slowly swirl around until the inside is coated.
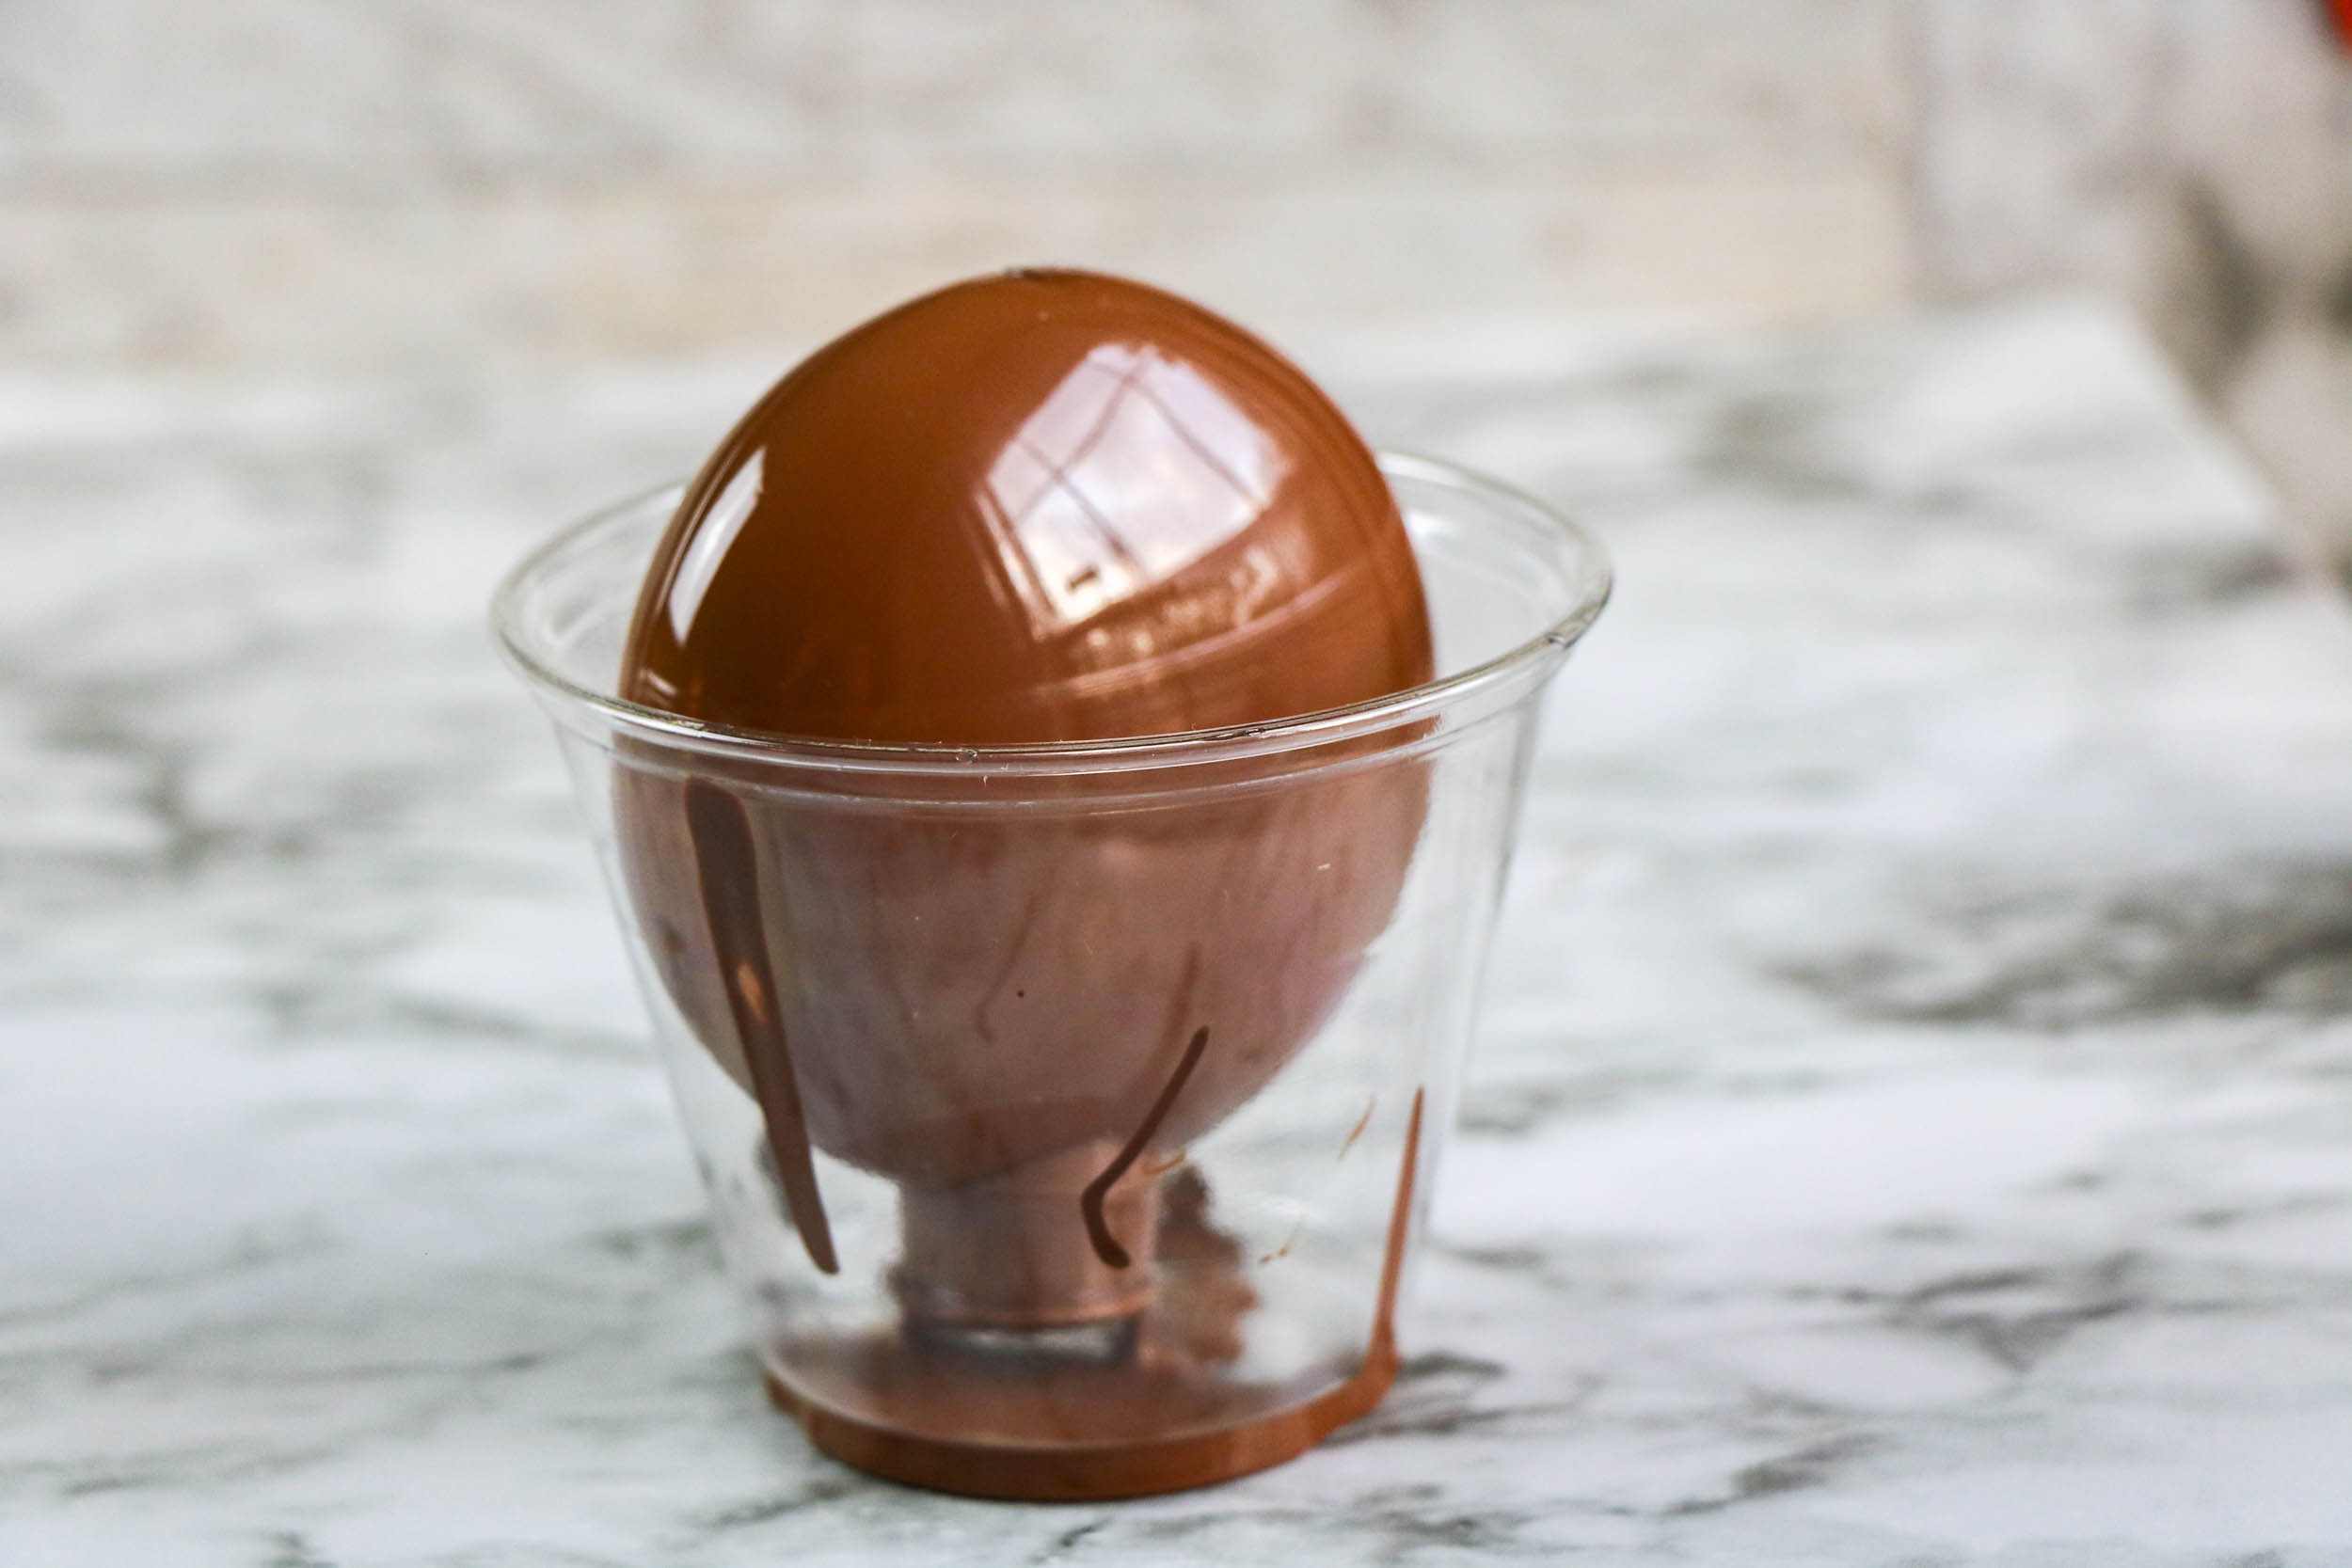
- Remove the excess paint by pouring it into a cup.
- Let the ornament rest on its side or upside down overnight to dry completely.
- Once the paint is dry, replace the cap.
Decorating Clear Ball Ornaments with Your Cricut Machine
How to use templates to personalize Cricut Ornaments
- Open the Cricut Design Studio and create a new project.
- Upload the templates below to the Cricut Design Studio.
- Select to remove the background of the image (if needed) and save it as a cut file.
- Insert the image into your project and select your desired print color to help organize the cuts.
- If all of the details of your ornament will be the same color, click and drag to select the elements for the ornament and select to weld the items together.
- Select the image and size to match the dimensions of the ornament.
- Cut the images from vinyl.
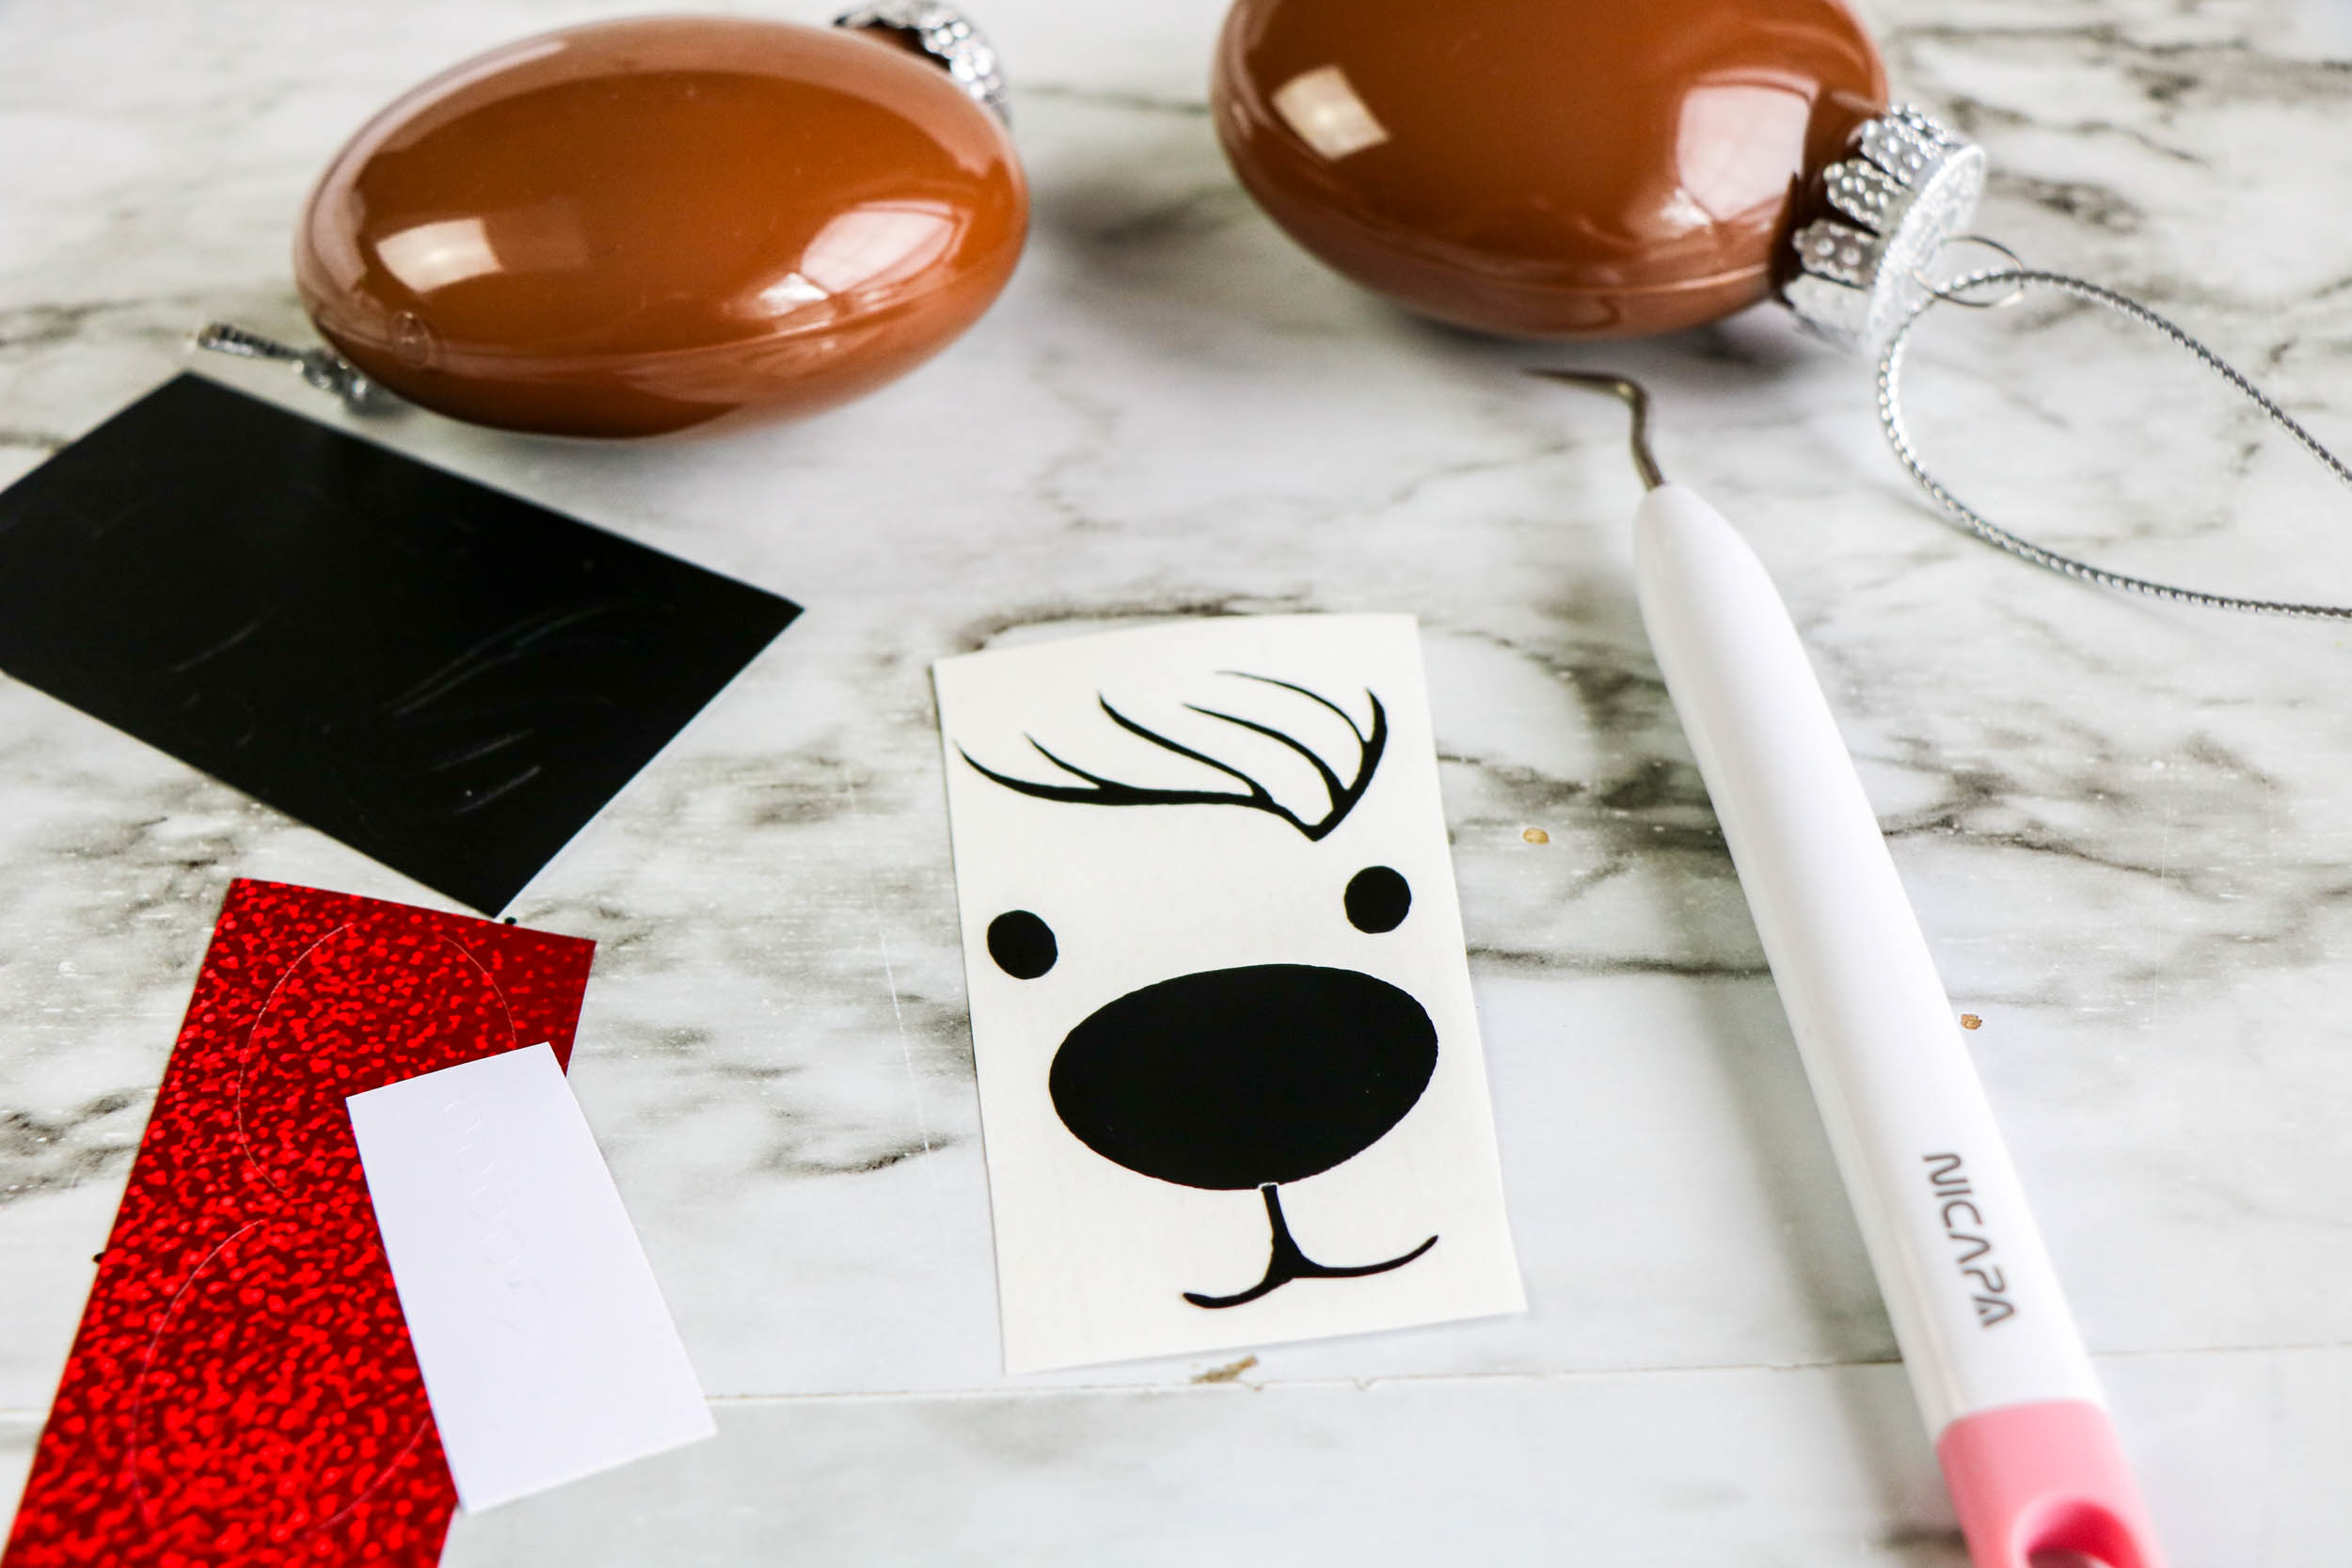
- Weed the excess vinyl away and then use transfer tape to move the designs to the ornament.
- Press firmly or swipe over the transfer tape with a scraper to make sure the vinyl adheres to the ornament.
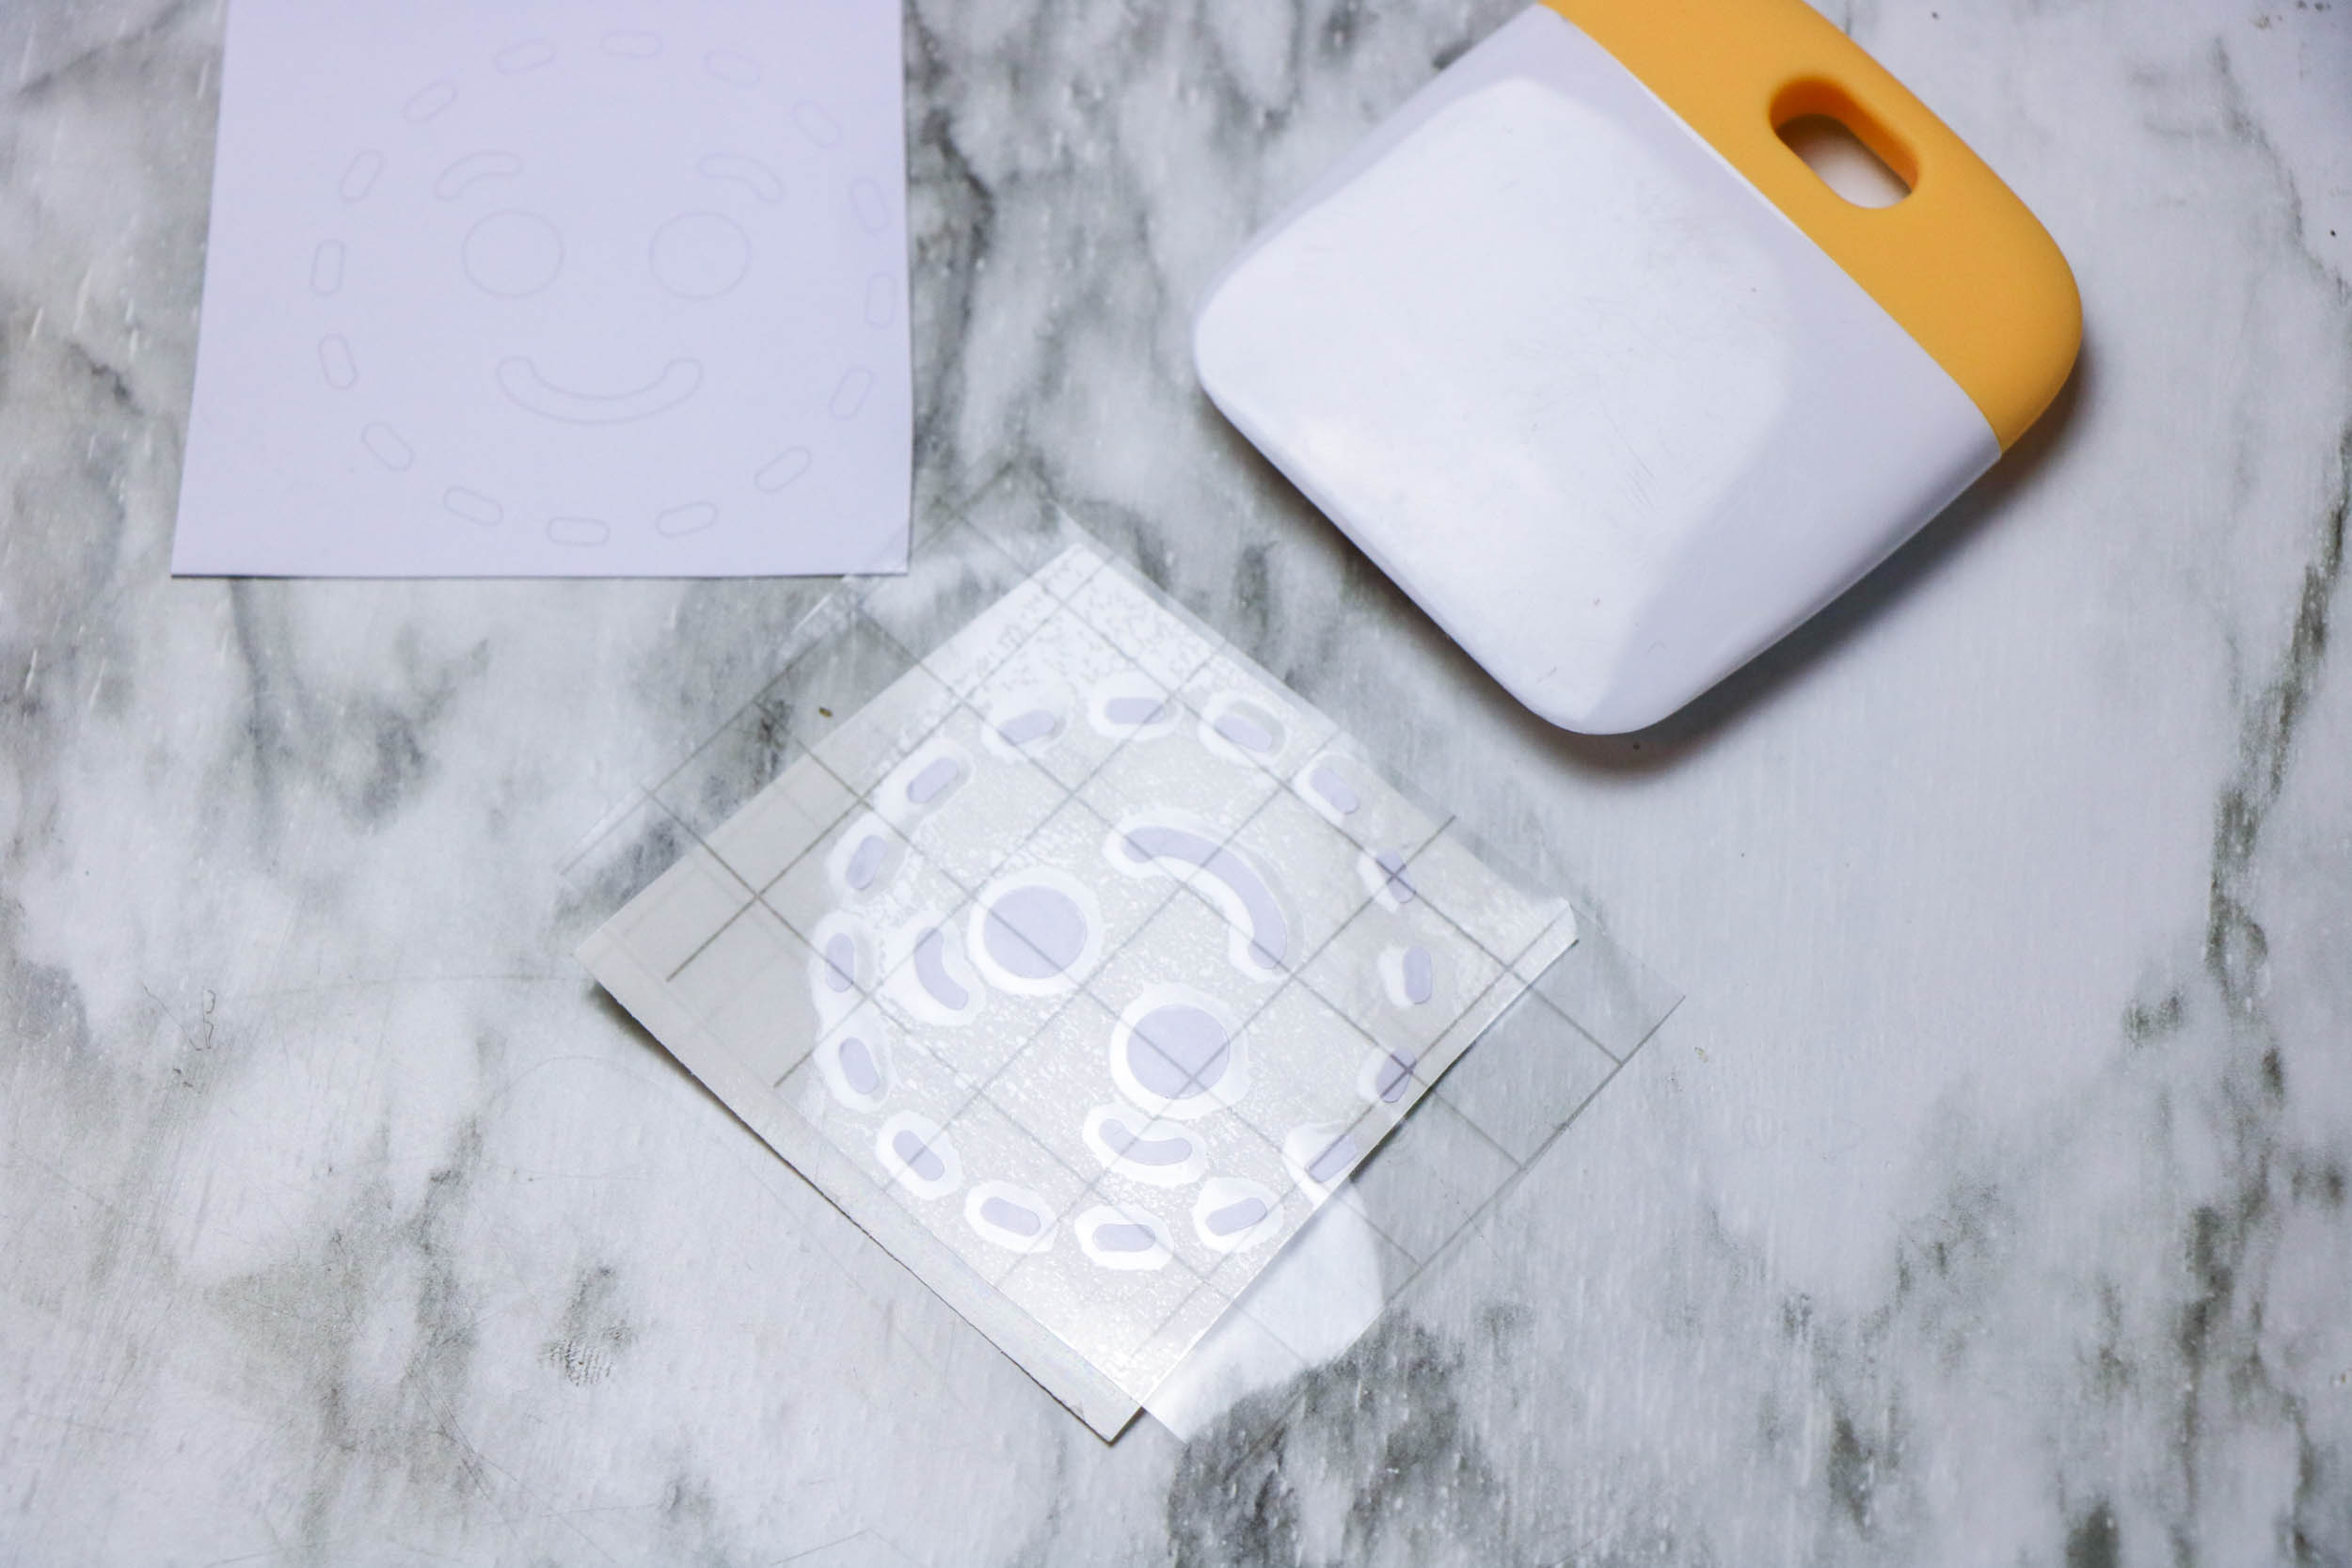
- Pull the transfer tape away.
- Enjoy your Festive Creation
Cricut Ornament Templates
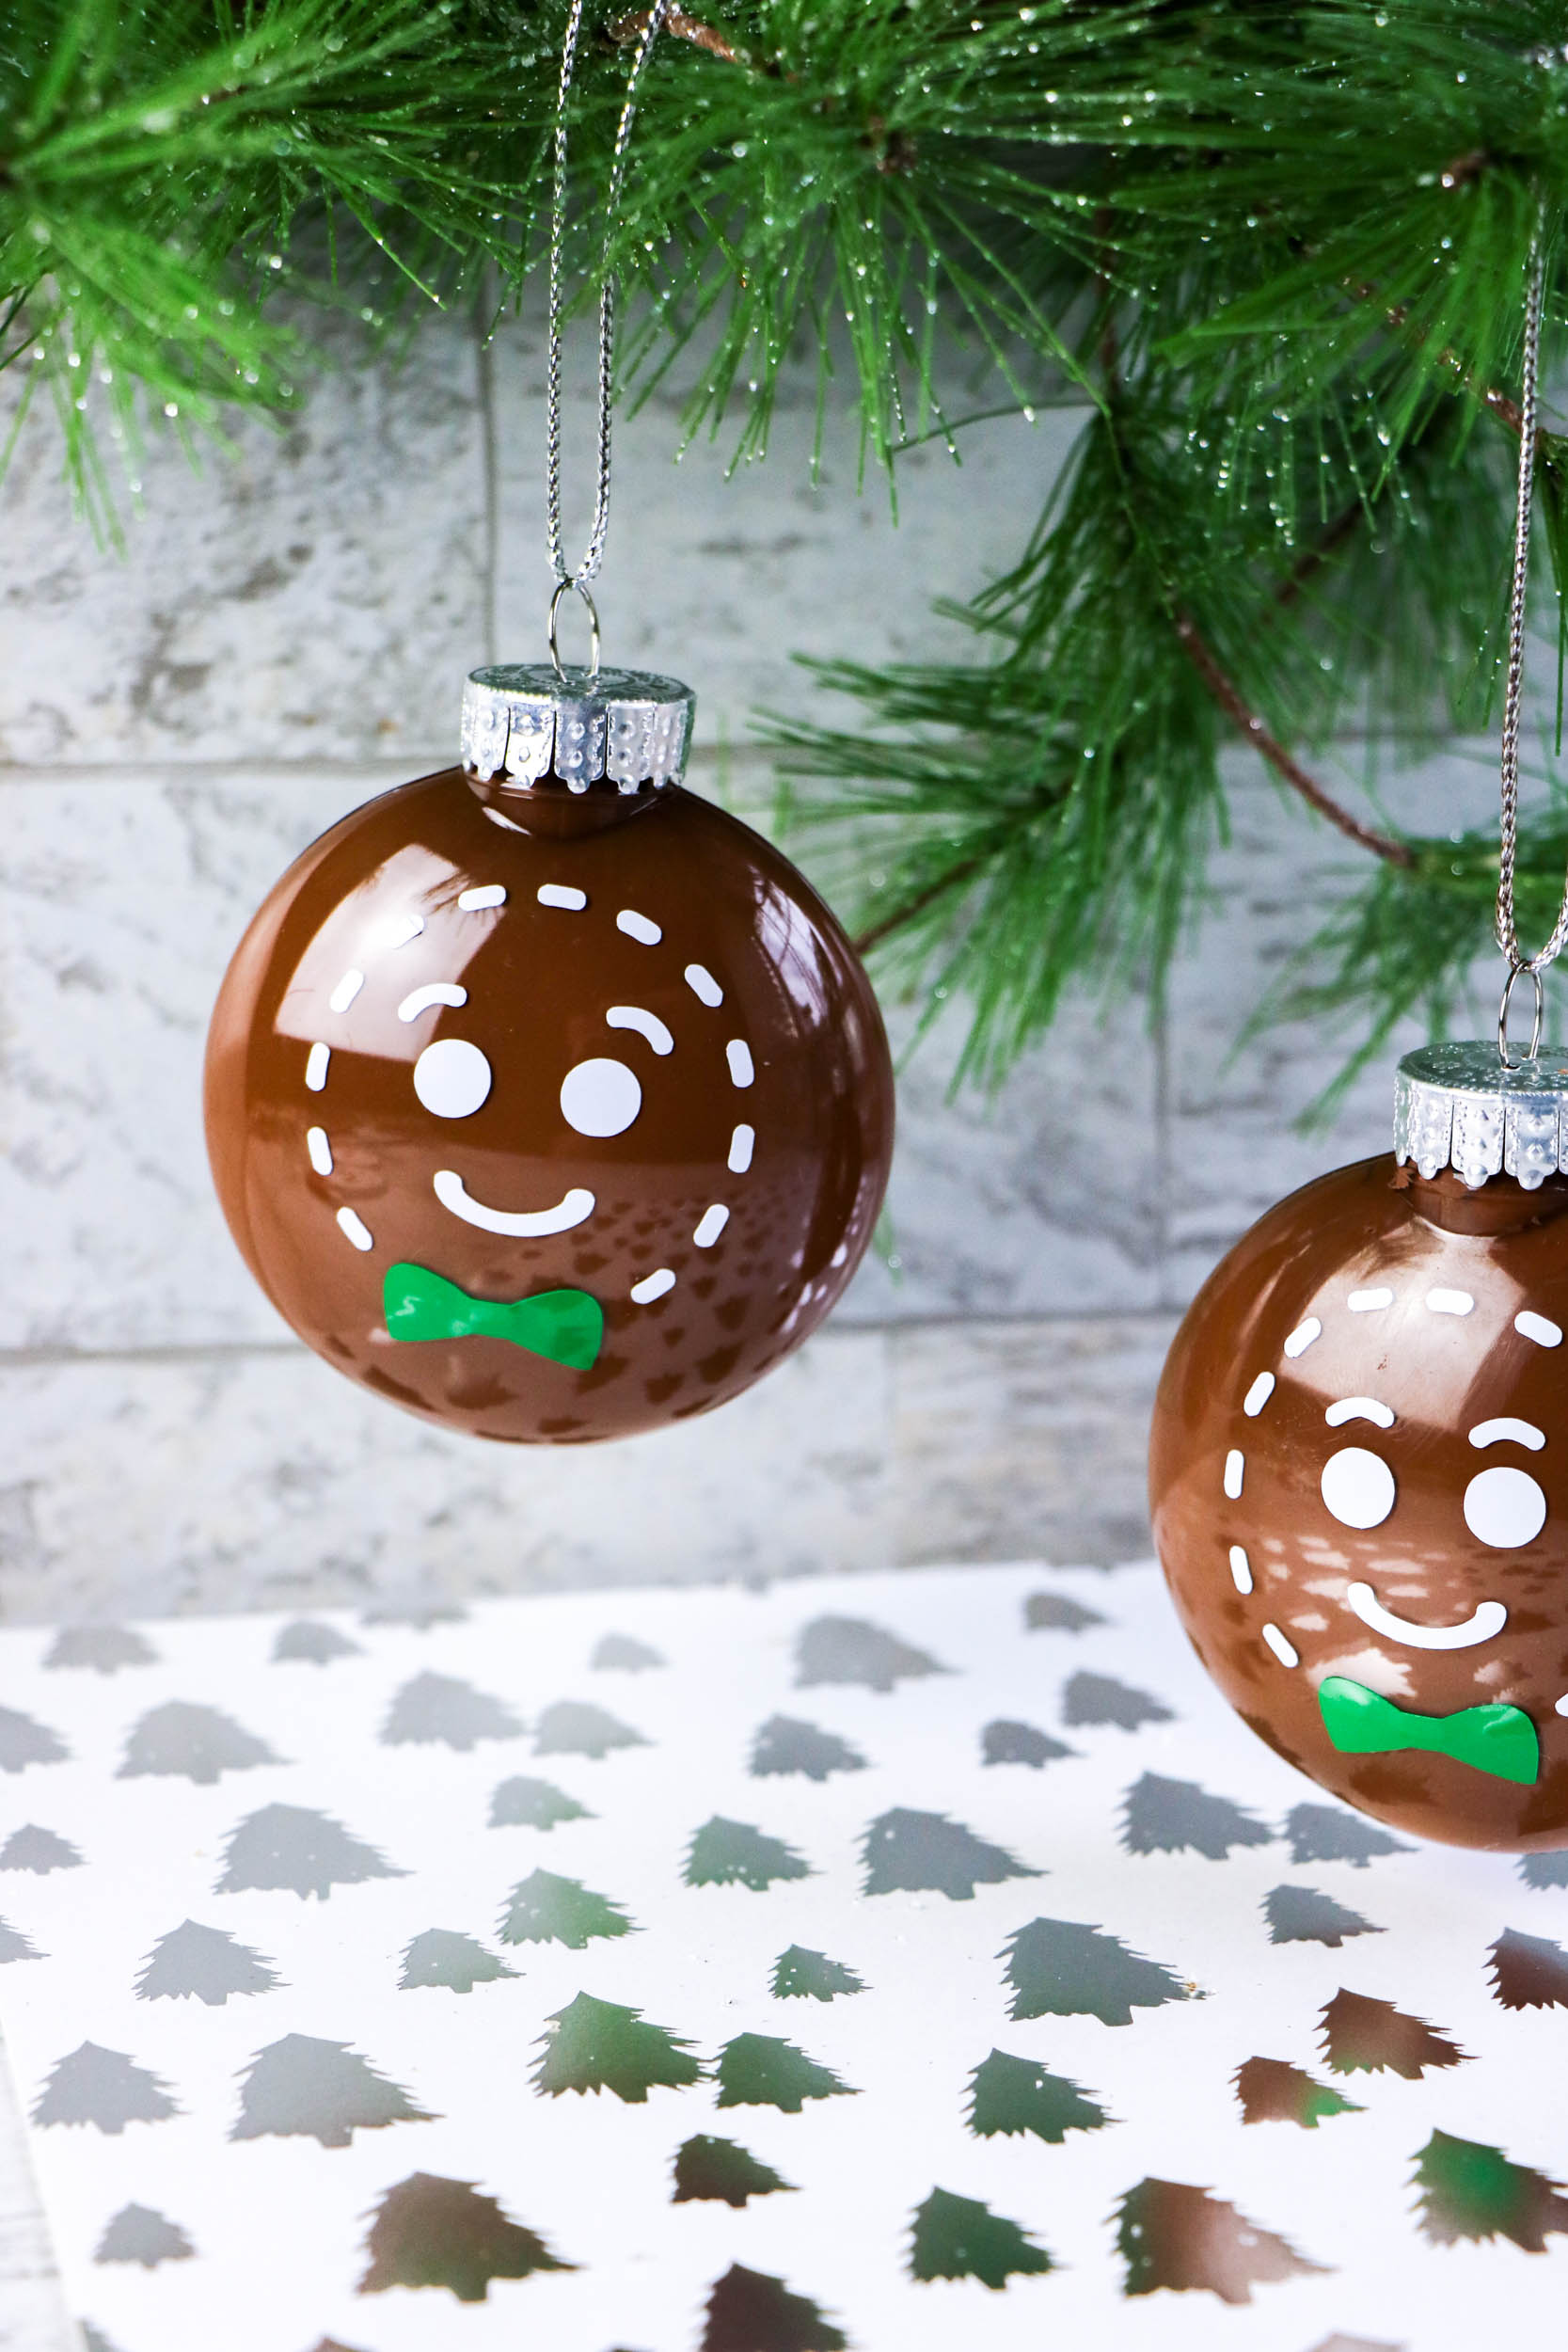
Gingerbread Man Ornament Cricut Templates
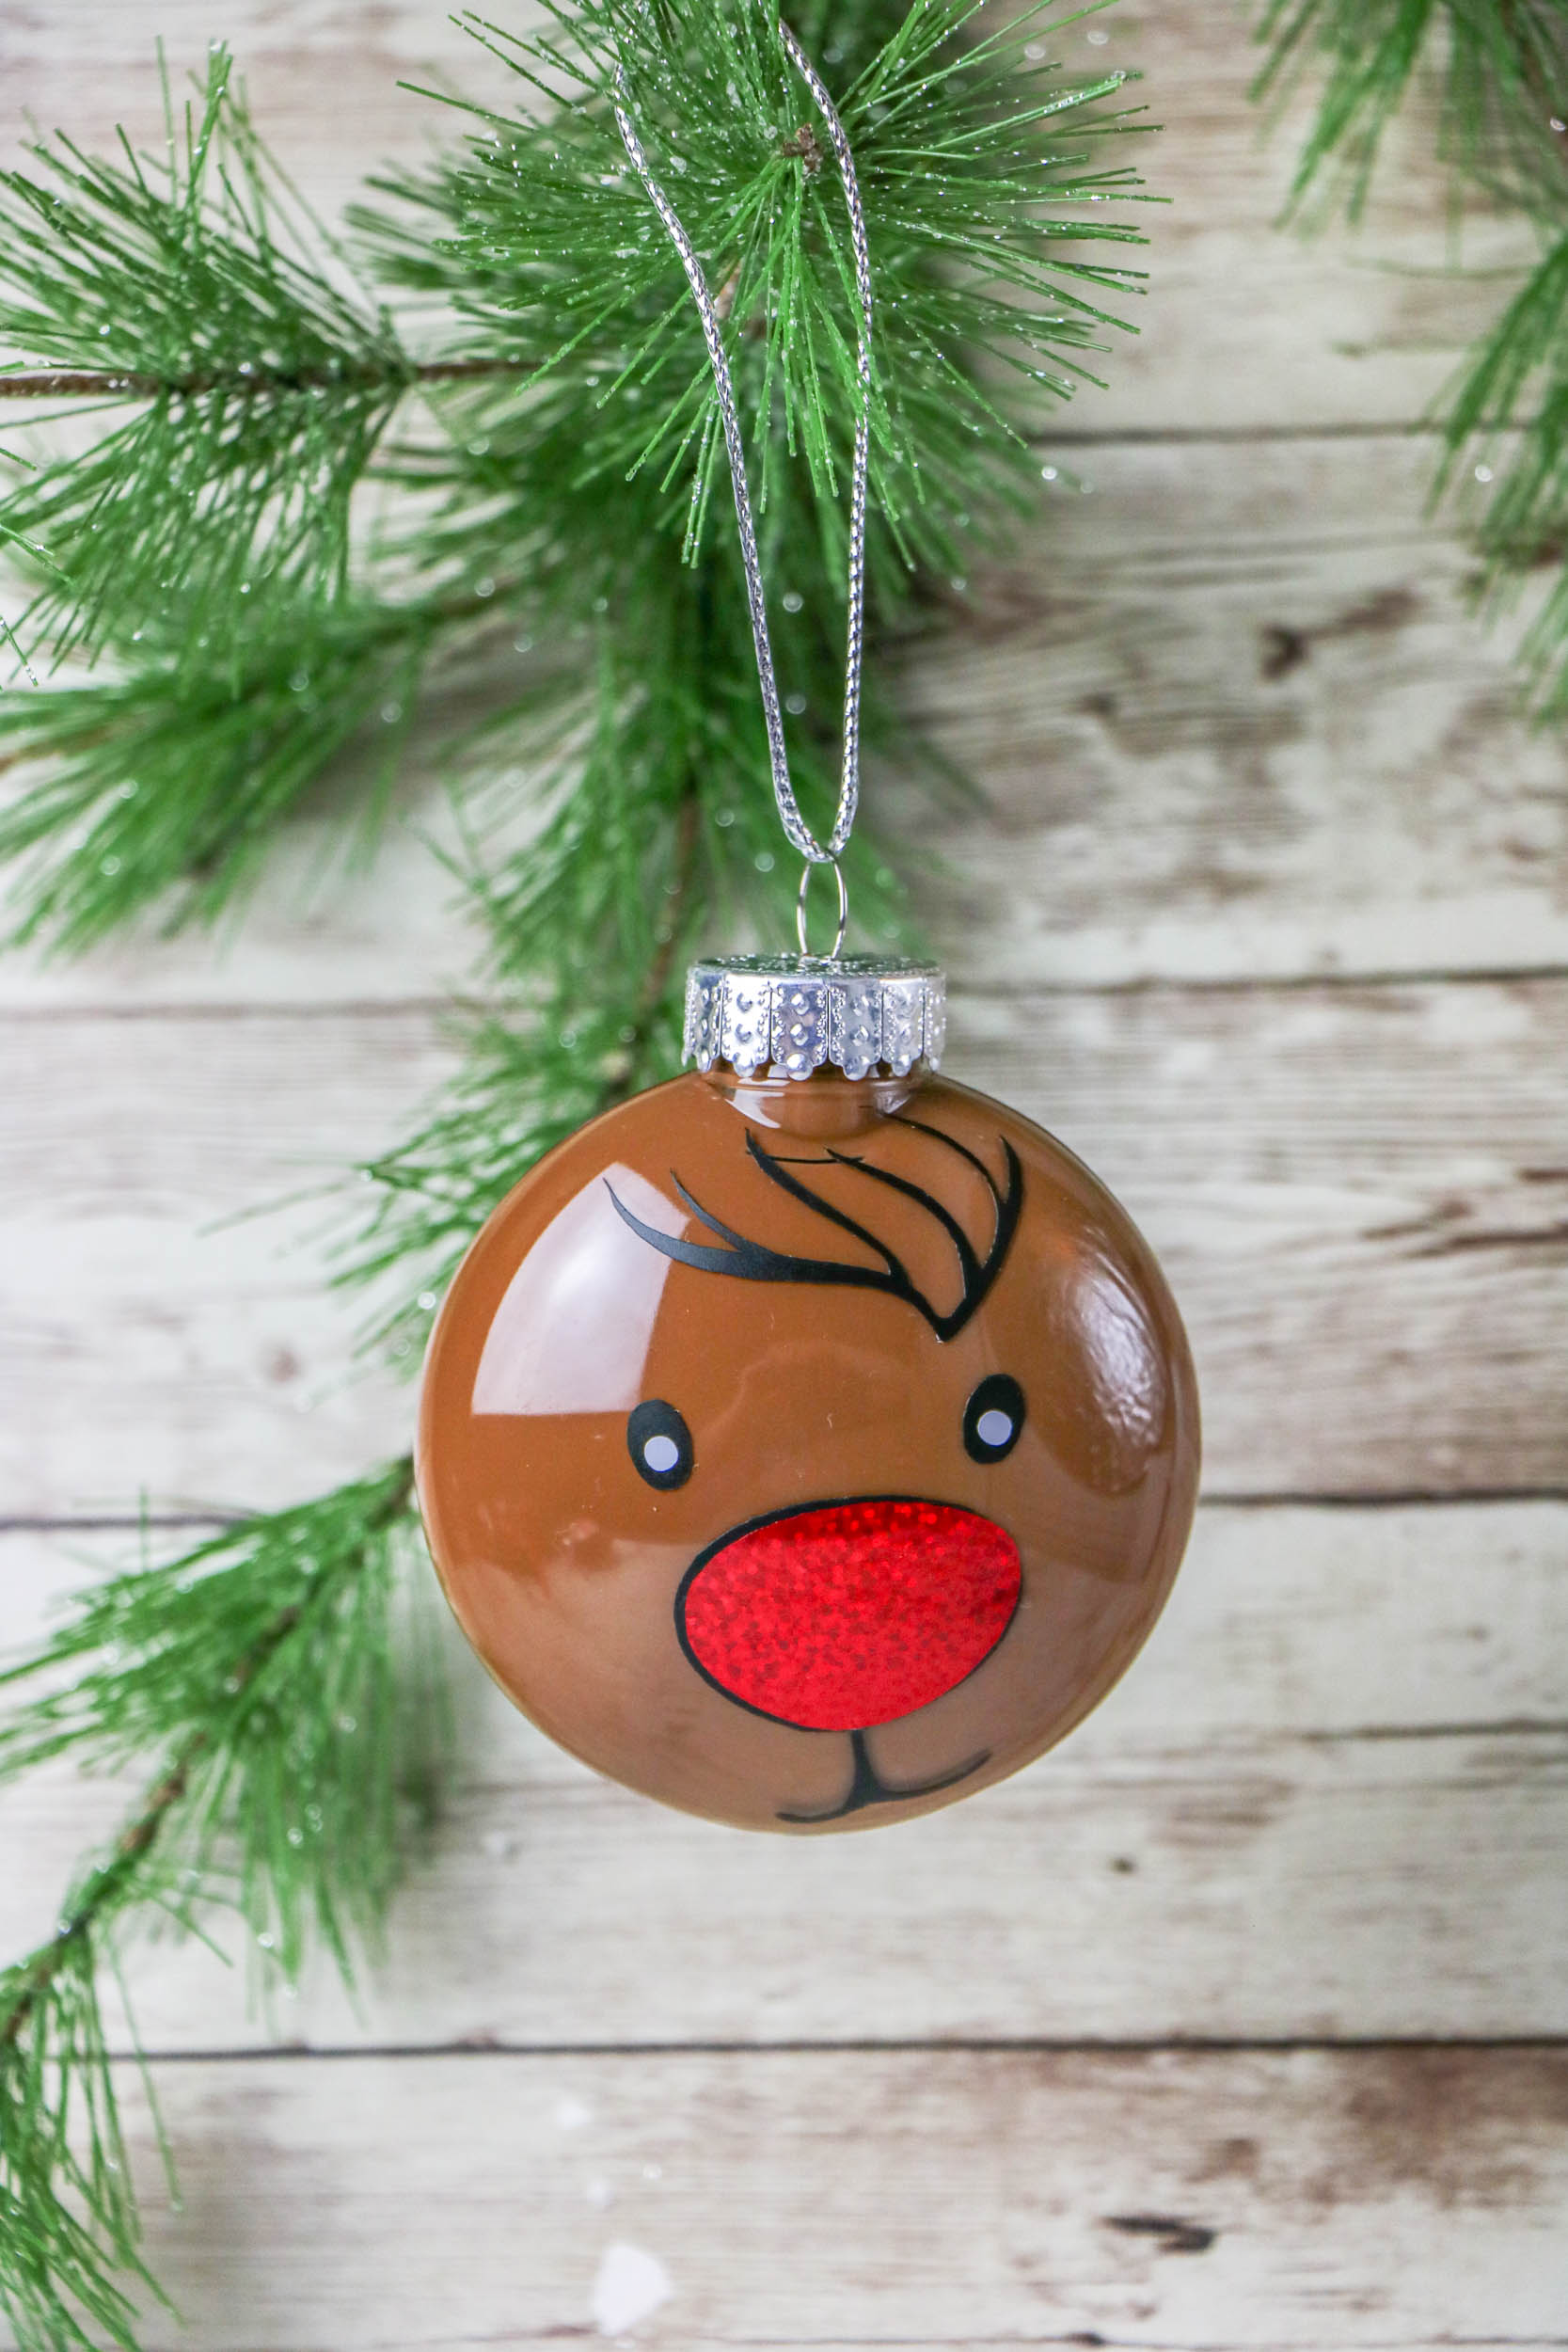
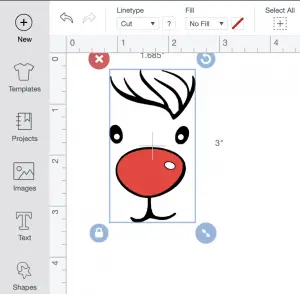
Rudolf Ornament Cricut Templates
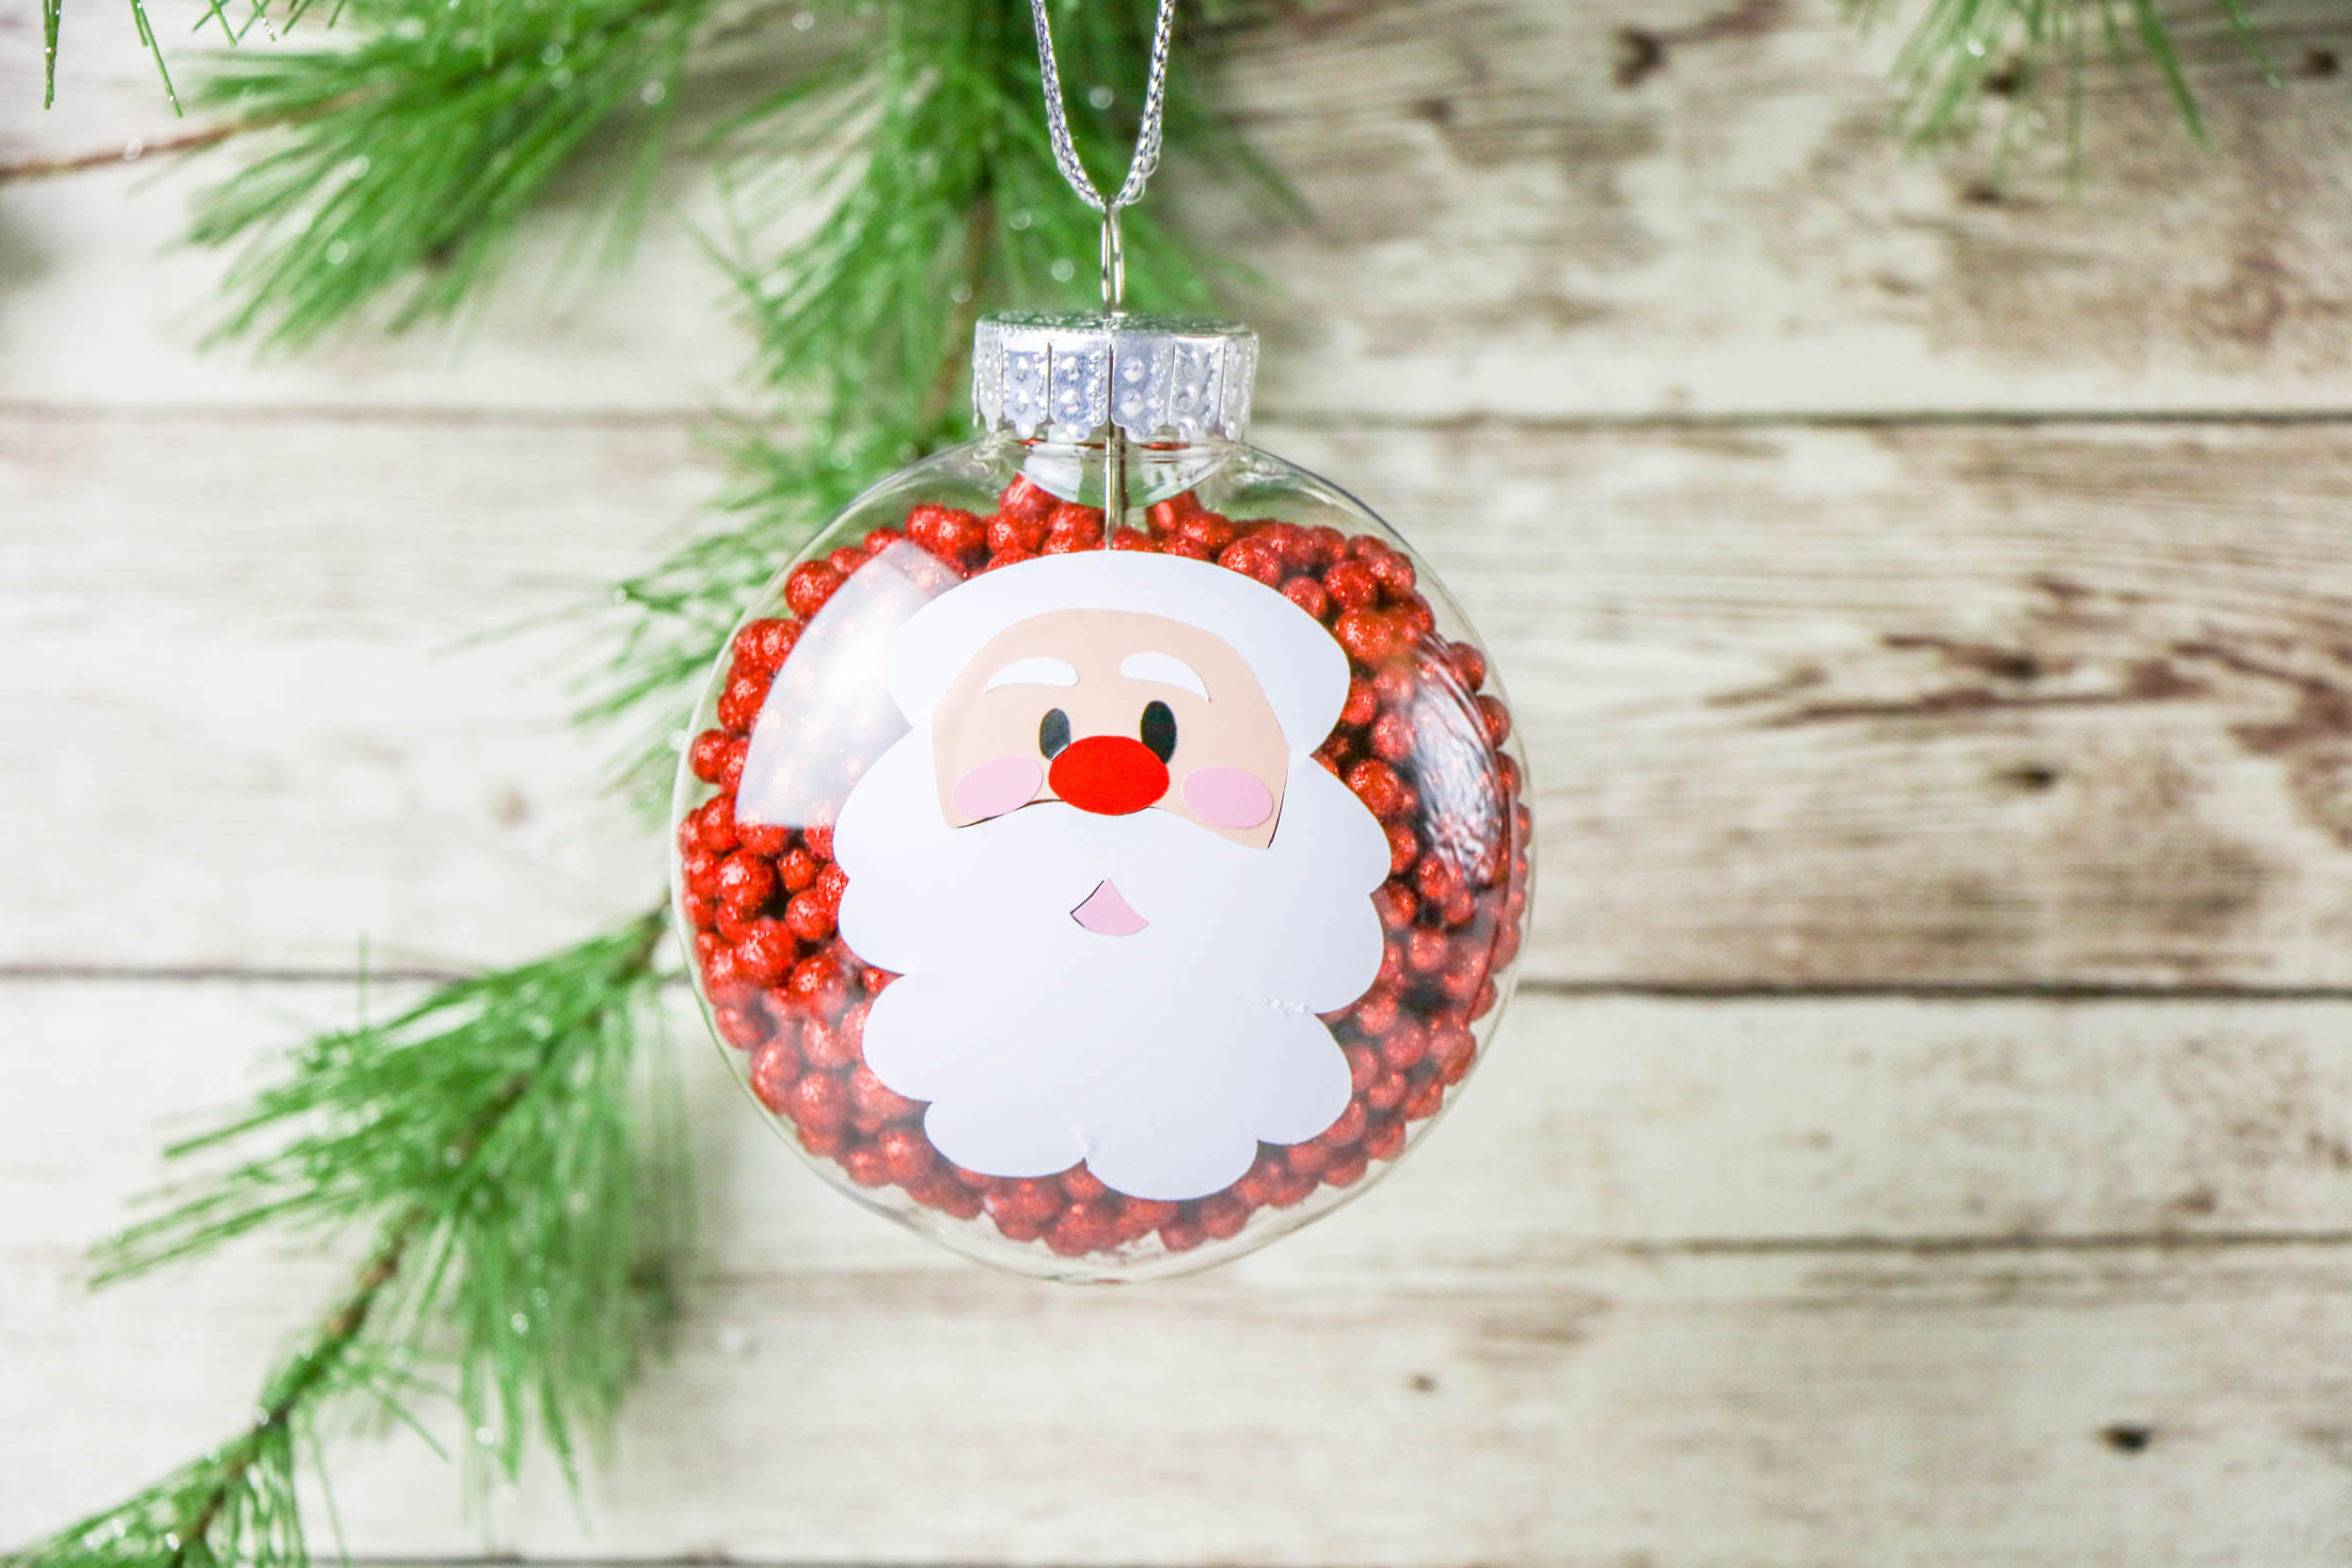
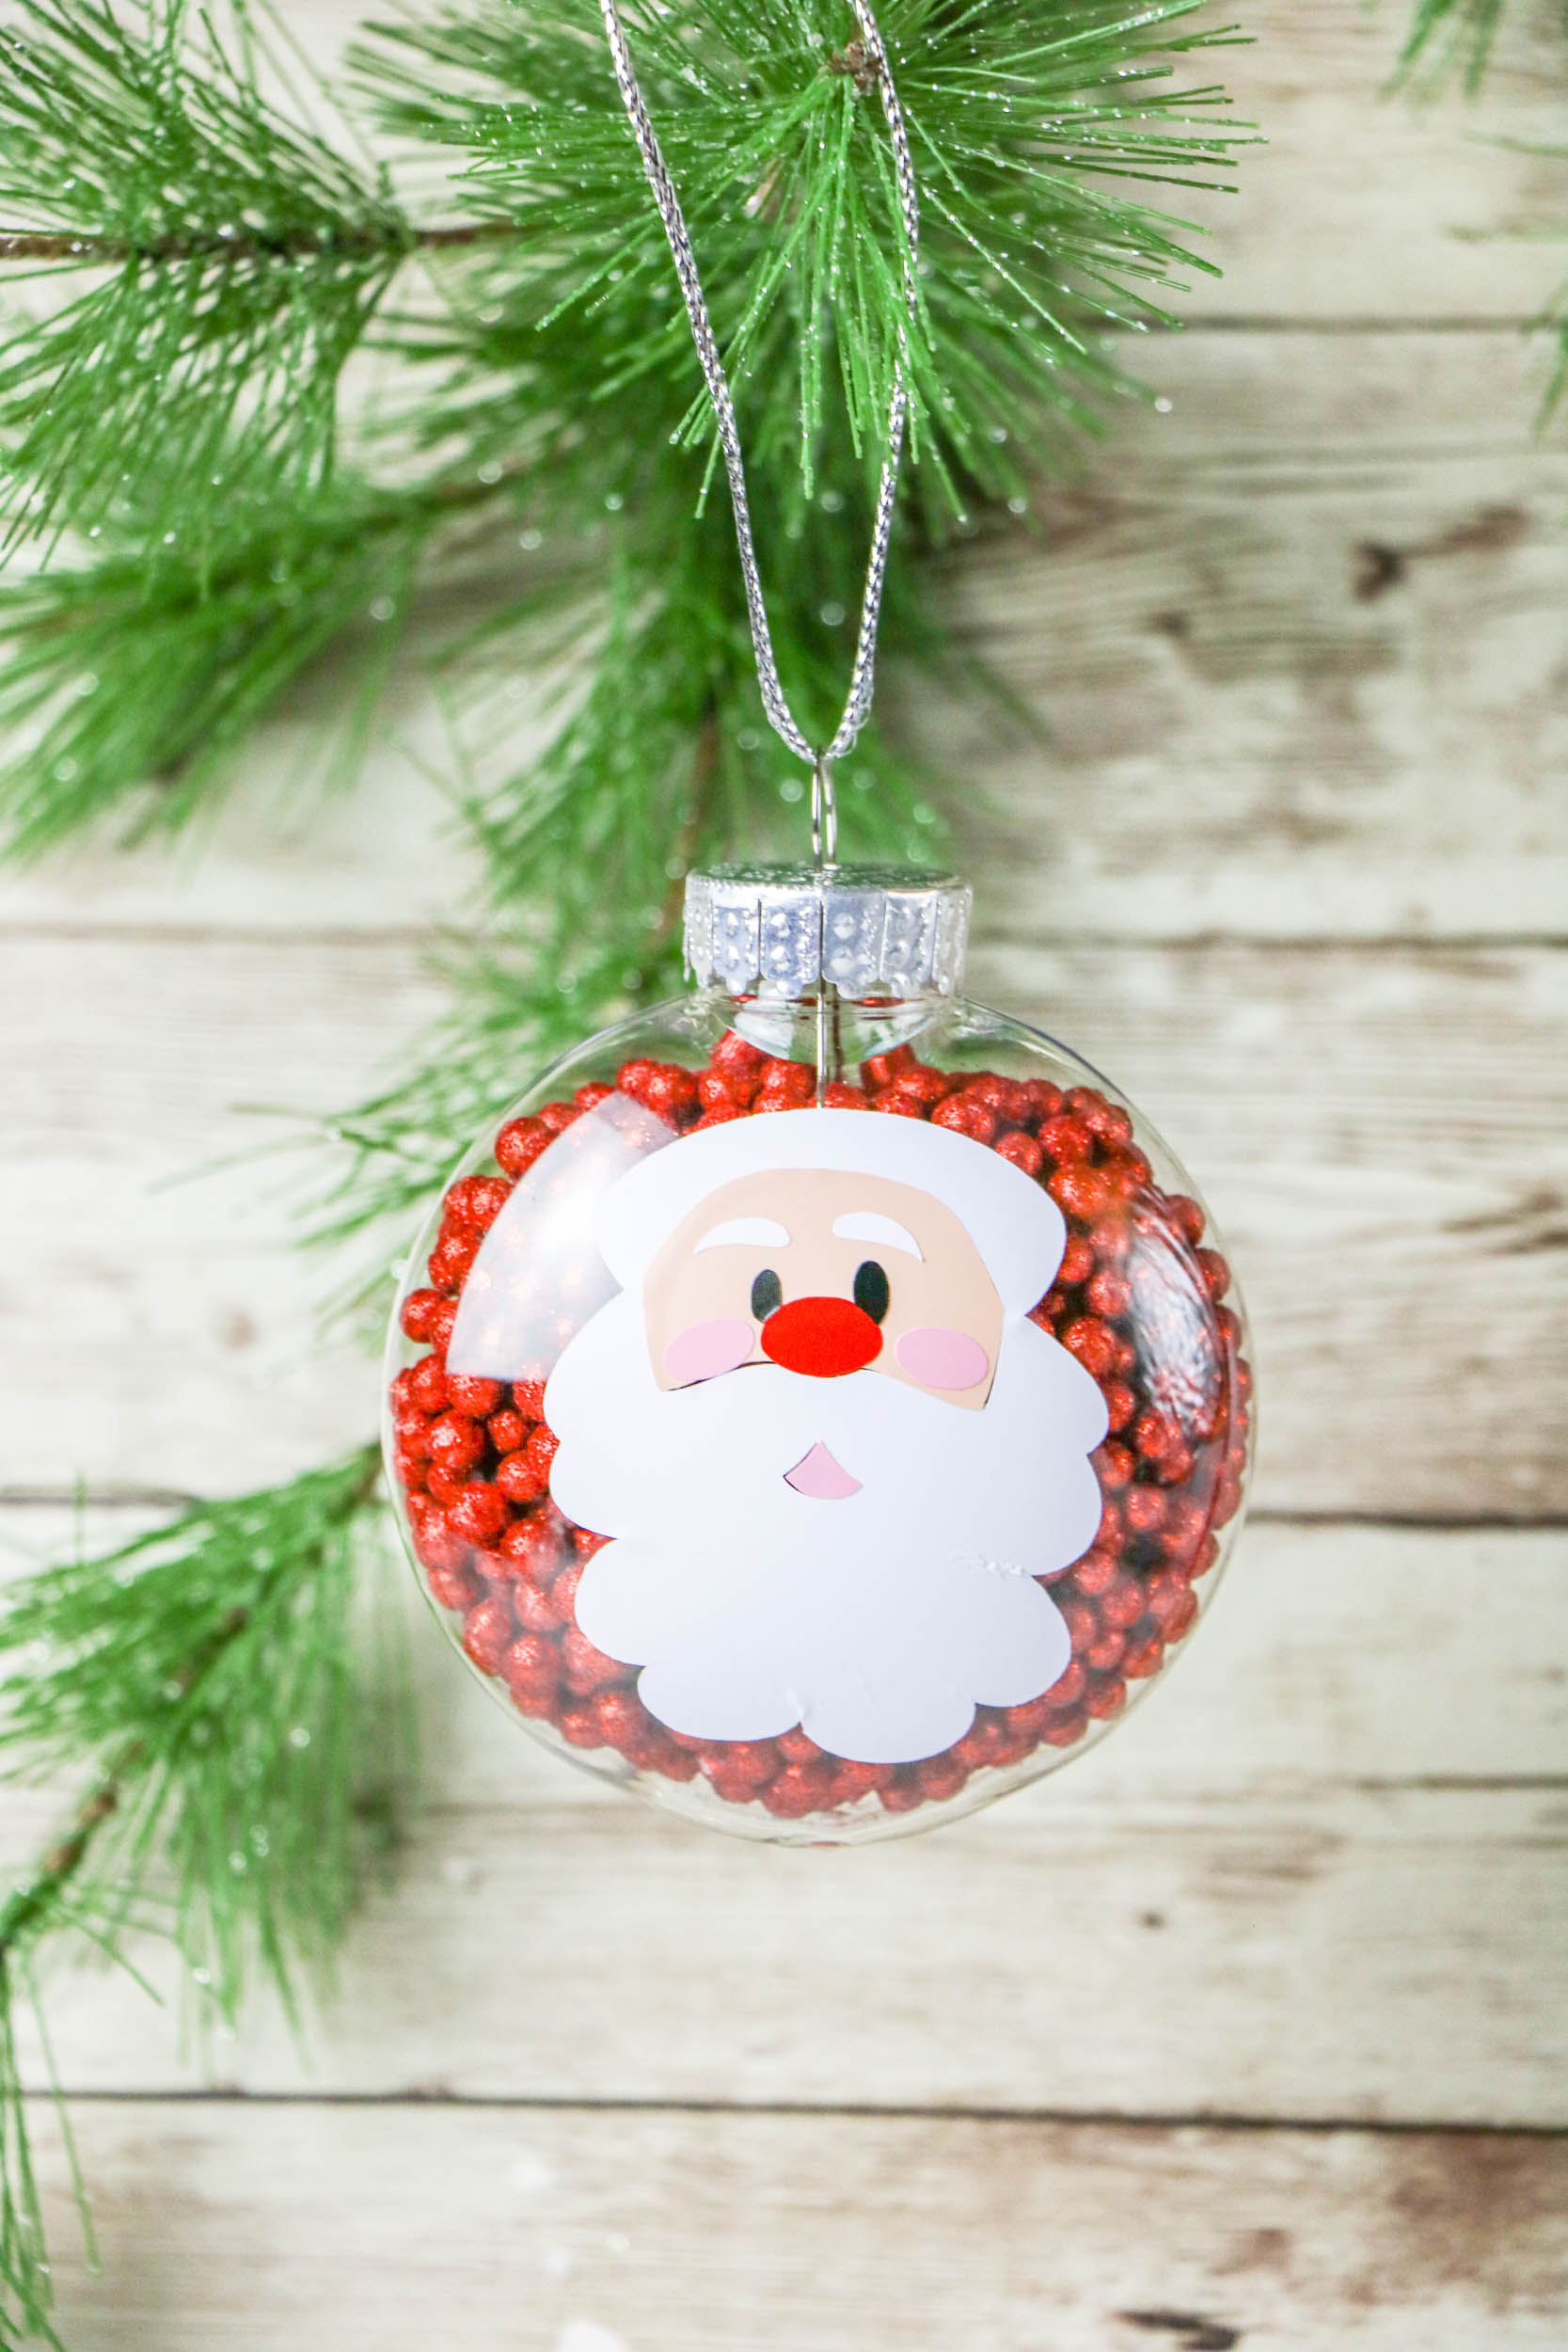
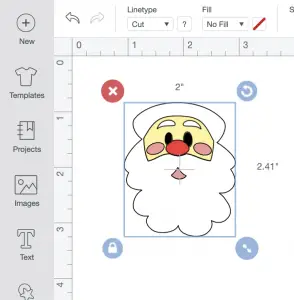
Santa Ornament Cricut Templates
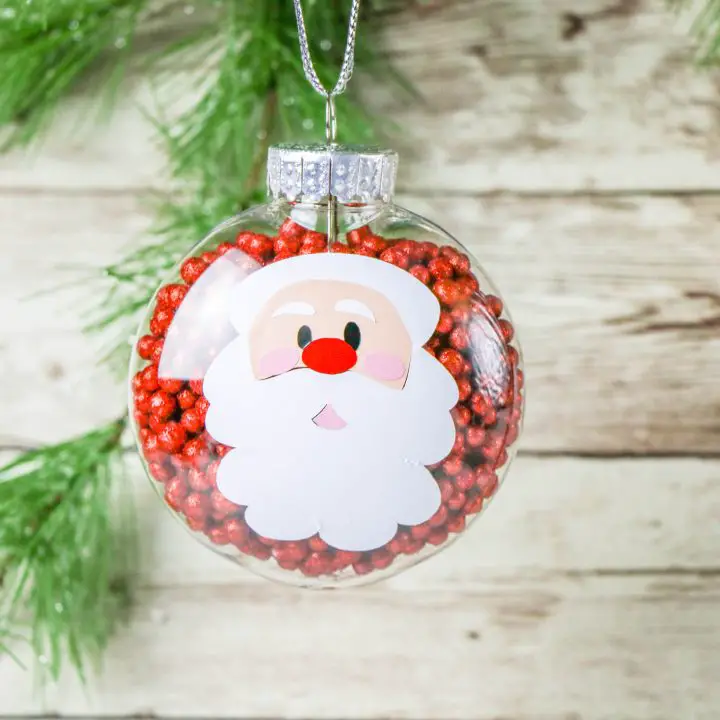
Clear Disc Cricut Ornaments
Create festive personalized Christmas Ornaments with your Cricut Machine and these three free Cricut templates.
Materials
- Clear, plastic disc ornaments
- Filler material, paint, or glitter
- Cricut Permanent vinyl
- Cricut Transfer tape
- Templates
Tools
- Cricut Machine
- Cricut Weeding Tool
- Scissors
Instructions
- Open the Cricut Design Studio and create a new project.
- Upload the templates below to the Cricut Design Studio.
- Select to remove the background of the image (if needed) and save it as a cut file.
- Insert the image into your project and select your desired print color to help organize the cuts.
- If all of the details of your ornament will be the same color, click and drag to select the elements for the ornament and select to weld the items together.
- Select the image and size to match the dimensions of the ornament.
- Cut the images from vinyl.
- Weed the excess vinyl away and then use transfer tape to move the designs to the ornament.
- Press firmly or swipe over the transfer tape with a scraper to make sure the vinyl adheres to the ornament.
- Pull the transfer tape away.
Recommended Products
As an Amazon Associate and member of other affiliate programs, I earn from qualifying purchases.


This came out so cute! What a good idea, the ornaments look like a lot of fun to make and it’s nice to have something that you and the kids made together to hang on the tree. Definitely, something to remember when I want to do crafts with my little one.