Evil Queen Ornament with Mickey Ears Craft for Kids
This is a fun craft idea for kids! It’s a DIY Evil Queen ornament inspired by Disney’s “Snow White and the Seven Dwarfs”. The materials are inexpensive and easy to find, making it a great project for the whole family.
For your convenience, this post contains affiliate links. As an Amazon Associate, I earn from qualifying purchases.
Do you have a little princess in your house? What about a villain fan? I think the villains have been giving the princess’ a run for their money in popularity among Disney goers. So this Evil Queen Ornament Craft for kids is perfect for all the villain fans, both young and young at heart! Plus, it’s easy to make and can be used as an ornament or decoration.
Fun and Easy Evil Queen Ornament Craft
The holidays are a special time of year. One way to make them even more memorable is by making paper ornaments with your kids! They will love the crafting and you can enjoy spending quality time together as well as having fun decorating for Christmas.
Supplies You Need To Make This Paper Ornament Craft
- Paper
- Glue
- Scissors
- Glitter
- String or Ribbon
How to Make a DIY Evil Queen Ornament
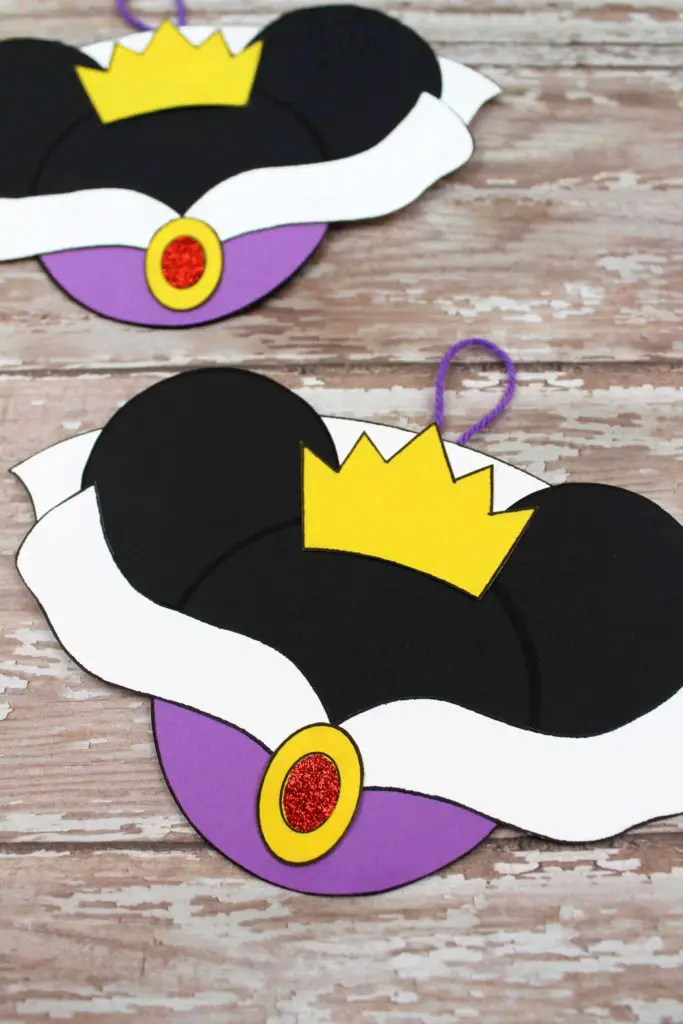
First, you will want to download and print out the Evil Queen Mickey Ears template then cut it out and set it aside.
Now glue the pieces together with a glue stick. Glue the white-collar to the back of your Mickey Mouse head. Next, add the purple cut-out and the white V shape to Mickey’s ears.

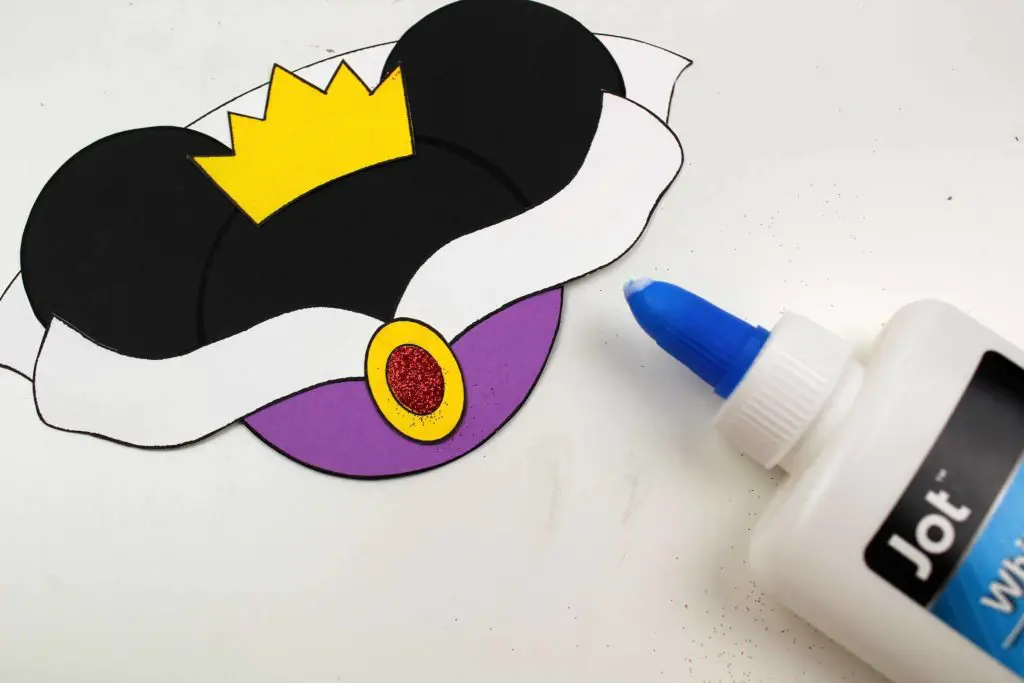
Add white school glue to the center of her necklace and sprinkle on red glitter then shake off the excess.
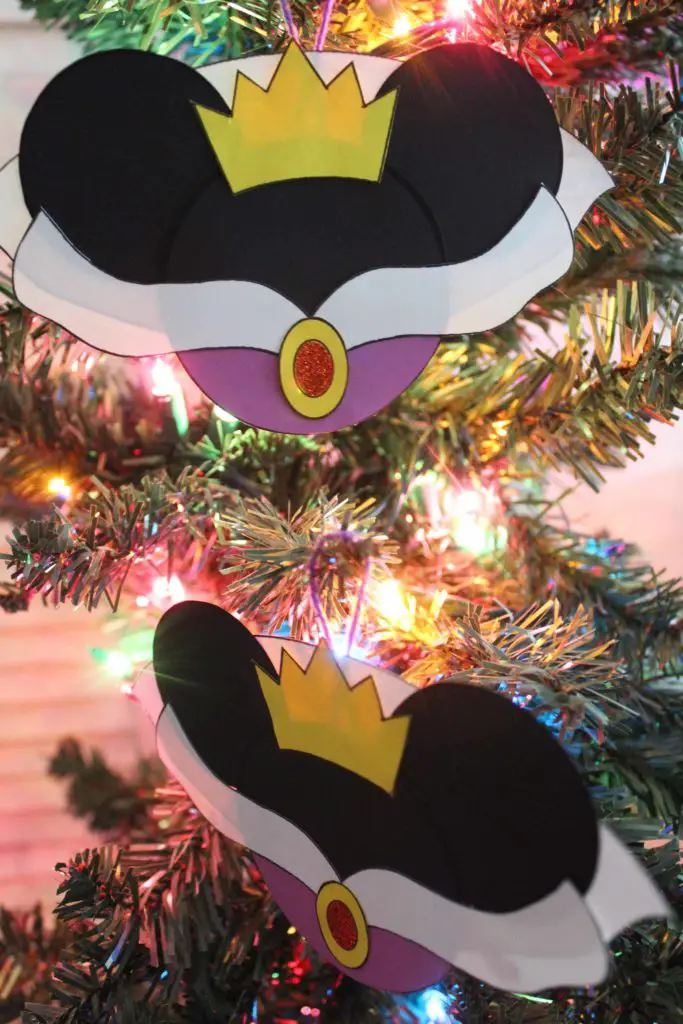
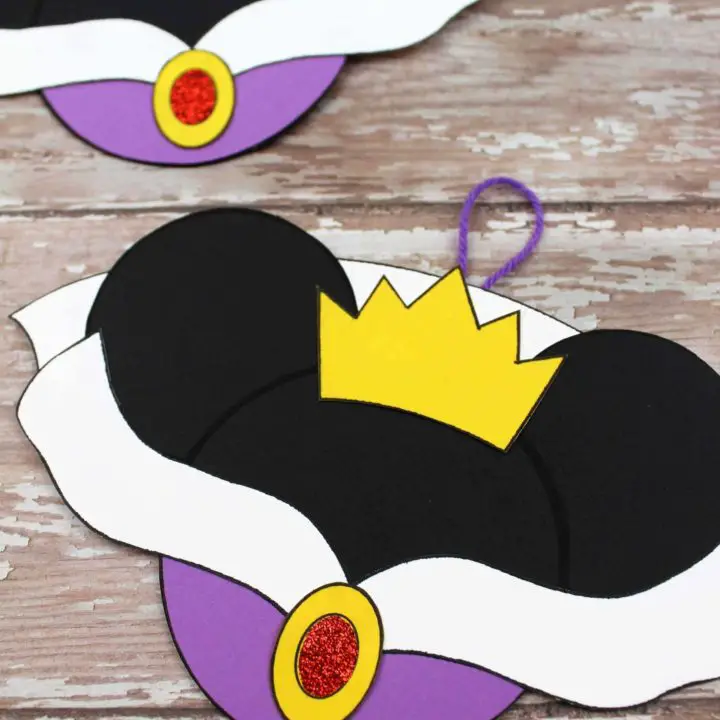
Allow the glue to dry completely before flipping over the ornament and add a bit of white school glue to the back. Loop a piece of string or ribbon and glue in place and allow the glue to dry completely on the back.
Finally add this fantastic Evil Queen Mickey ears ornament to the Christmas Tree! And enjoy the most wonderful time of the year!
DIY Evil Queen Ornament Craft
This is a cute and easy DIY Disney-inspired Evil Queen ornament craft that kids will love. I have the instructions here!
Materials
- Paper
- Glue
- Scissors
- Glitter
- String or Ribbon
Instructions
- First, you will want to download and print out the Evil Queen Mickey Ears template.
- Cut out and set aside.
- Glue the pieces together with a glue stick. Use the photos as a guide.
- Glue the white-collar to the back of your Mickey Mouse head.
- Now add the purple cut-out and the white V shape to Mickey's ears.
- Add white school glue to the center of her necklace.
- Sprinkle on red glitter and shake off the excess.
- Allow the glue to dry completely.
- Flip over the ornament and add a bit of white school glue to the back.
- Loop a piece of string or ribbon and glue in place.
- Allow the glue to dry completely.
- Add the fantastic Mickey ears ornament to the Christmas Tree!
DIY Christmas Tree Ornaments to Try
Do you have a little one who loves to make crafts with you? There are plenty of Christmas ornaments that can be made by children. These posts will give you some great ideas on how to create your own ornaments together. I know moms are tight on time during this busy season so I have included some quick and easy ornament crafts and some more detailed and unique DIY ornaments for those long winter afternoons!