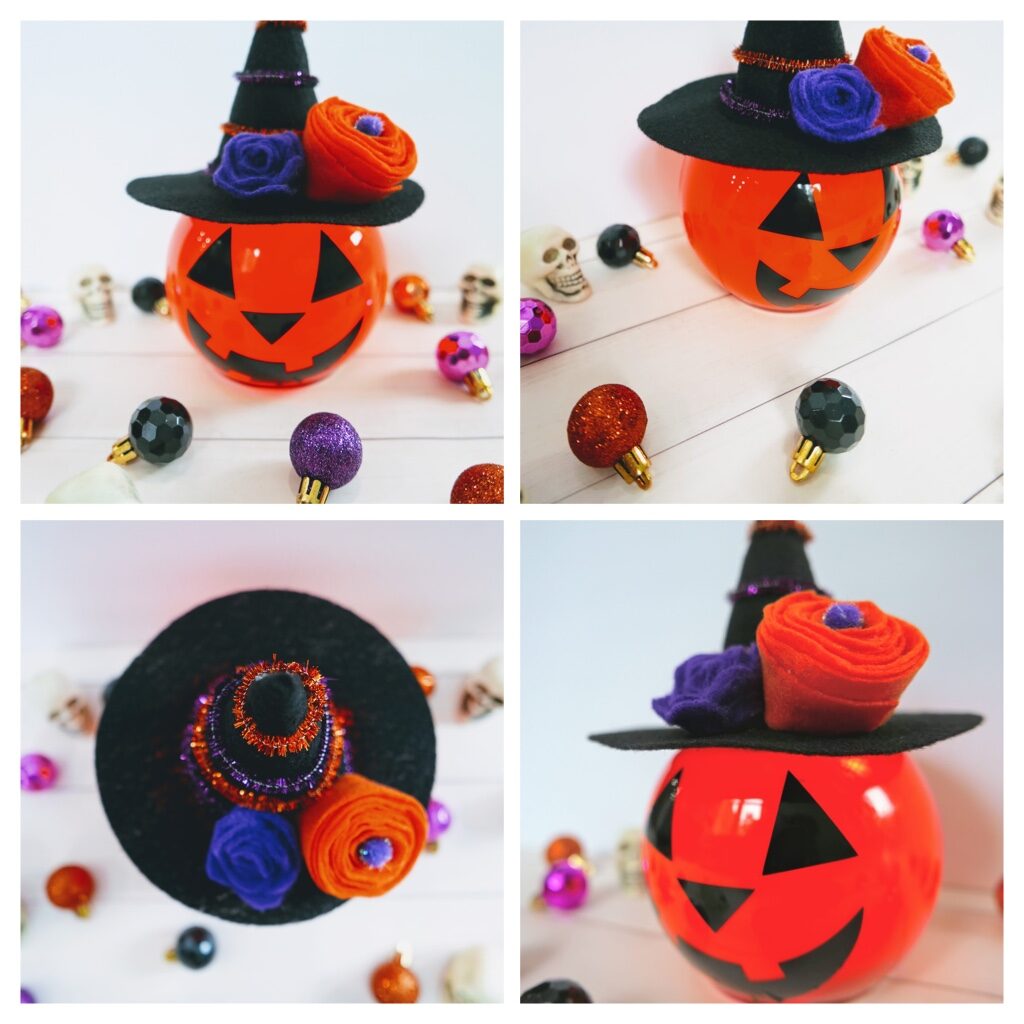
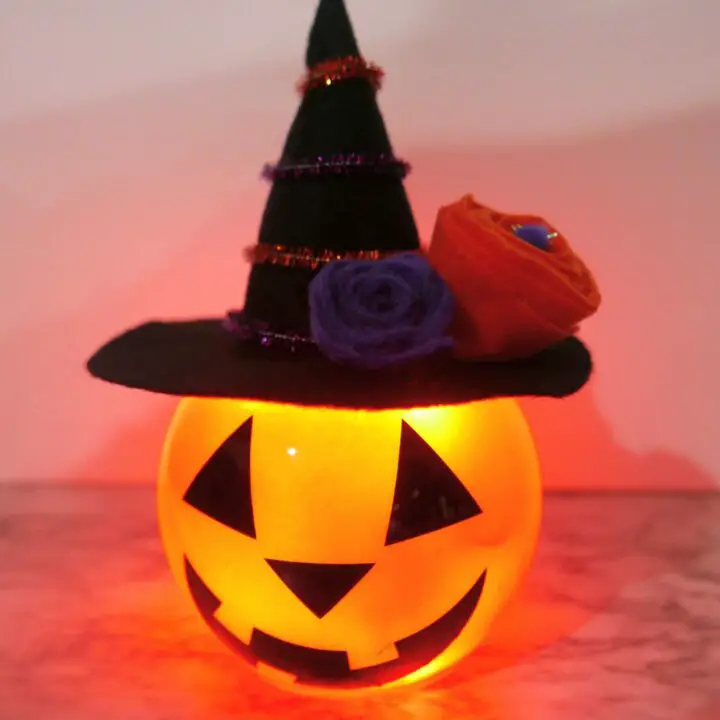
Easy Cricut Fish Bowl Pumpkin Craft with Free SVG Files
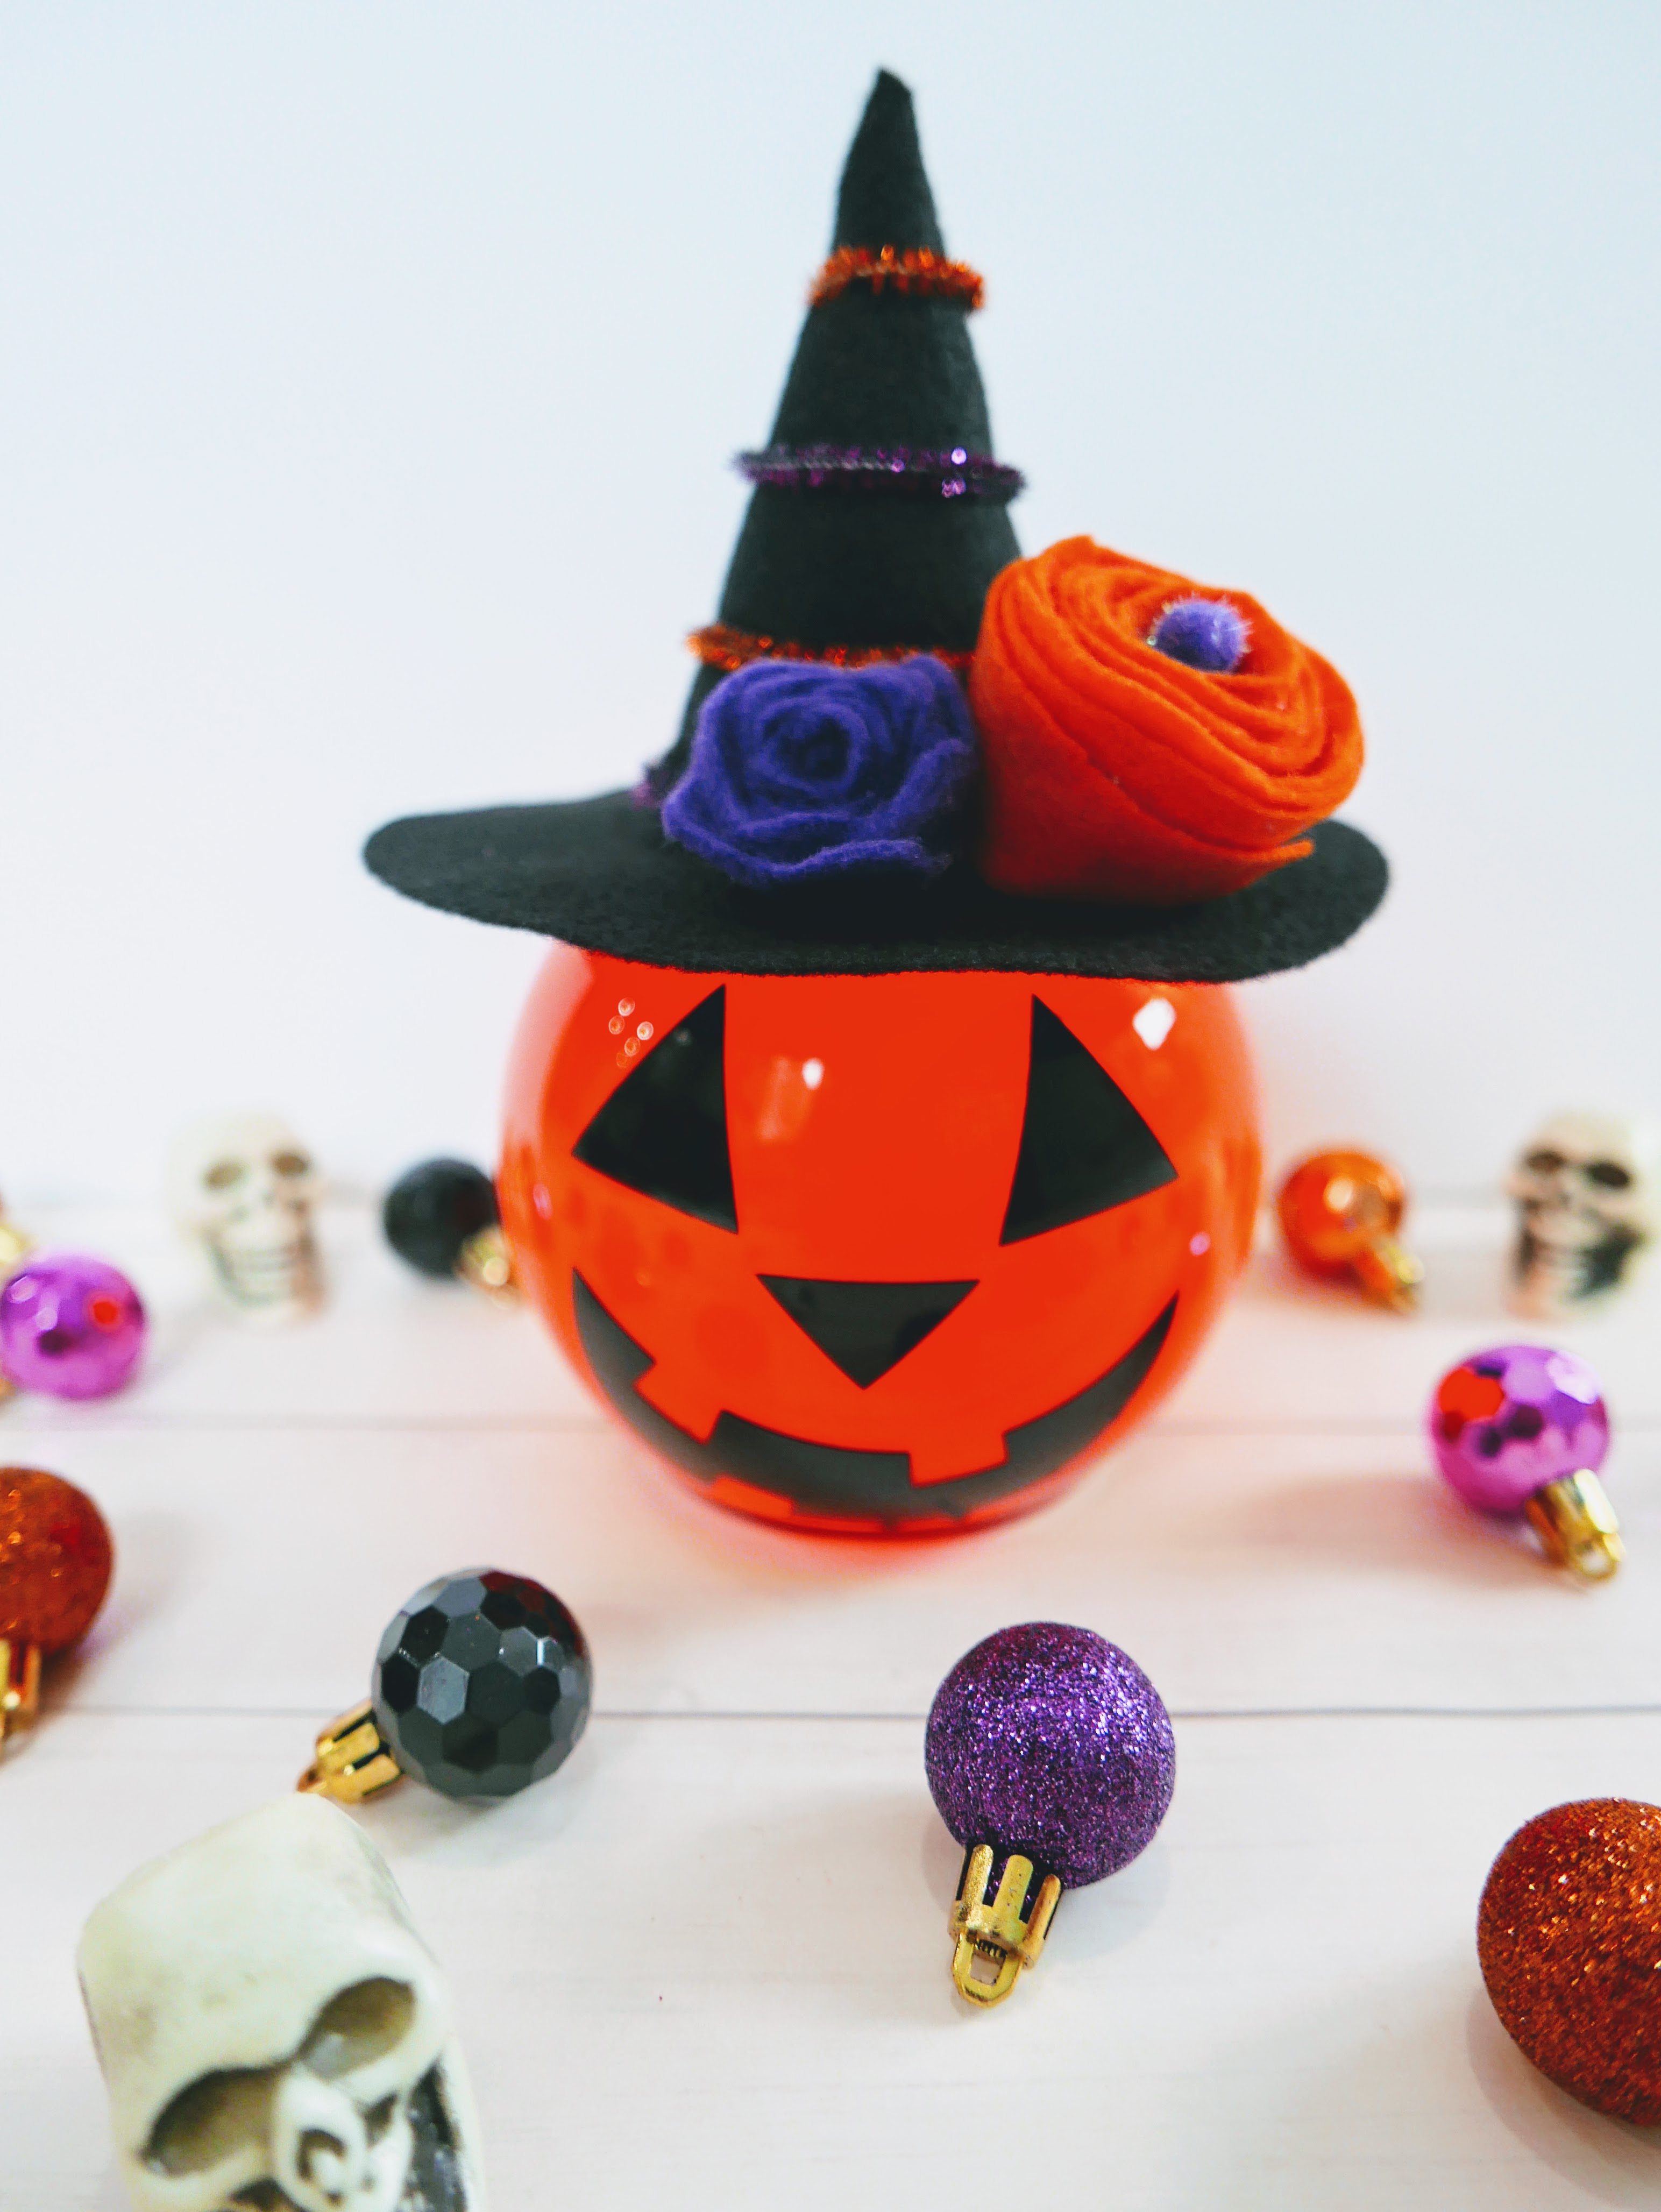
Who here is ready for a fun fall craft? This Easy Fish Bowl Dollar Tree Pumpkin Craft with Free SVG Files is so crazy simple and fun! All you need to do is gather up a few easy supplies and you’ll be loving the end result! Such a simple way to have some super easy Halloween decor or a great way to plan ahead for next year, too!
We love Halloween pretty much all year long in our house. And what this means is that we’re constantly making decorations to put up for the year to celebrate or trying to get ahead of the game and have them prepped and ready for the next year.
The great thing about making Halloween decorations is that you can make them as spooky or as fun as you’d like. There’s minimal effort involved but they always get a HUGE reaction once they’re done. While you can easily buy Halloween decor at the store, I think that making your own is just that much more fun!
Dollar Tree Pumpkin Craft for Cricut Machine
You don’t need a lot to make this Fish Bowl Jack O’Lantern. Check out the supplies below!
Level: Easy
Time: 15-20 Minutes
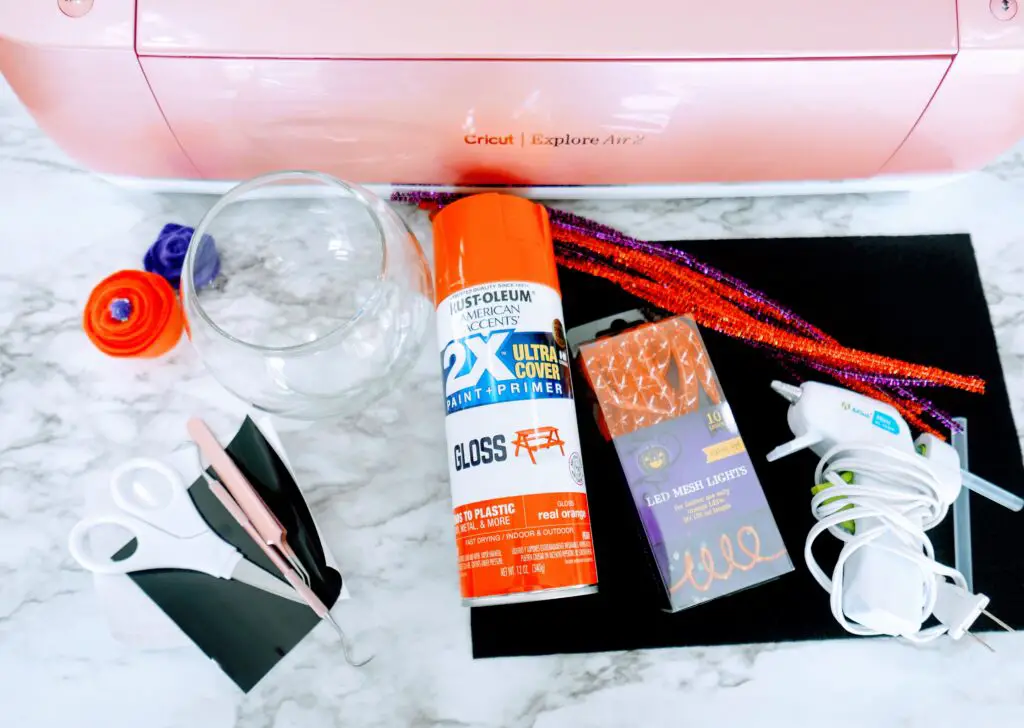
What Materials You Need to Make This Halloween Fish Bowl Craft
- Small Glass Fish Bowl
- Rust-Oleum Gloss Real Orange Spray Paint
- Black Craft Felt, 2 Sheets
- Hot Glue Gun & Glue Sticks
- Scissors
- Felt Flowers (Orange and purple, or any colors of your choosing)
- Black Adhesive Vinyl
- Transfer Tape
- Weeding Tools
- Orange & Purple Sparkly Pipe Cleaners
- Cricut Explore Air 2 (or similar cutting device)
- LED Mesh Lights, 3 ft. (or battery-operated twinkle/fairy lights)
- Witch Hat and Jack O’Lantern Face SVG Files
- Optional: Painter’s Tape/Masking Tape
How to Make This FishBowl Dollar Tree Pumpkin
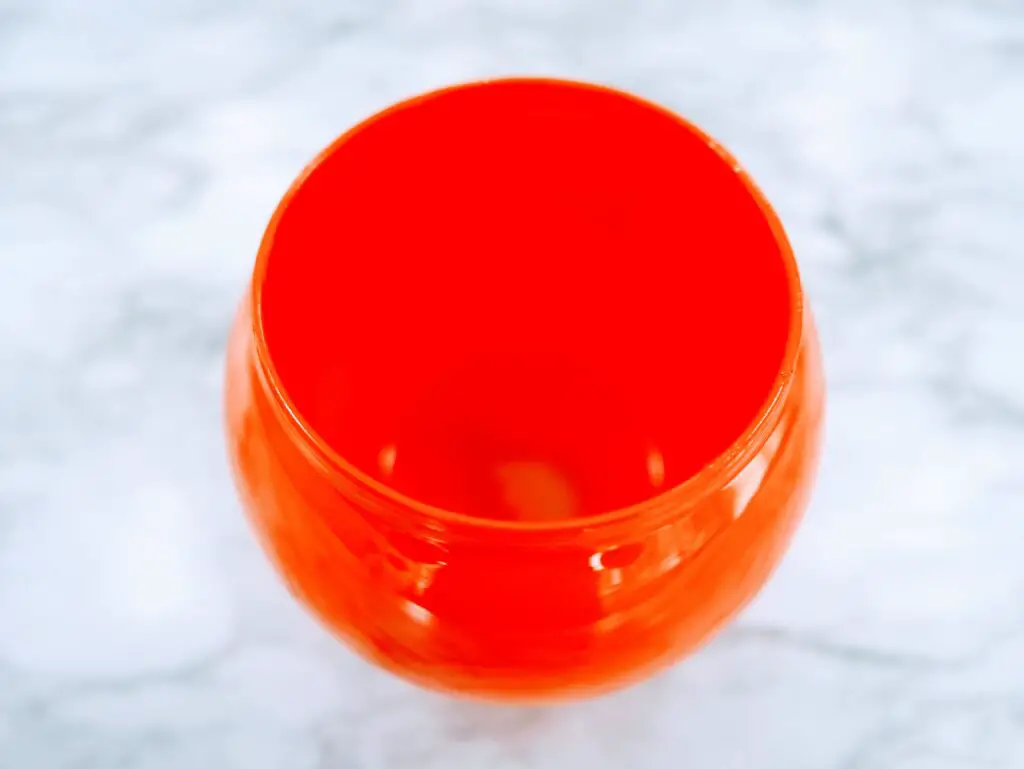
1. Spray paint the inside of the fishbowl with the orange spray paint, being careful not to get any on the outside. (If you do, it can easily be wiped clean with an alcohol pad)
2. While the spray paint is drying, open the Jack O’ Lantern Face SVG. Adjust the size to fit your fishbowl. (I adjusted the size to 3.98 widths by 3.74 height) Place the black adhesive vinyl on a cutting mat, and follow the prompts to cut the vinyl. Remove from the mat, and using weeding tools, remove all excess vinyl. Set aside.
3. Next open the Witch Hat SVG in Design Space, and again adjust the sizes to fit your fishbowl. (I adjusted the size of the brim to 6 for the width and 6 for the height) Ensure the setting is for custom, and then select Felt. I customized the setting to 325 for pressure, and to cut three times. Place one felt sheet on the cutting mat. I prefer to use masking tape or painter’s tape to help keep the felt in place while cutting, but this is optional. Follow the prompts to cut the felt. Remove the felt from the mat, and use scissors if necessary if any portion didn’t get fully cut. Place the next sheet of felt on the cutting mat, and adjust the size of the cone of the hat. (I adjusted the size of the cone to 7.42 width by 4.37 height) Follow the prompts again to cut, and remove from the mat.
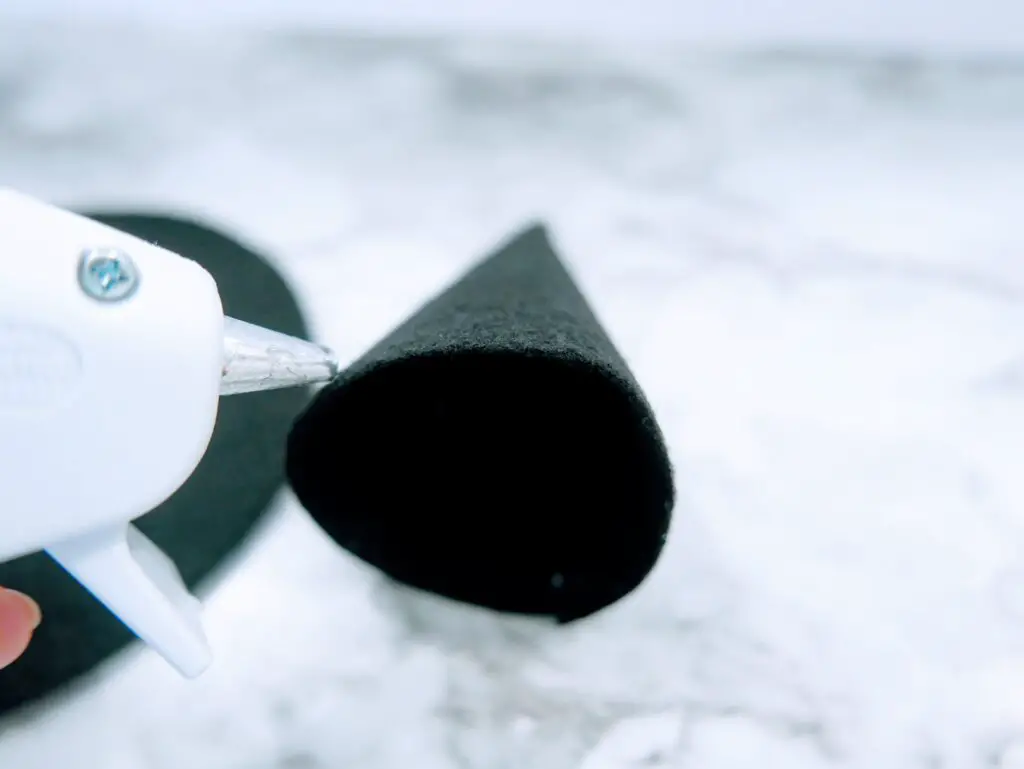
4. Using the hot glue gun, glue the seams of the cone of the hat together. Roll up the leftover scrap felt, and place it inside of the cone. Hot glue the cone onto the brim of the hat.
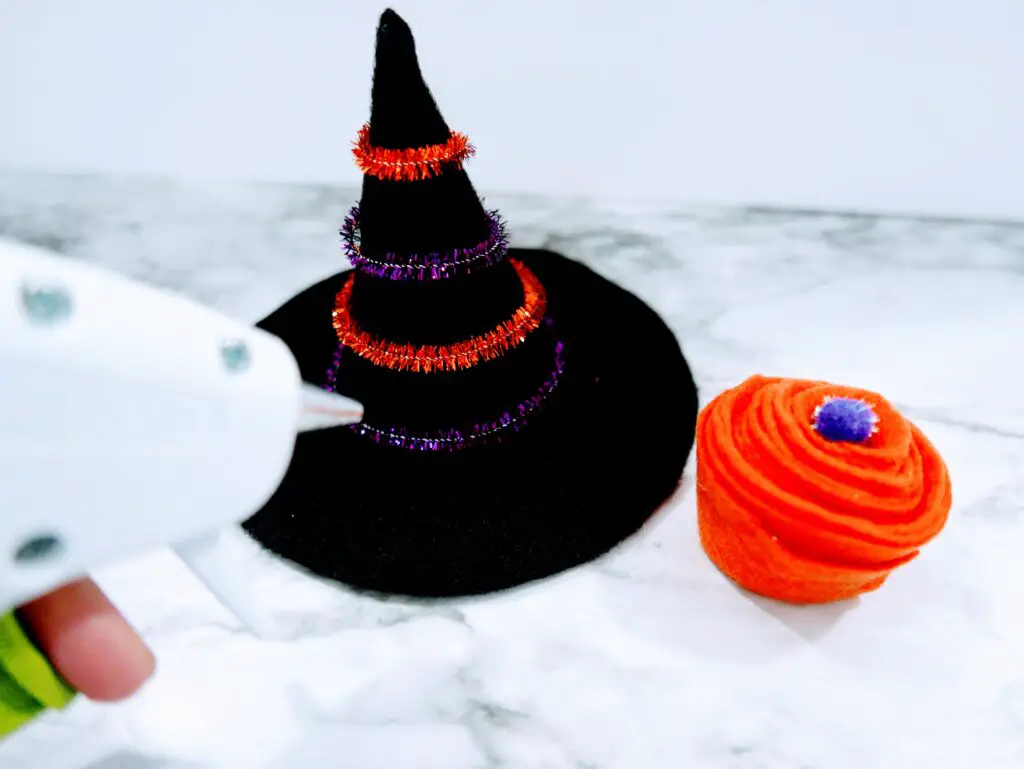
5. Starting with the purple pipe cleaner, place it around the base of the cone, and cut it to fit. Twist the ends to seal them together. Repeat this process by alternating between purple and orange pipe cleaners. The pipe cleaner circles will get smaller as they move up the cone of the hat.
6. Hot glue the felt flowers between the cone and brim of the hat.
7. Cover the vinyl with transfer tape. Apply the vinyl face to the fishbowl.
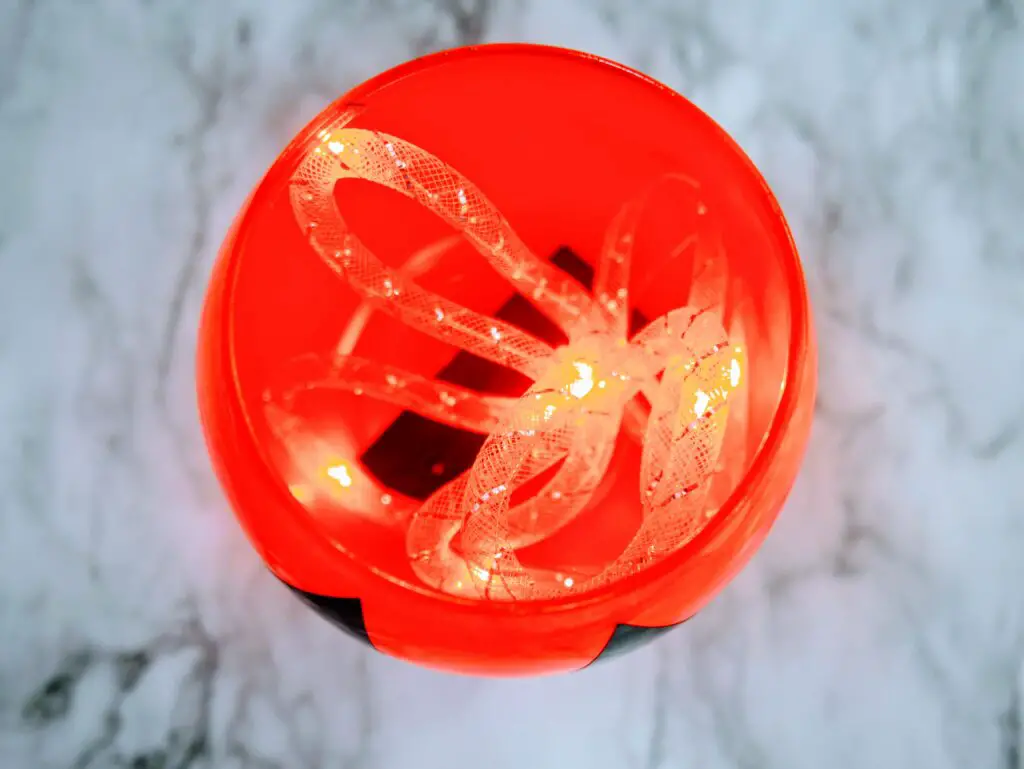
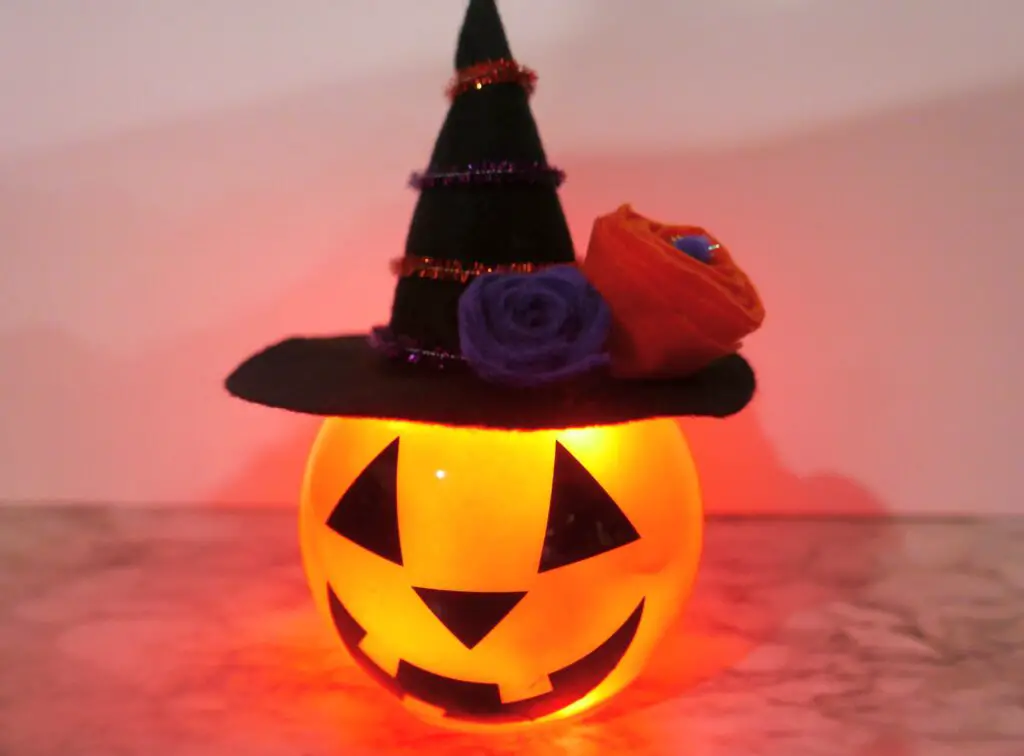
8. Place the mesh lights inside of the fishbowl, and place the hat on top.
More Halloween Fun
Easy Cricut Fish Bowl Pumpkin Craft with Free SVG Files
This is such a simple Halloween craft for the kids!
Materials
- Small Glass Fish Bowl
- Rust-Oleum Gloss Real Orange Spray Paint
- Black Craft Felt, 2 Sheets
- Hot Glue Gun & Glue Sticks
- Scissors
- Felt Flowers (Orange and purple, or any colors of your choosing)
- Black Adhesive Vinyl
- Transfer Tape
- Weeding Tools
- Orange & Purple Sparkly Pipe Cleaners
- Cricut Explore Air 2 (or similar cutting device)
- LED Mesh Lights, 3 ft. (or battery-operated twinkle/fairy lights)
- Witch Hat and Jack O’Lantern Face SVG Files
- Optional: Painter’s Tape/Masking Tape
- .
Instructions
1. Spray paint the inside of the fish bowl with the orange spray paint, being careful not to get any on the outside. (If you do, it can easily be wiped clean with an alcohol pad)
2. While the spray paint is drying, open the Jack O’ Lantern Face SVG. Adjust the size to fit your fish bowl. (I adjusted the size to 3.98 width by 3.74 height) Place the black adhesive vinyl on a cutting mat, and follow the prompts to cut the vinyl. Remove from the mat, and using weeding tools, remove all excess vinyl. Set aside.
3. Next open the Witch Hat SVG in Design Space, and again adjust the sizes to fit your fish bowl. (I adjusted the size of the brim to 6 for the width and 6 for the height) Ensure the setting is for custom, and then select Felt. I customized the setting to 325 for pressure, and to cut three times. Place one felt sheet on the cutting mat. I prefer to use masking tape or painter’s tape to help keep the felt in place while cutting, but this is optional. Follow the prompts to cut the felt. Remove the felt from the mat, and use scissors if necessary if any portion didn’t get fully cut. Place the next sheet of felt on the cutting mat, and adjust the size for the cone of the hat. (I adjusted the size of the cone to 7.42 width by 4.37 height) Follow the prompts again to cut, and remove from the mat.
4. Using the hot glue gun, glue the seams of the cone of the hat together. Roll up the leftover scrap felt, and place inside of the cone. Hot glue the cone onto the brim of the hat.
5. Starting with the purple pipe cleaner, place around the base of the cone, and cut to fit. Twist the ends to seal them together. Repeat this process alternating between purple and orange pipe cleaners. The pipe cleaner circles will get smaller as they move up the cone of the hat.
6. Hot glue the felt flowers between the cone and brim of the hat.
7. Cover the vinyl with transfer tape. Apply the vinyl face to the fishbowl.
8. Place the mesh lights inside of the fishbowl, and place the hat on top
Recommended Products
As an Amazon Associate and member of other affiliate programs, I earn from qualifying purchases.
-
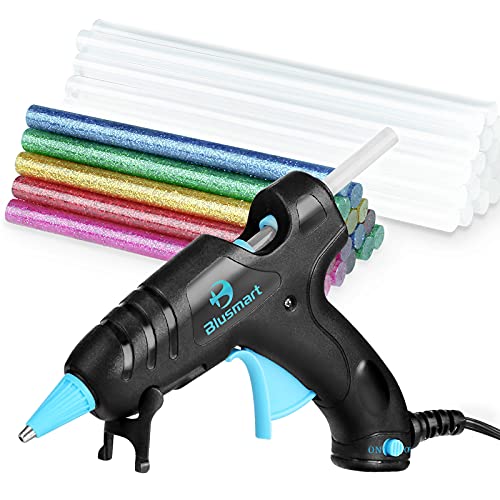 Upgraded Blusmart Hot Glue Gun, 20W High Temperature, 20pcs Glue Sticks and 10 Colors Sticks , Ideal for Quick Repairs, DIY Projects & Arts(New Style)
 -
 Cricut StrongGrip Adhesive Cutting Mat 12"x12" - For Cricut Explore Air 2/Cricut Maker - 3 Pack
 -
 Cricut Essential Tool Set, Assorted
 -
 Cricut Explore Air 2 Mint