
Star Wars Themed No-Bake Yoda OREOS Recipe
Check out these adorable Yoda Oreos! Not often do you get the chance to create such an adorable dish and then eat it as well. If you’re a Star Wars fan, you’re really not going to want to miss out on this fun cookie recipe.
And as we all know, you literally can’t stop at one. The best part about eating Oreos is that you can easily grab them as you walk by. If you’re asking me, these Baby Yoda treats are the perfect snack to fuel you through the day!
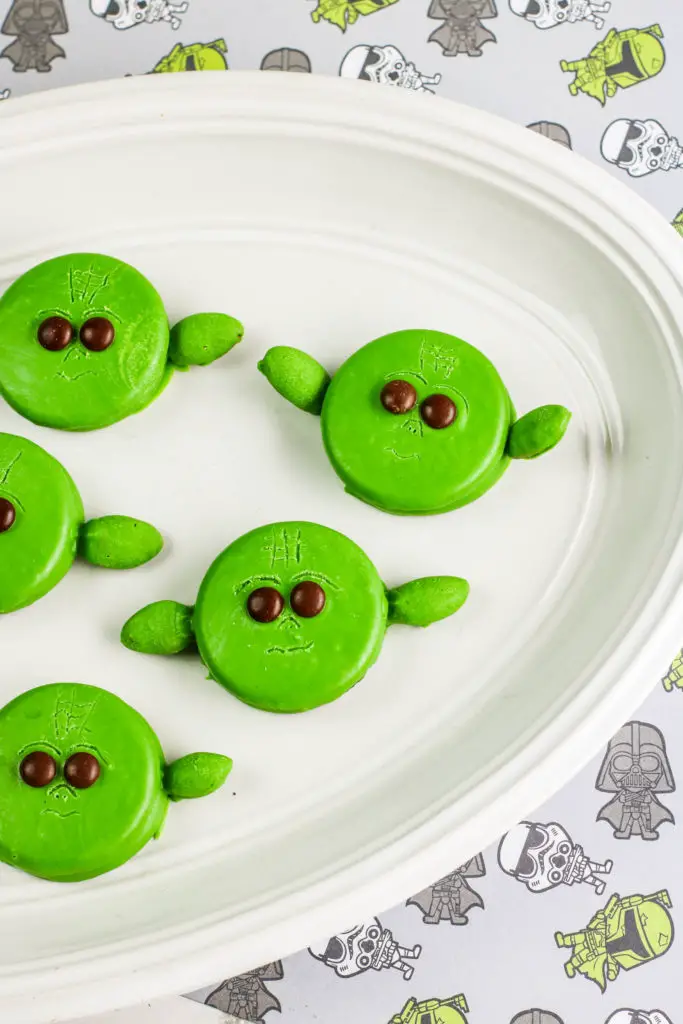
That green round head and those big brown eyes might be adorable…but they’re not too cute to eat! You’ll get just as much satisfaction out of making them as you do taking a bit ol’ bite as well.
While I’ve made these in our house “just because”, they’re really great for a fun Star Wars movie night or even at Star Wars-themed birthday party, too. It’s also a super simple recipe that the kids are going to hop in and love helping with as well.
Since decorating Oreos is quite a breeze, it just makes sense to turn those circle cookies into the cutest little Yoda heads, ever. And while you might hesitate for just one second before taking a bite, you’re going to love the flavor and taste as you’re chewing.
You can welcome all the kitchen helpers that come and join in on the fun as they’re going to love being able to help. This is one fun cookie recipe that they can easily join in on as well.
Yoda Oreos
Ingredients you need to make Yoda Oreos
- Oreo Cookies
- Green candy melts
- Brown mini M&Ms
- Whole almonds
You will also need:
- Fondant roller or rolling pin
- Fondant cutter or pizza cutter
- Toothpicks
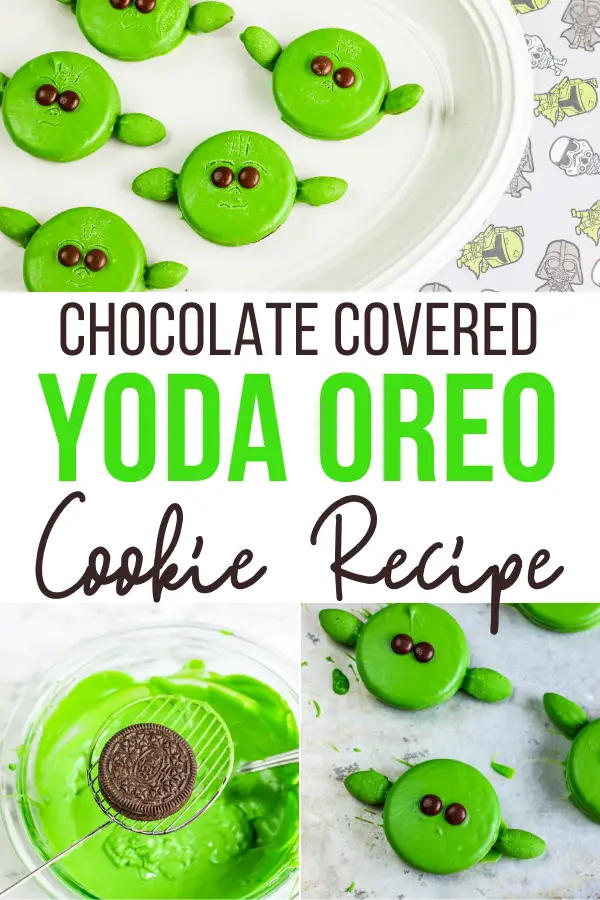
How to make Yoda Oreos
First, line a baking sheet or cutting board with waxed paper.
Next, melt the candy coating according to package directions giving special care not to overheat the candy. If the candy coating is overheated, it will be too thick. You can add 1 teaspoon of coconut oil or vegetable shortening to help thin the candy but do not add any other type of liquid as the candy will seize and harden.
One at a time, use a candy dipper to cover whole almonds in the melted candy and tap to allow the excess to return to the bowl. Transfer the almonds to waxed paper and allow it to dry completely.
Next, dip each cookie into the candy melts to coat completely. Shake to remove excess candy and then place on waxed paper.
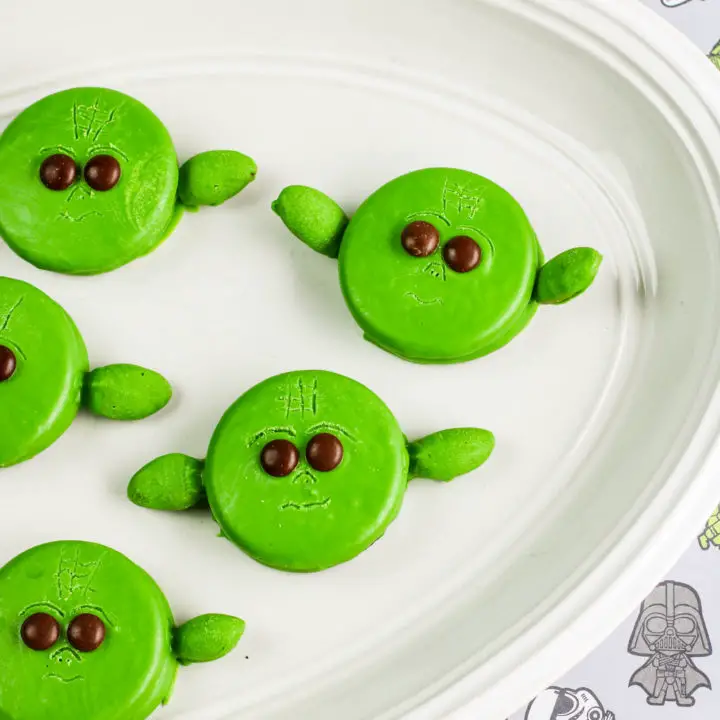
Immediately add the candy eyes and almond (ears).
Allow candy coating to harden completely. Then, using a toothpick, scratch a nose into the candy between the eyes, lines on the forehead, and lines over the eyes.
All to dry completely before packaging or serving.
Store in an airtight container at room temperature. Placing in the refrigerator may cause the cookie to soften.

More Fun Oreo Recipes:
- Oreo Air Fryer Donut Recipe
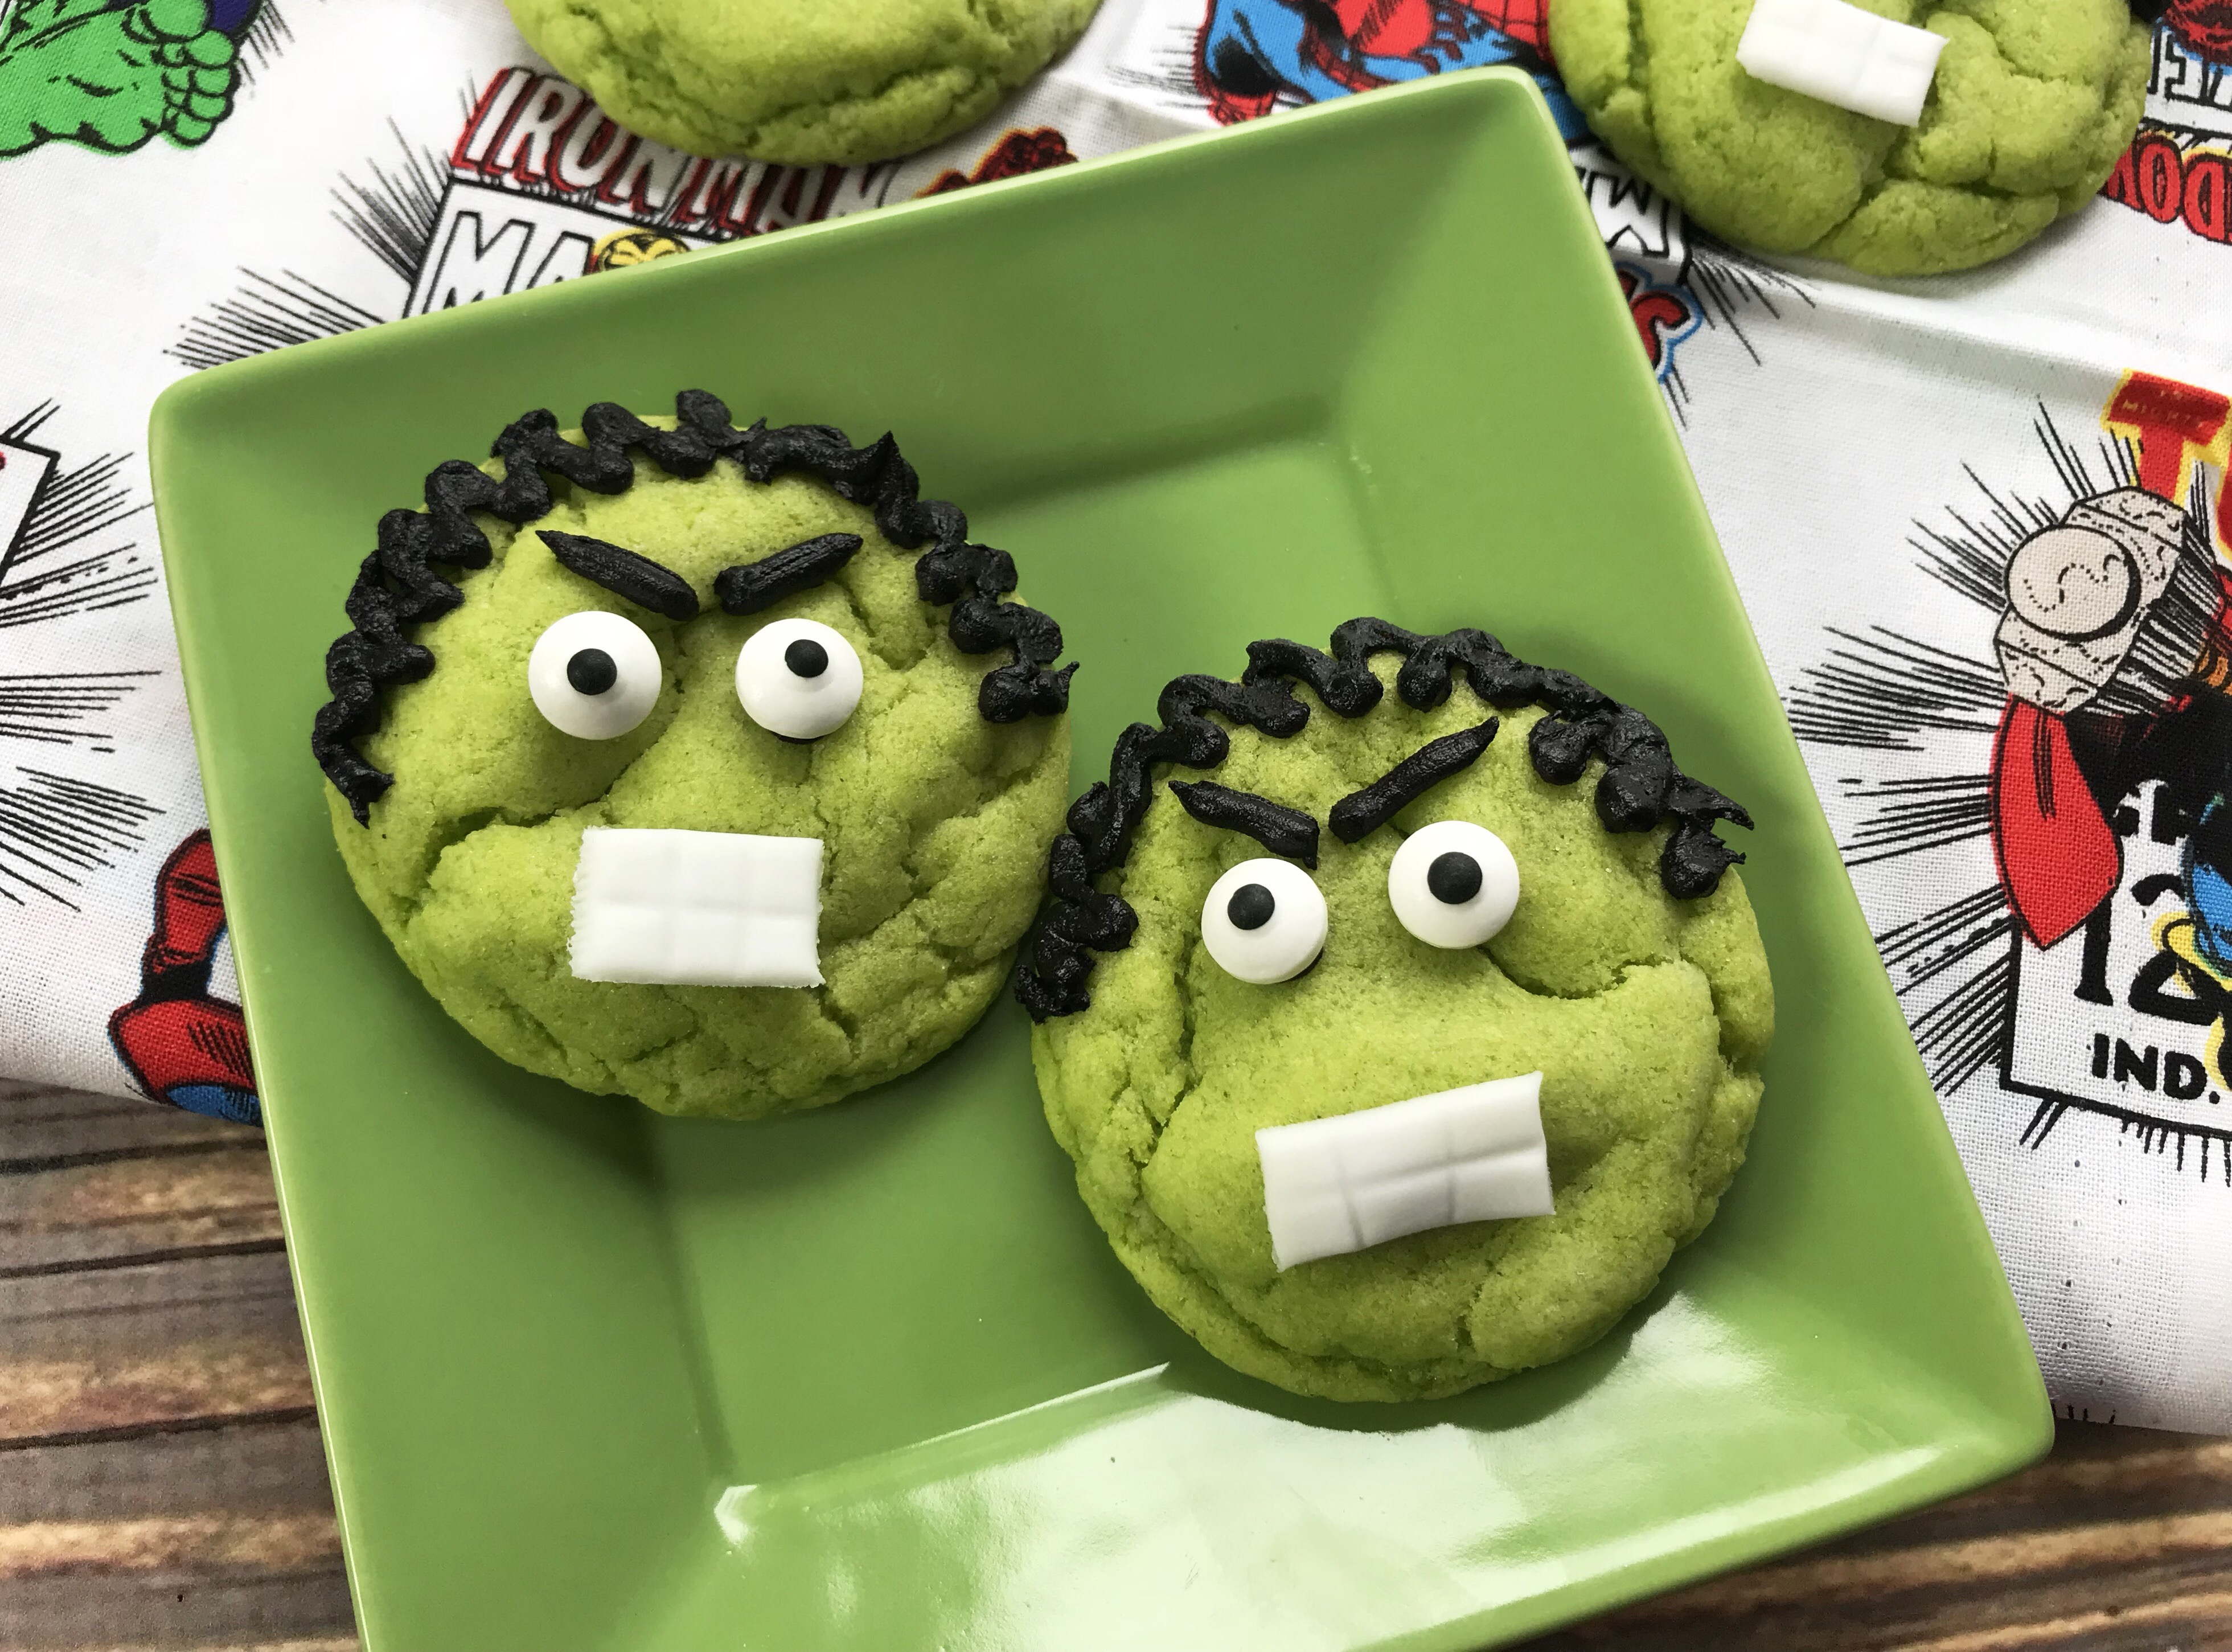
- Incredible Minion Cookies Oreo Dessert Recipe!
- Mickey and Minnie Decorated OREO Cookie Recipe
Yoda Oreos
Check out these simple Yoda Oreos!
Ingredients
- Oreo Cookies
- Green candy melts
- Brown mini M&Ms
- Whole almonds
- You will also need:
- Fondant roller or rolling pin
- Fondant cutter or pizza cutter
- Toothpicks
Instructions
Prepare a baking sheet or cutting board with waxed paper.
Melt the candy coating according to package directions giving special care not to overheat the candy. If the candy coating is overheated, it will be too thick. You can add 1 teaspoon of coconut oil or vegetable shortening to help thin the candy but do not add any other type of liquid as the candy will seize and harden.
One at a time, use a candy dipper to cover whole almonds in the melted candy and tap to allow the excess to return to the bowl. Transfer the almonds to waxed paper and allow to dry completely.
Next, dip each cookie into the candy melts to coat completely. Shake to remove excess candy and then place on waxed paper.
Immediately add the candy eyes and almond (ears).
Allow candy coating to harden completely. Then, using a toothpick, scratch a nose into the candy between the eyes, lines on the forehead, and lines over the eyes.
All to dry completely before packaging or serving.
Store in an airtight container at room temperature. Placing in the refrigerator may cause the cookie to soften.


These showed up on my pinterest feed and they are SO cute! I have never used candy melts before – but I might just try these. Oreos are my favorite. 🙂