Easy Mothers Day Crafts – Drink Carrier Flowers
If you love to repurpose items and create something new and beautiful, this Drink Carrier craft is perfect for you! These flowers are a DIY Mothers Day craft that will leave mom speechless!
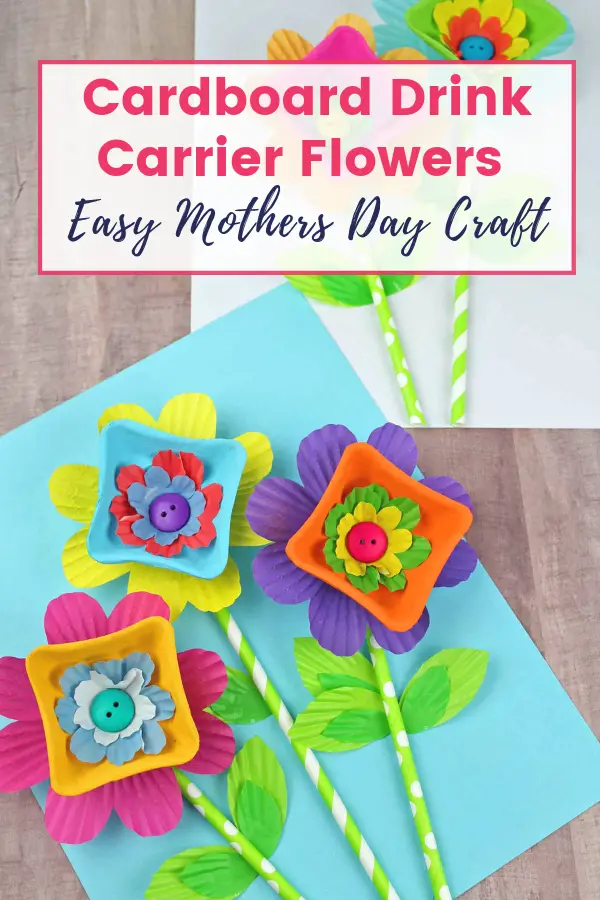
Drink Carrier Flowers Craft for Kids
I have a confession to make. I don’t like clutter, but I also don’t like to just throw things away, either. Quite the predicament, right?
I’ve made it kind of a personal mission to repurpose items in the house instead of just adding them to a landfill. It’s not easy, but it’s doable.
One of the fun crafts that this can be done with is this Drink Carrier Flowers Craft. You know those drink carriers that you get from the drive-thrus that hold all the beverages so they don’t spill? Those little contraptions can actually be used to make this adorable and unique craft!
Keep in mind there are some aspects of this craft that do need adult supervision, so be ready to help as needed! But once this Drink Carrier Craft is finished, the end result is beautiful!
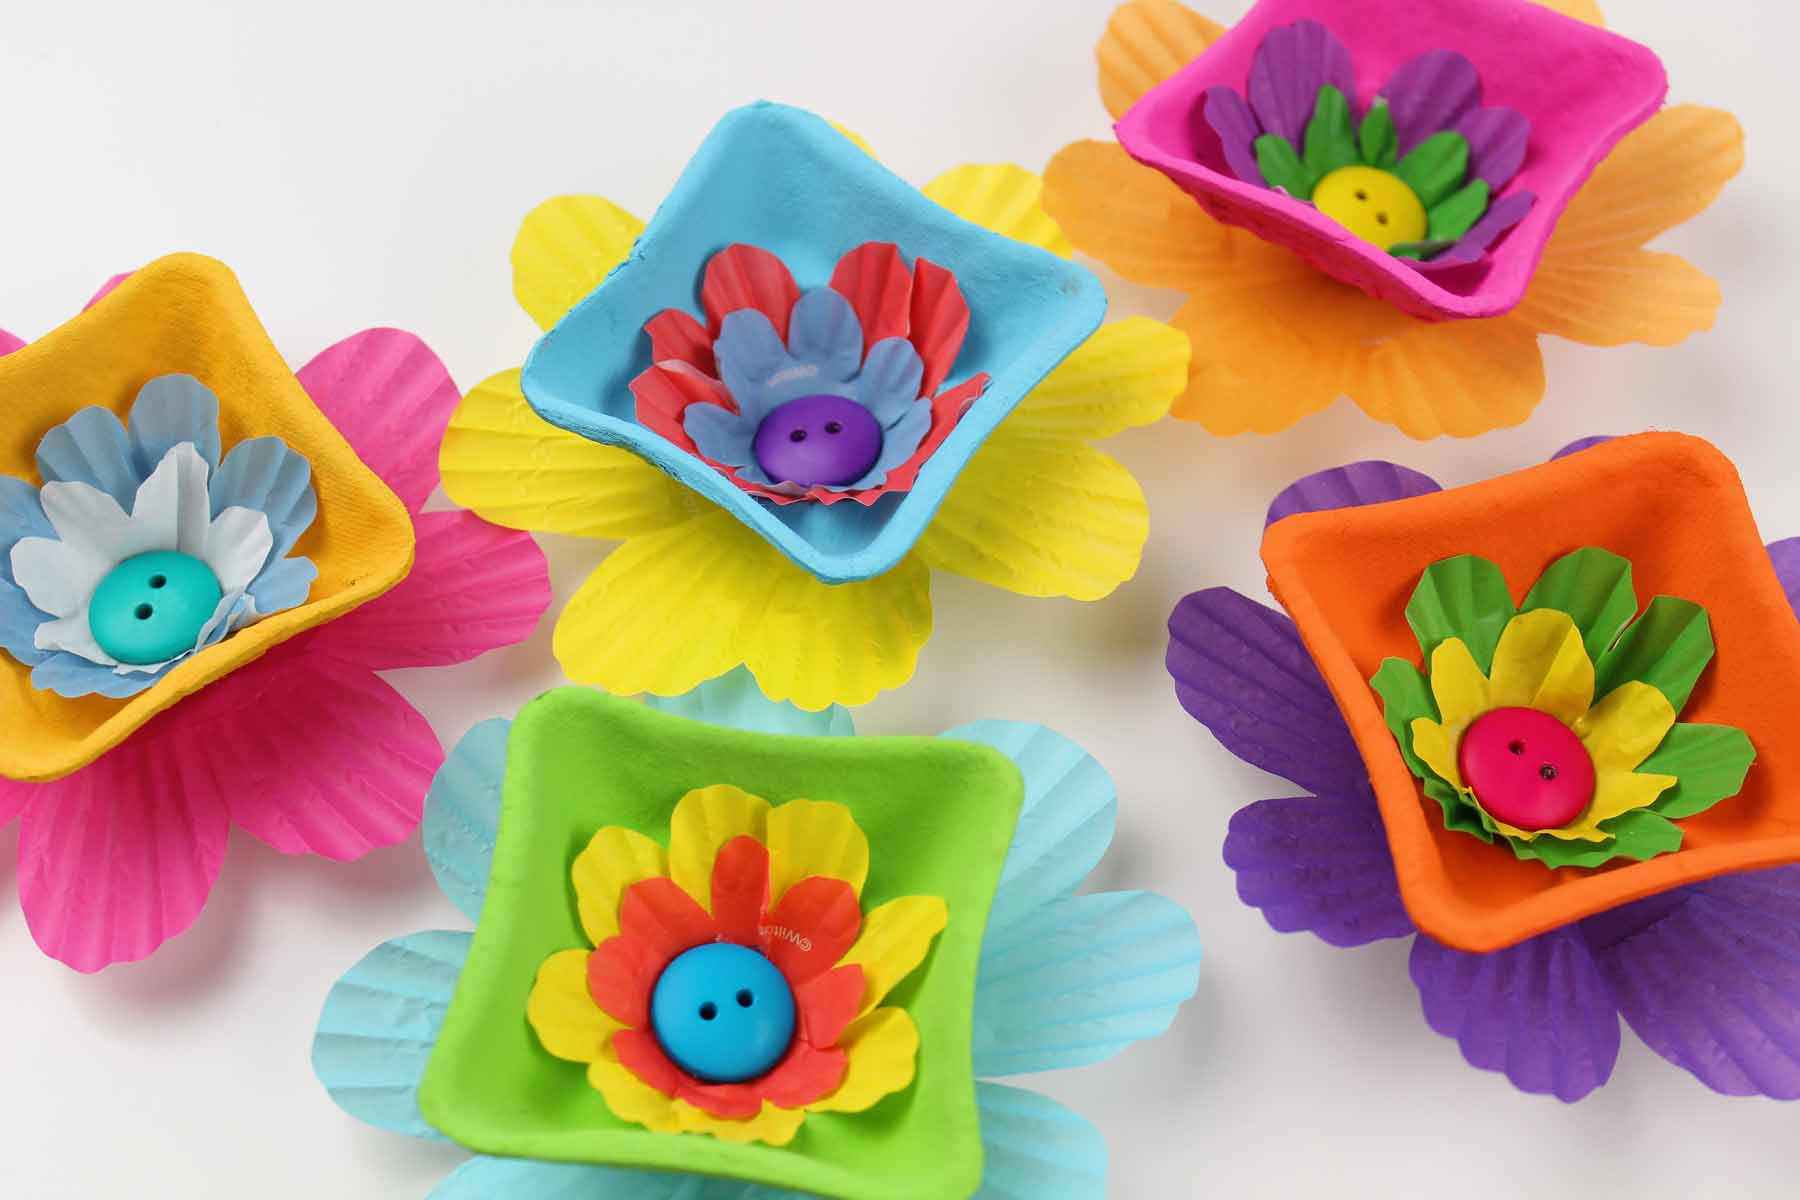
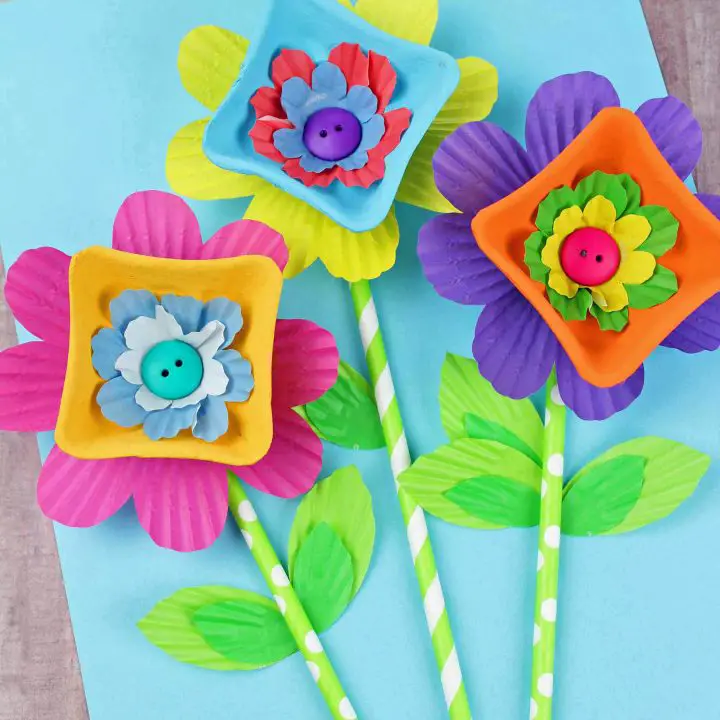
It makes the cutest flowers that are perfect to give as gifts! Think teachers, Mother’s Day gifts or just the “random” thinking about you gift that everyone loves to get!
Add some color to your home as well with this fun and simple craft idea!

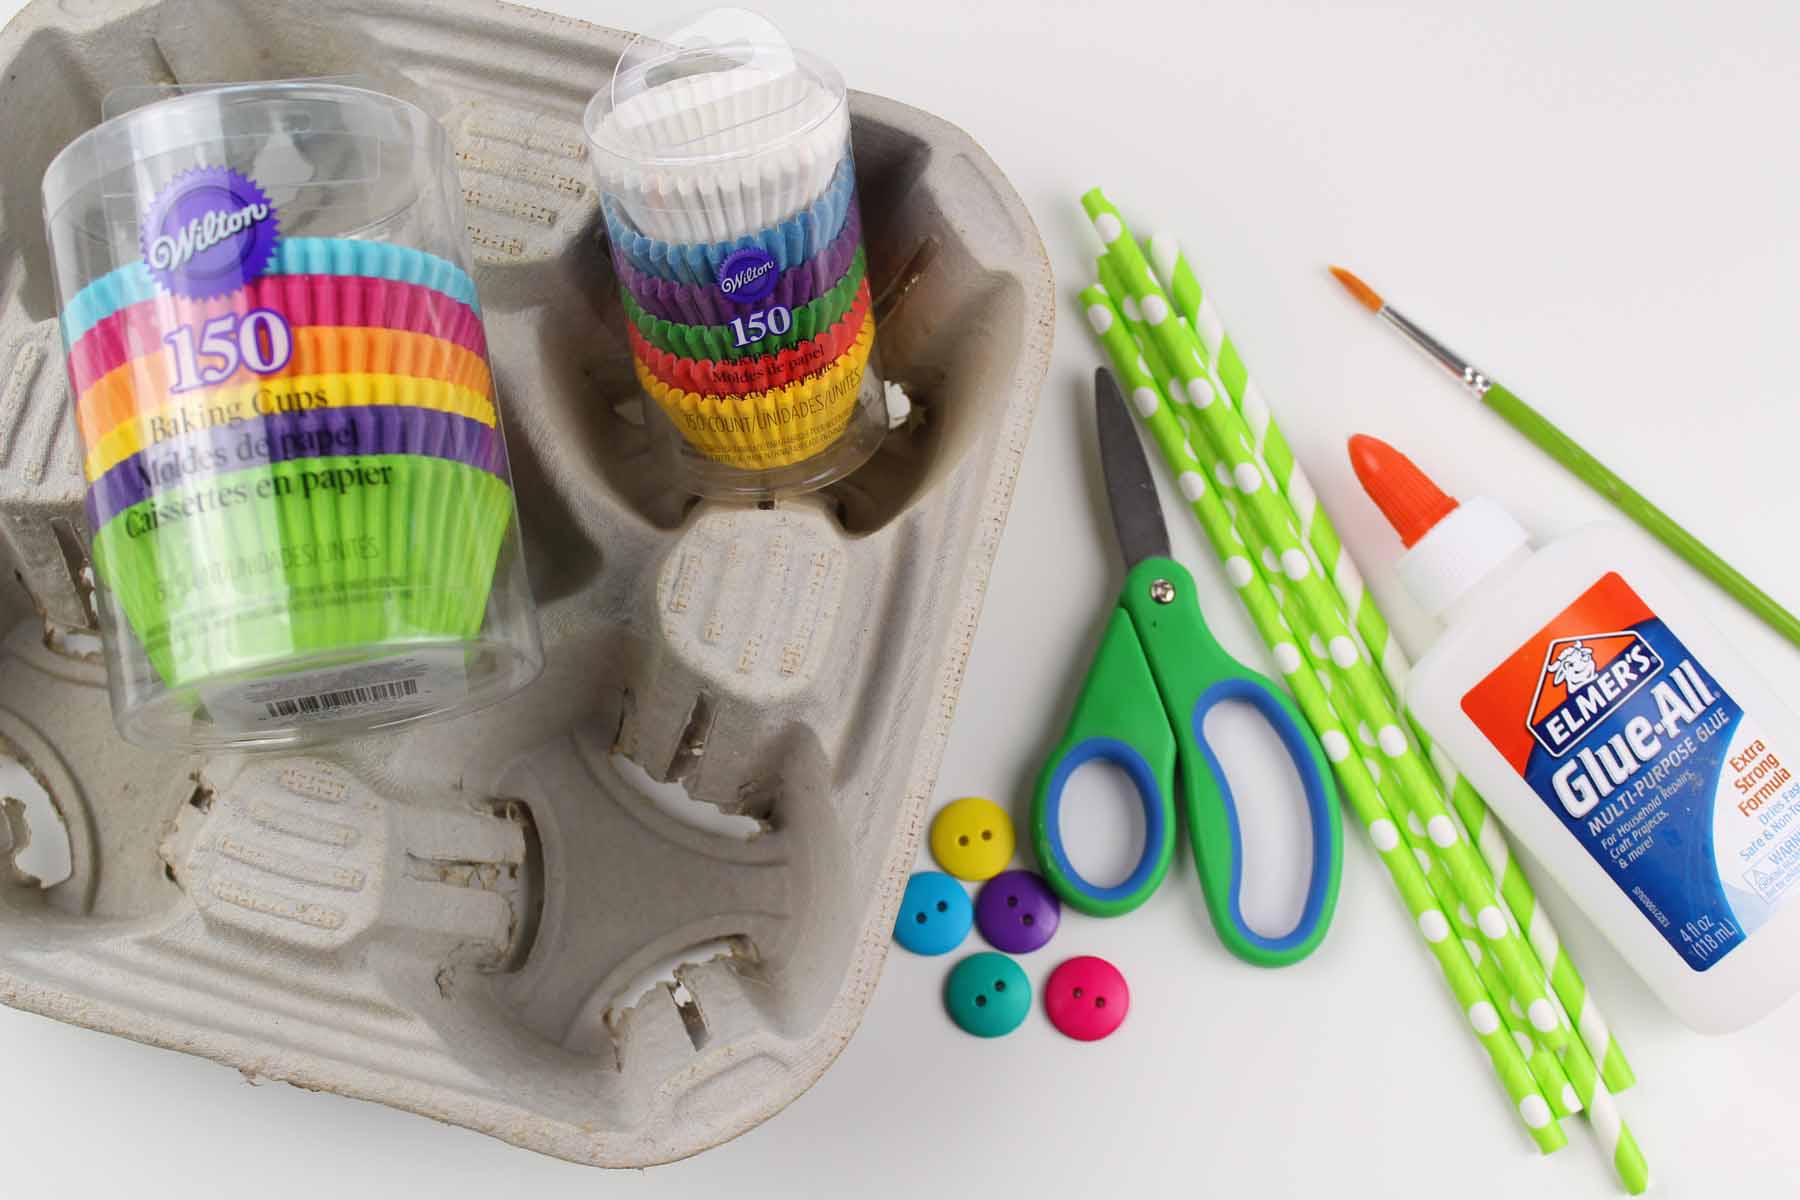
Supplies Needed to Make Drink Carrier Flowers
Fast Food Drink Carrier
Cupcake Liners (regular and mini)
Paper Straws
Buttons
Glue
Scissors
Paint Brush
Paint
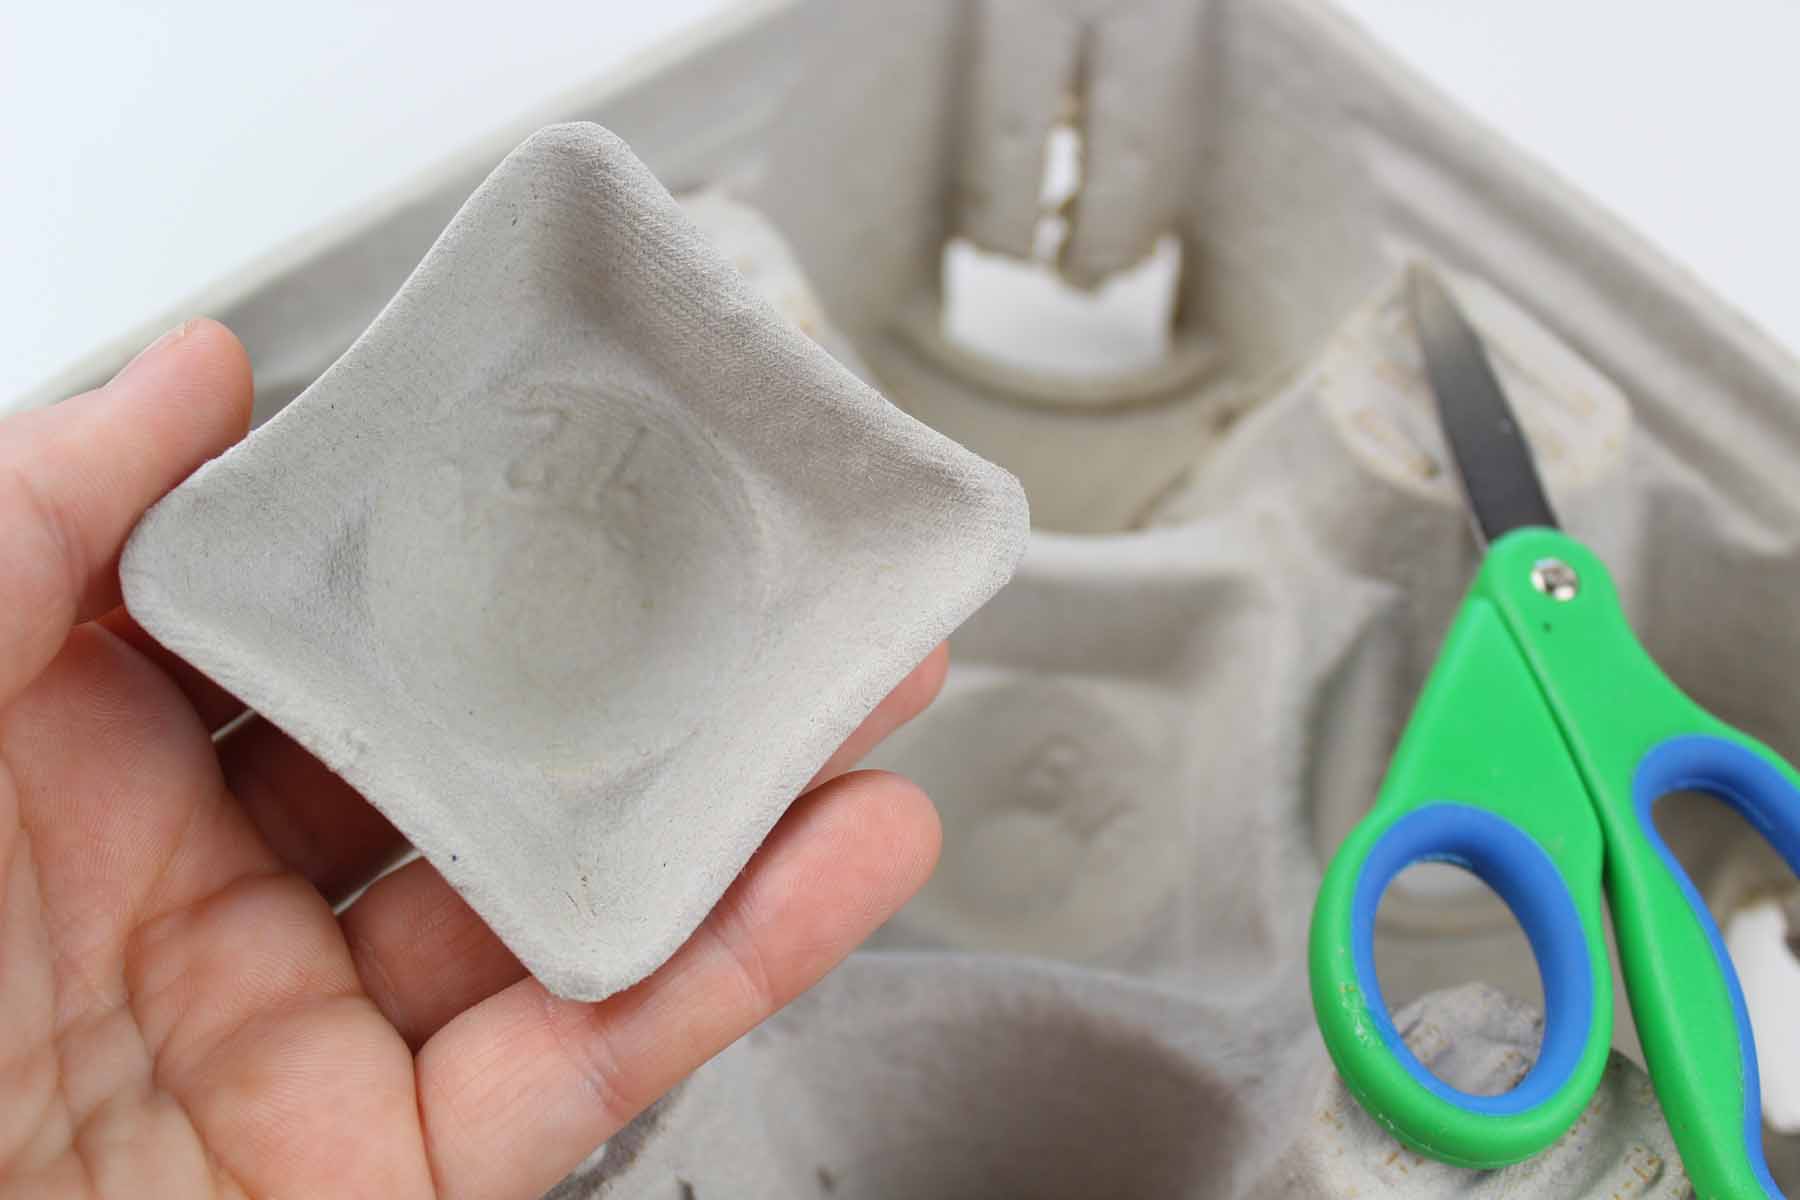
How to Make Cardboard Drink Carrier Flower Craft
Start by cutting the center of the cardboard drink carrier out. This step is a bit tough so an adult will most likely need to assist or complete this step.
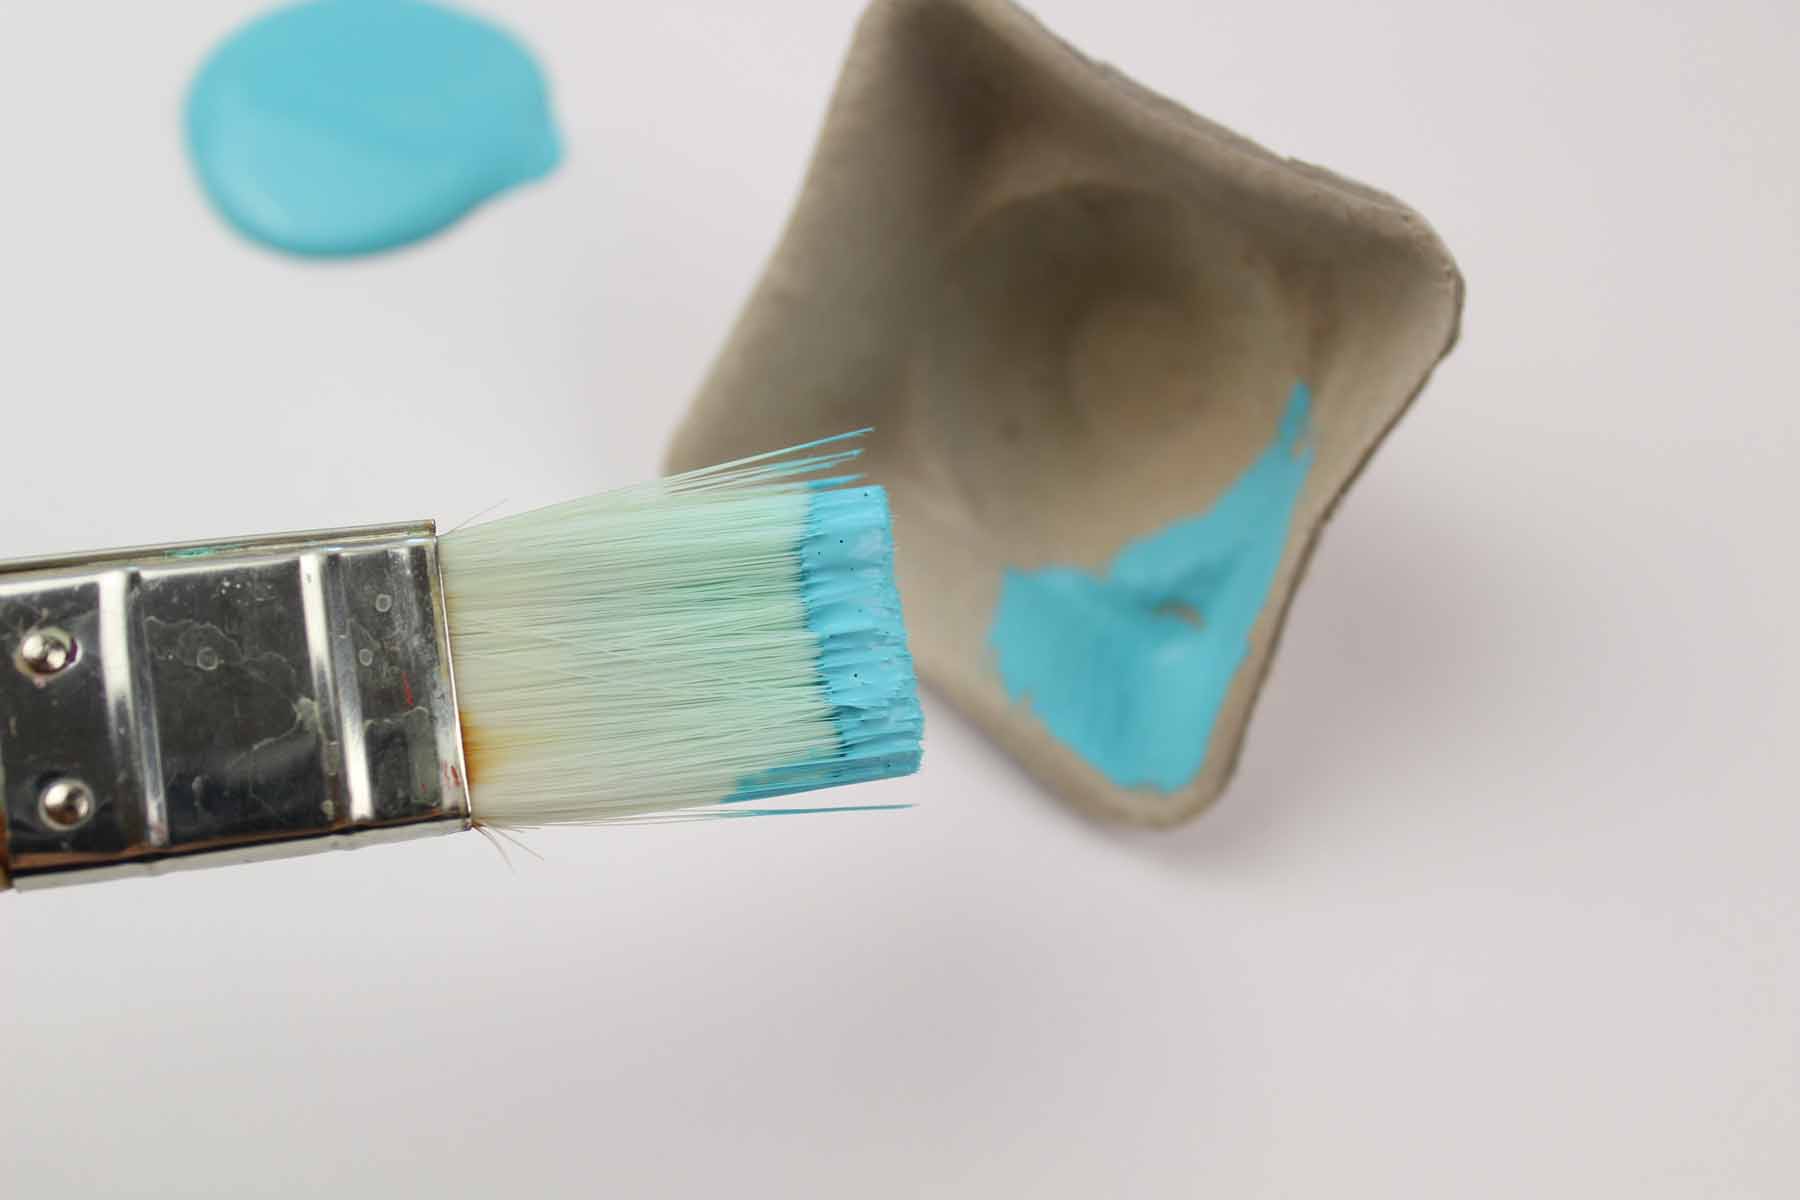
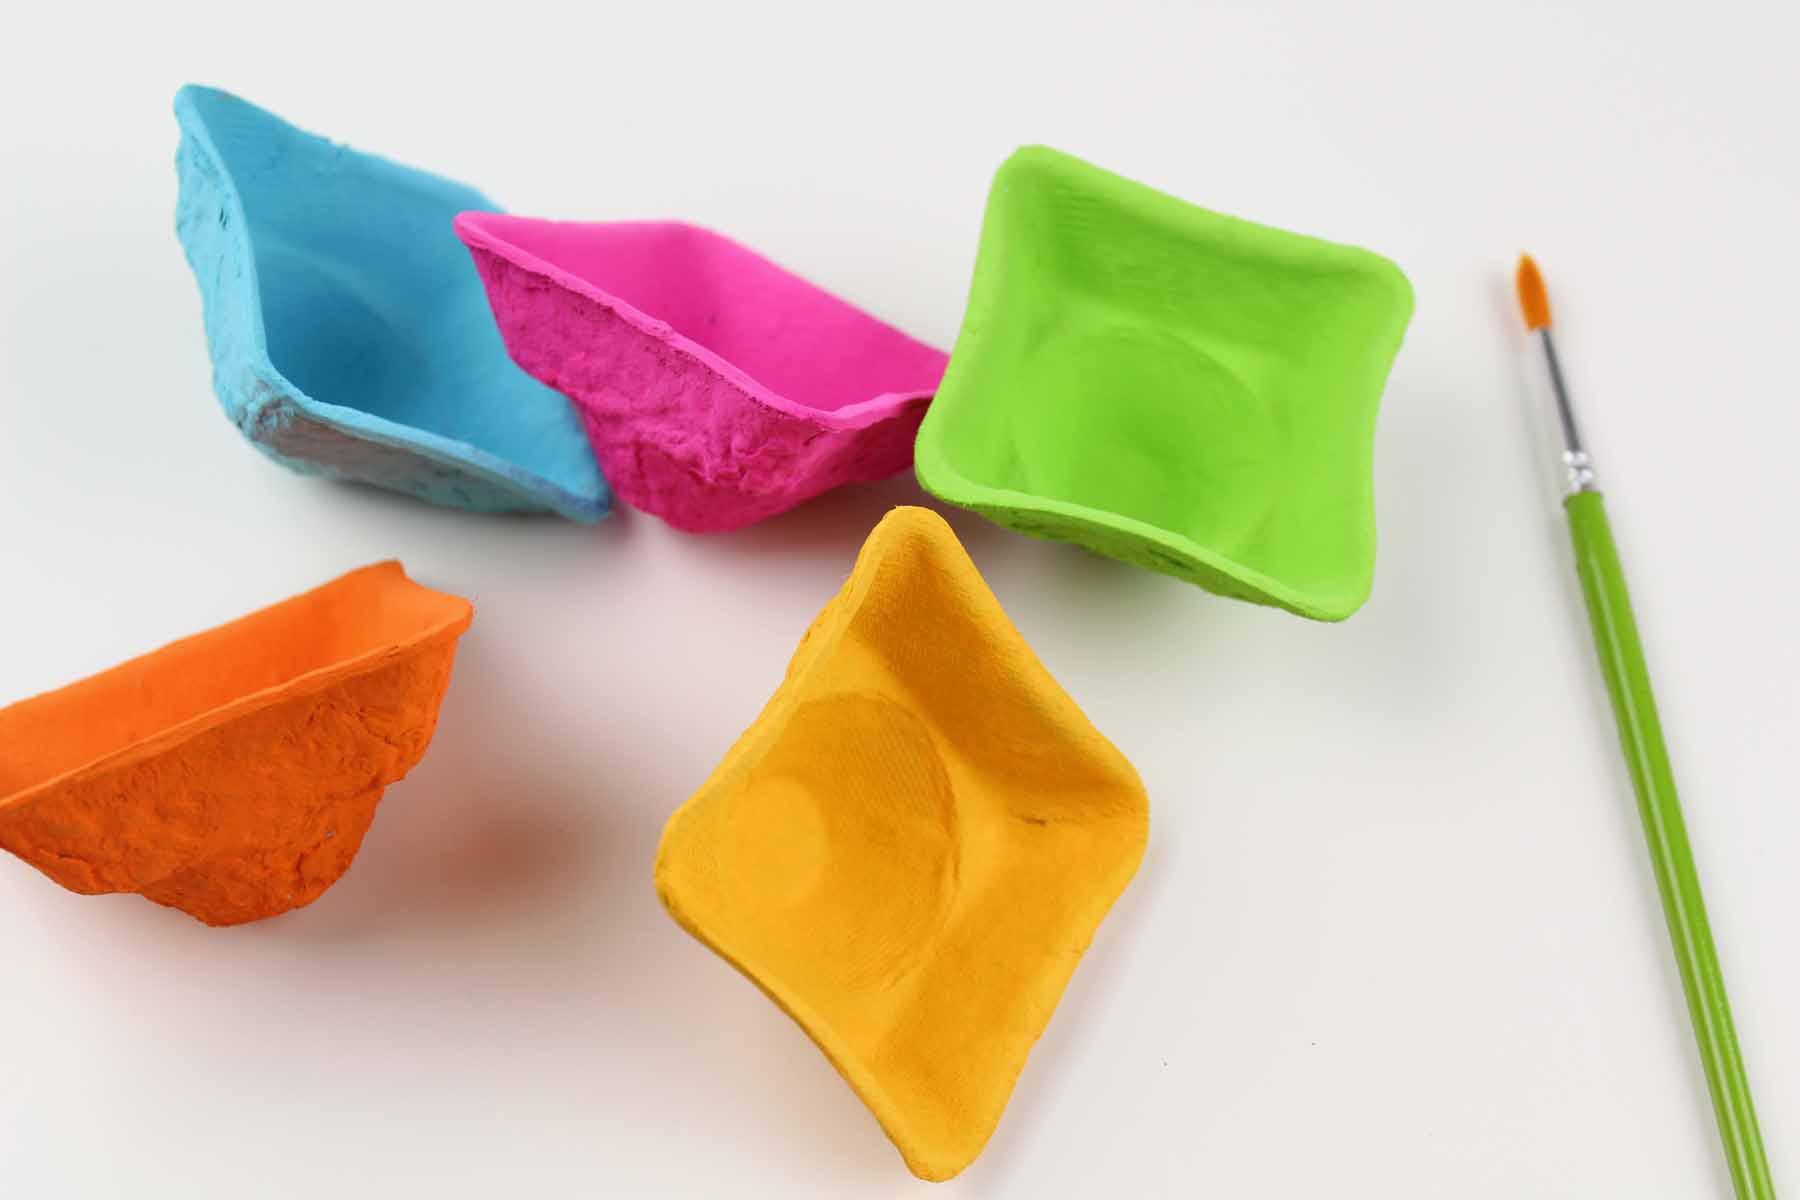
Once all the cardboard centers are cut, paint the drink carrier pieces bright colors and allow them to dry completely.
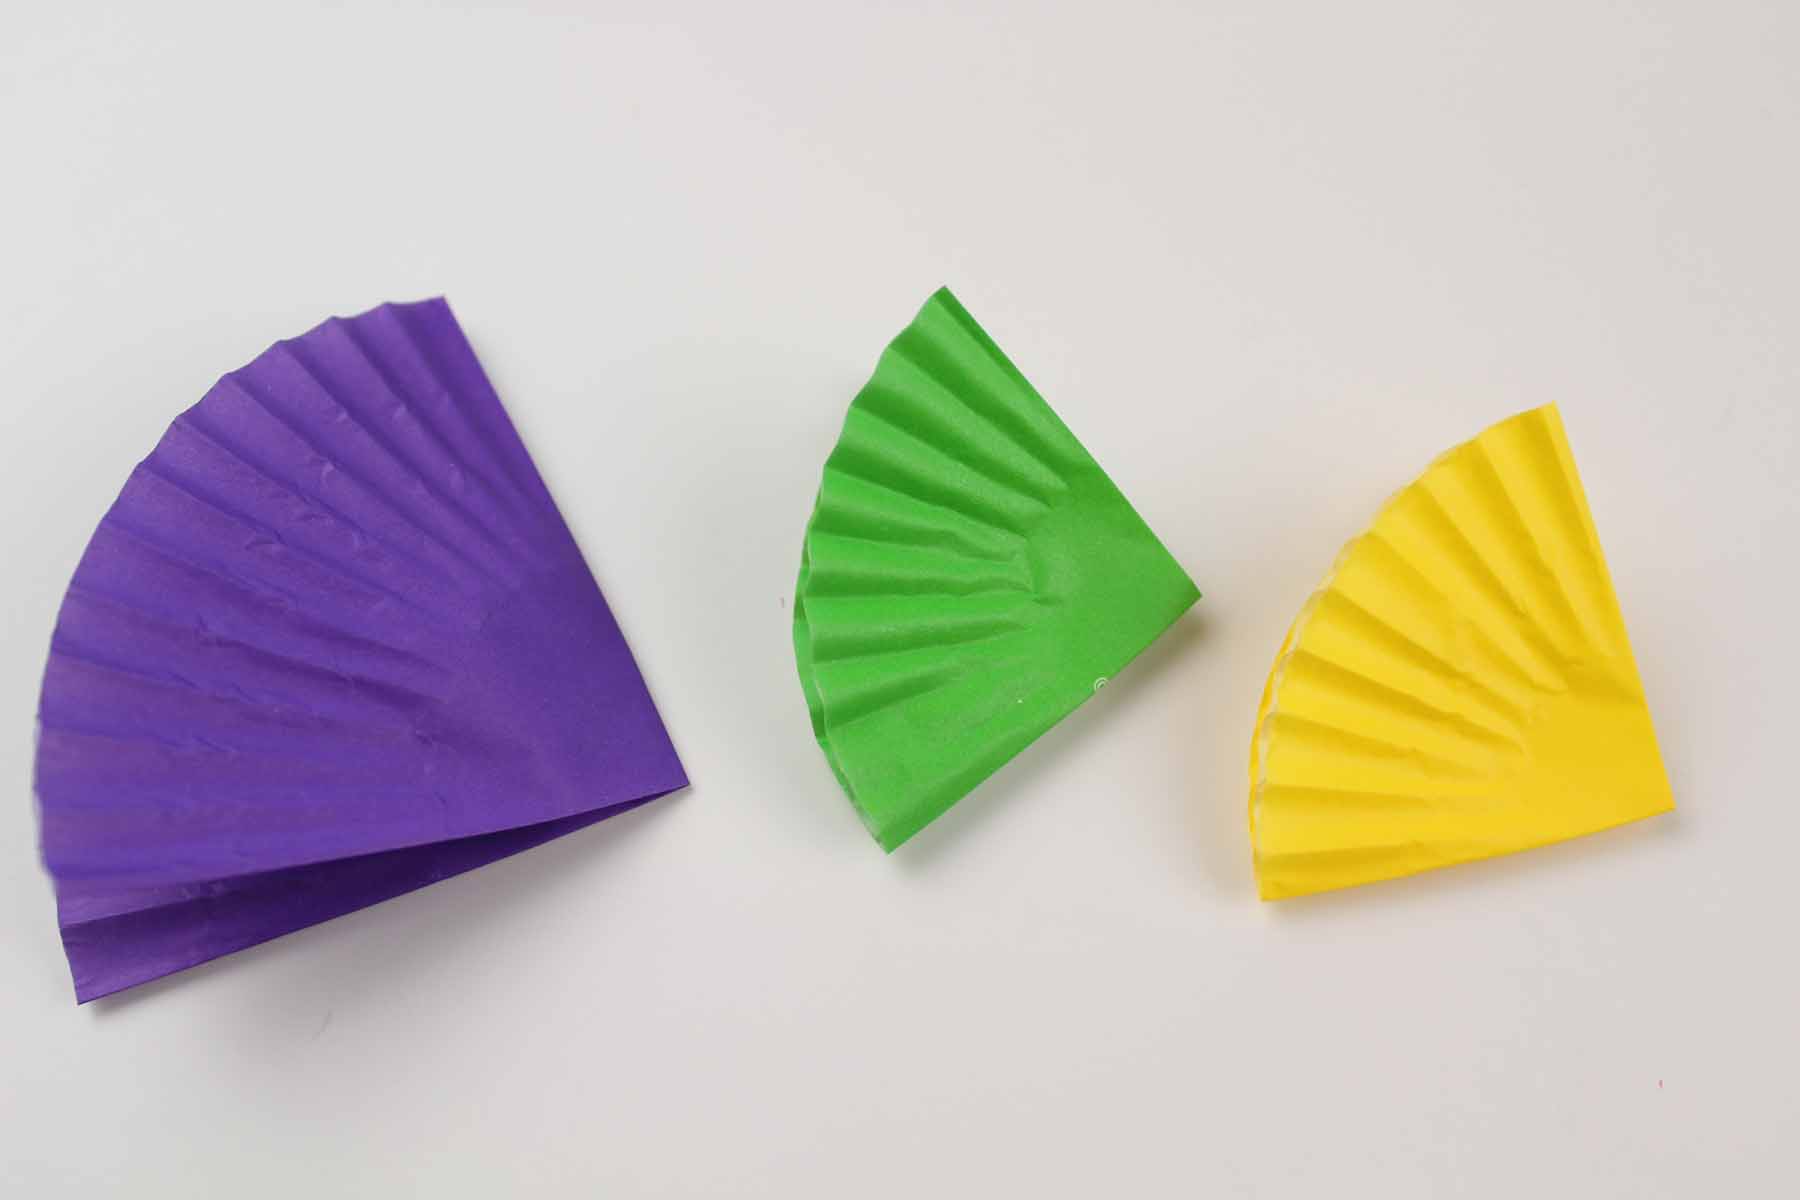
While the cardboard pieces are drying, flatten out the regular and mini-sized cupcake liners and then fold in half.
Then fold the liners a 3rd and 4th time.
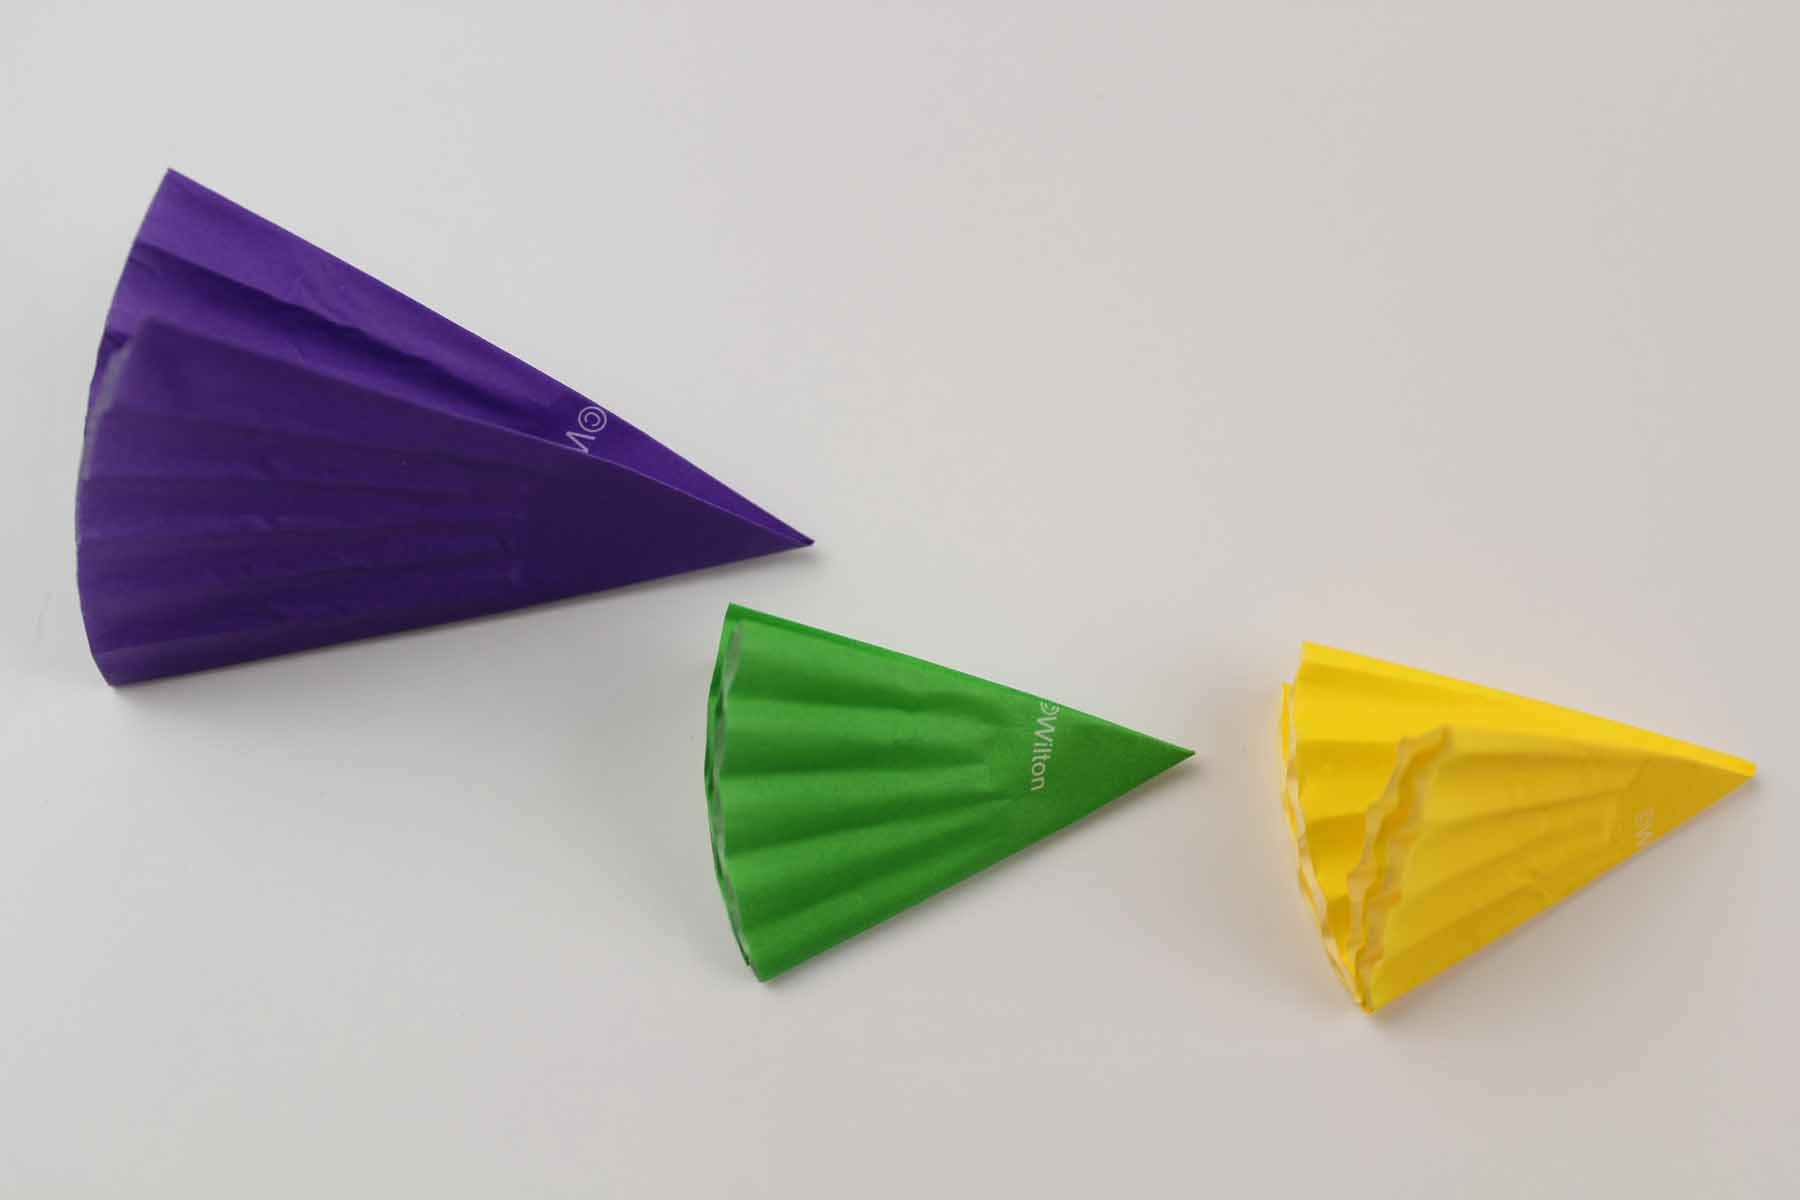
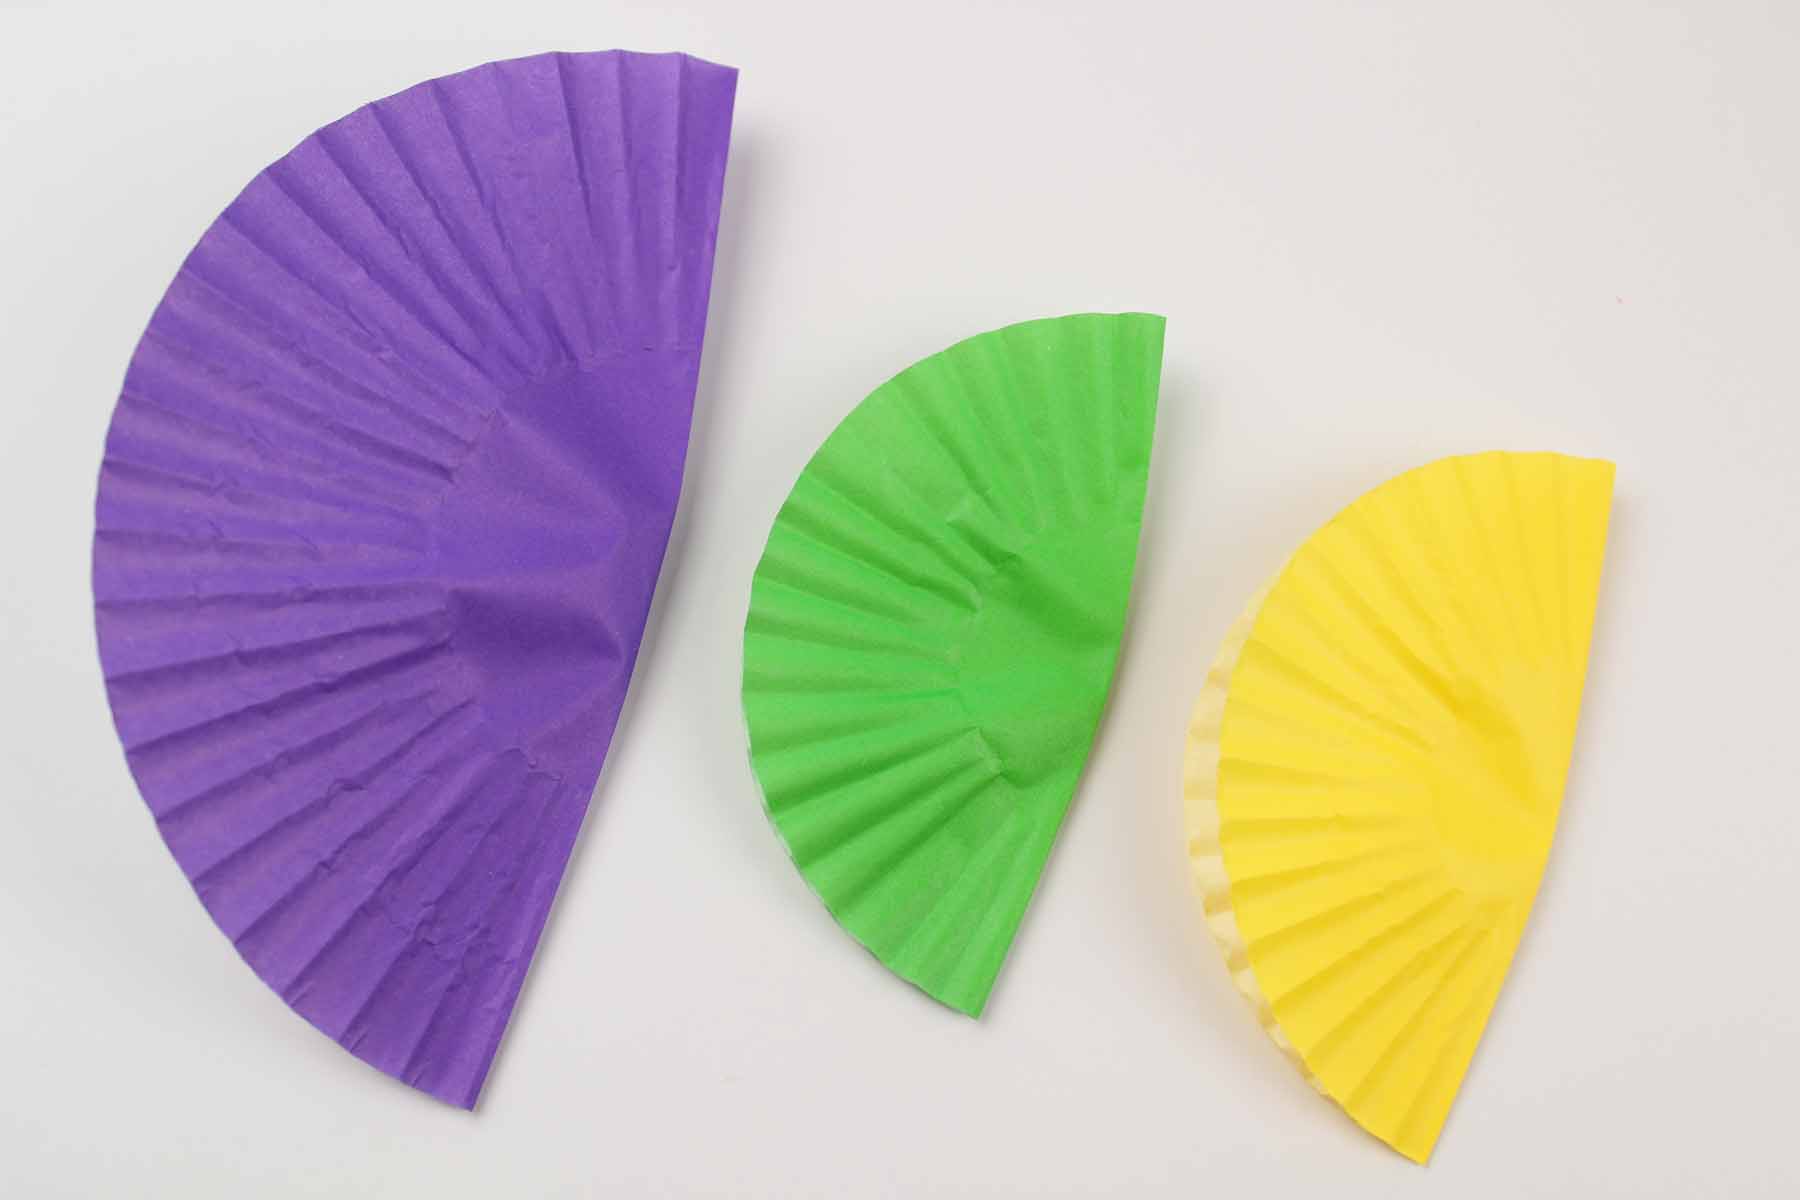
Next, cut each liner a bit smaller than the next. (refer to the photo below)
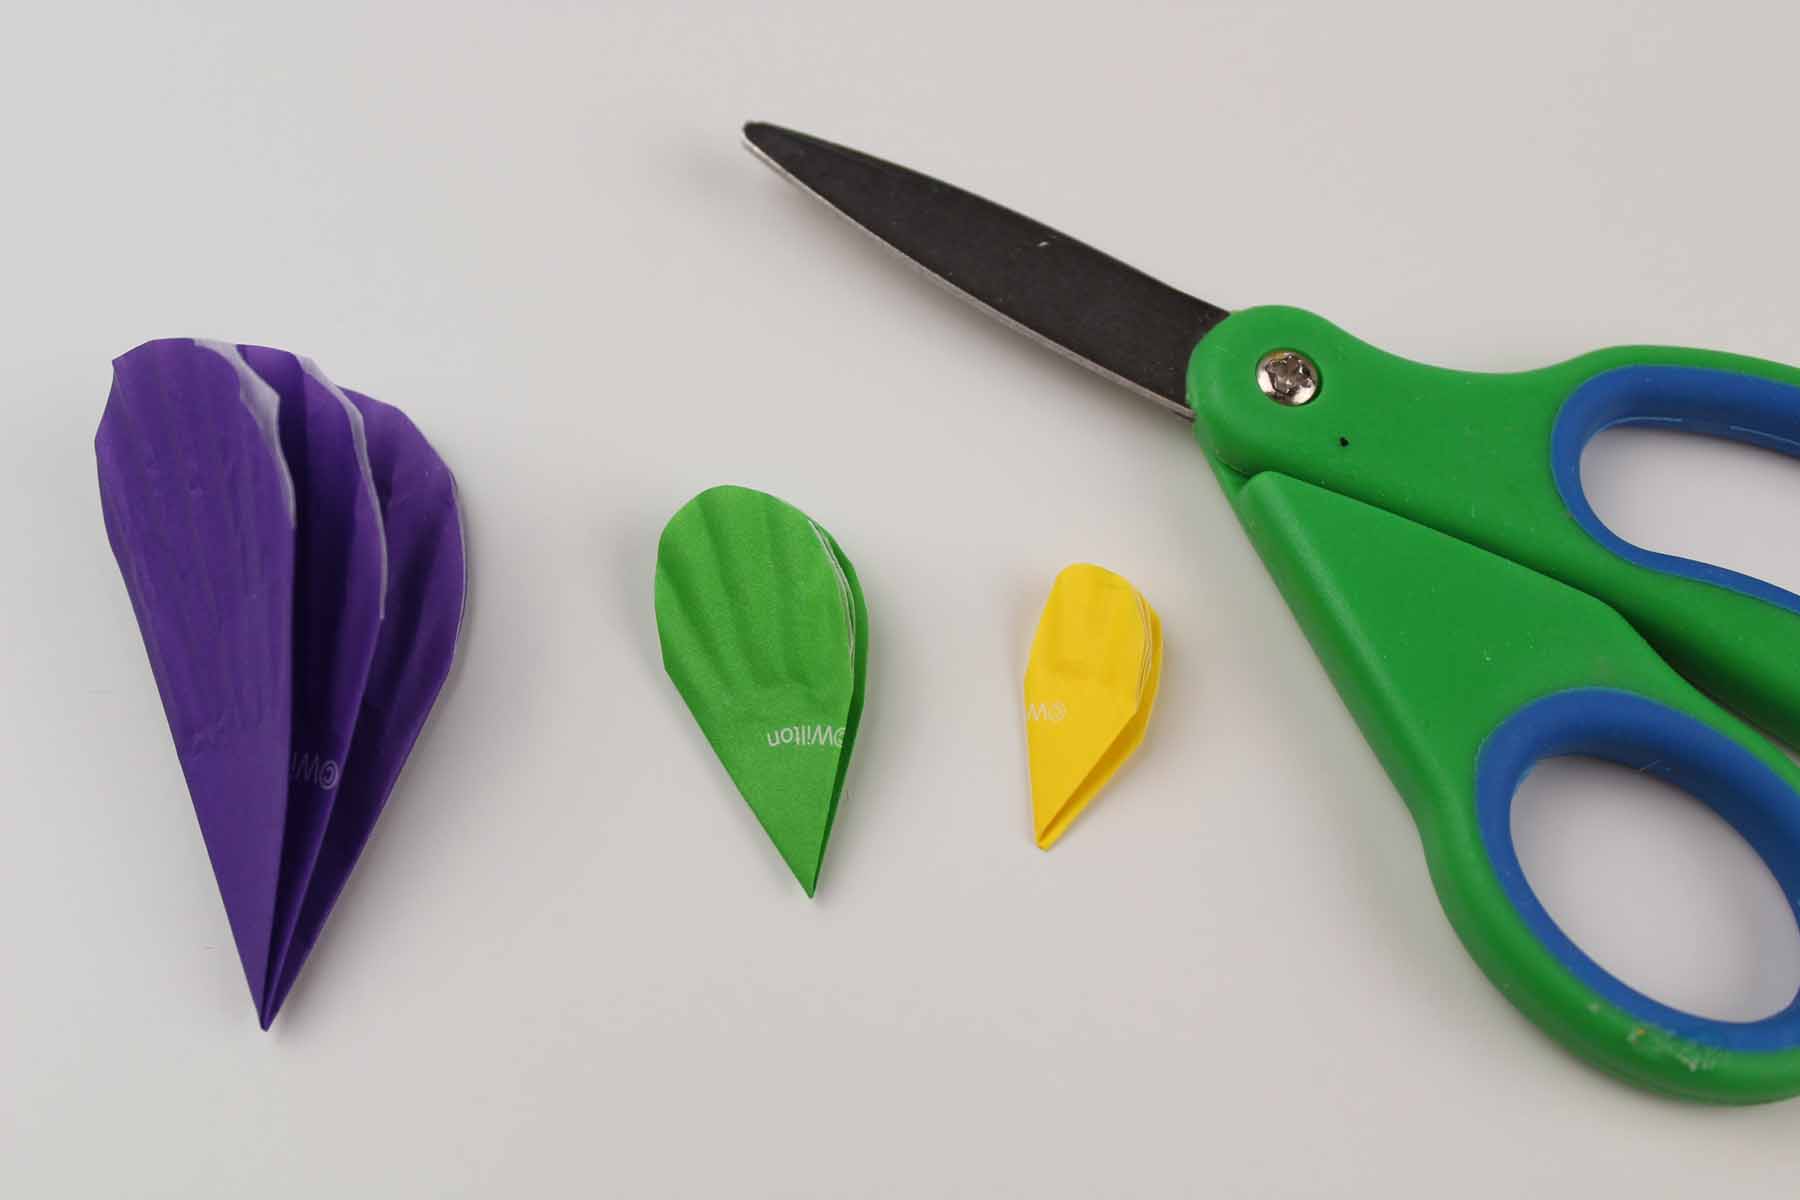
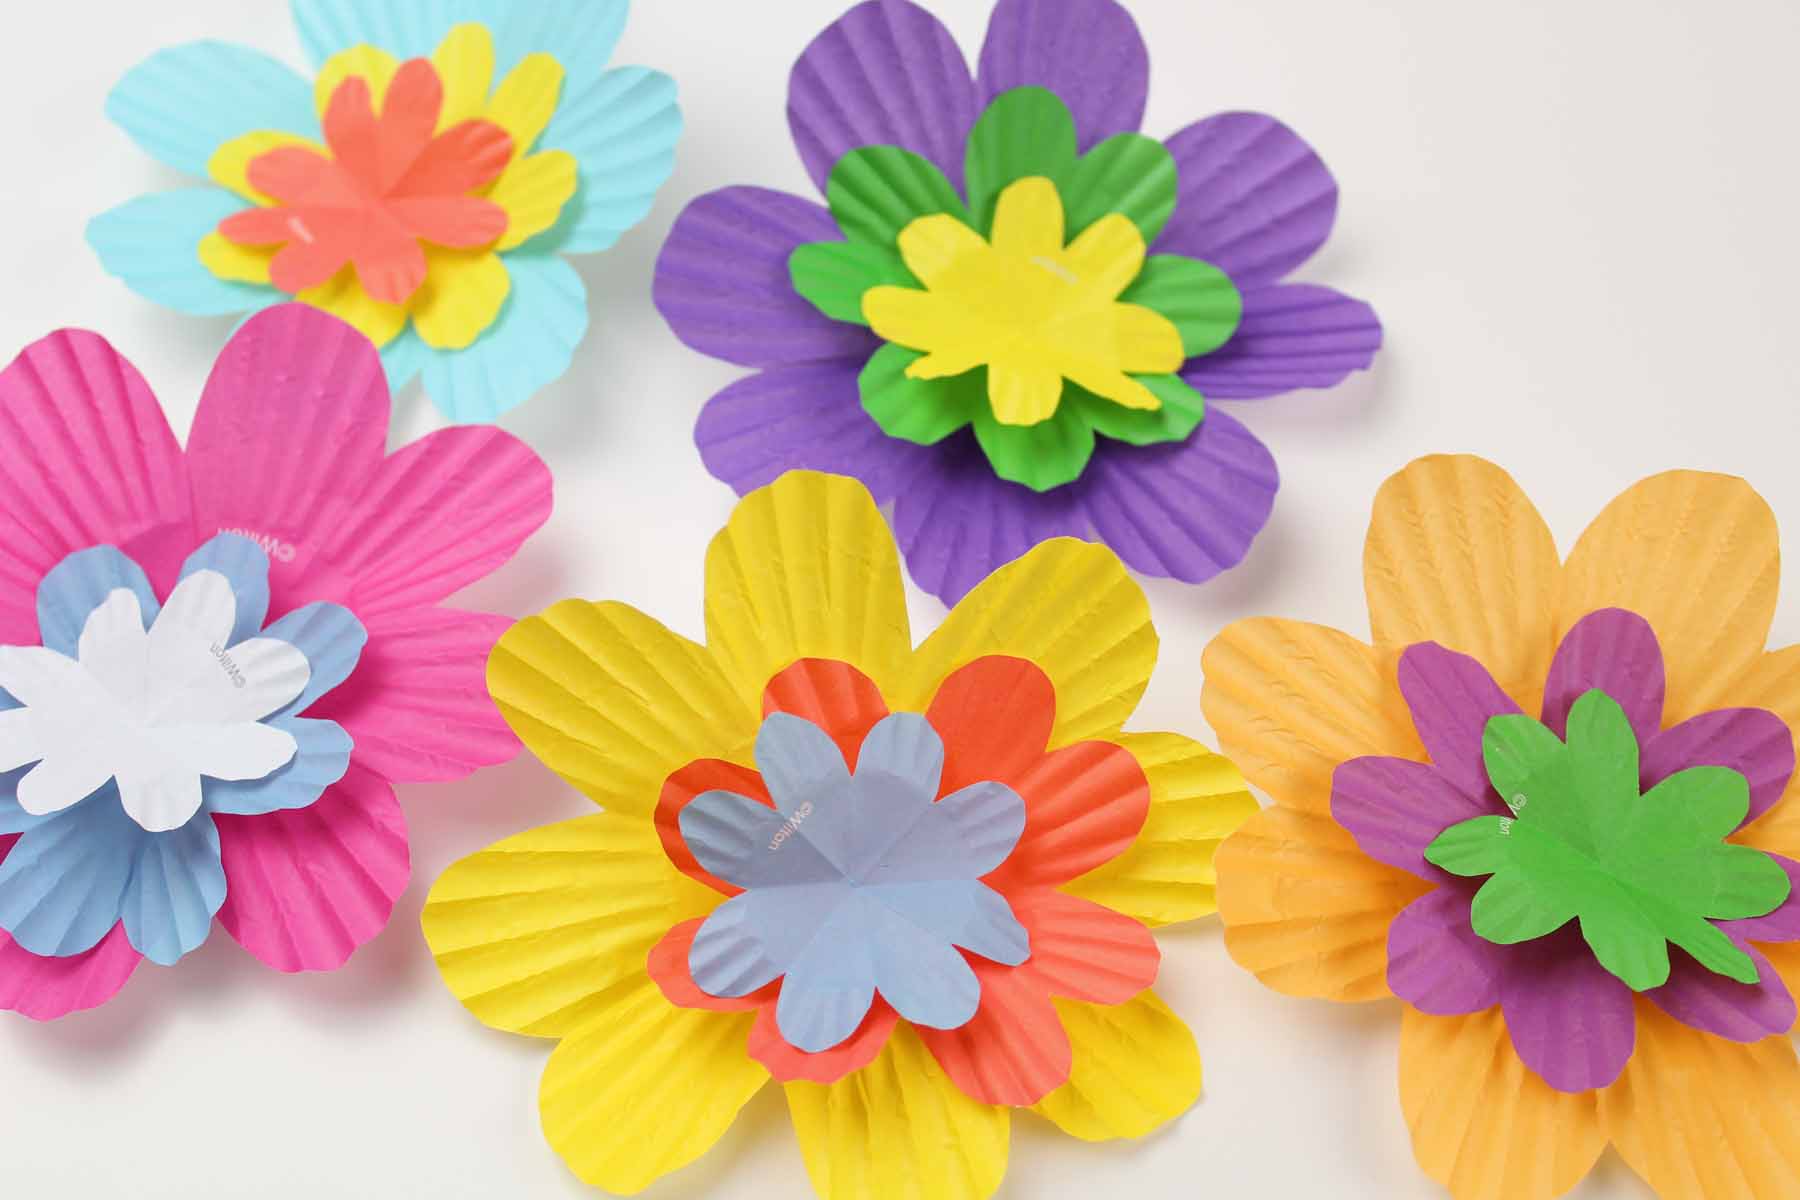
Now, open up the folded cupcake liners and press them flat.
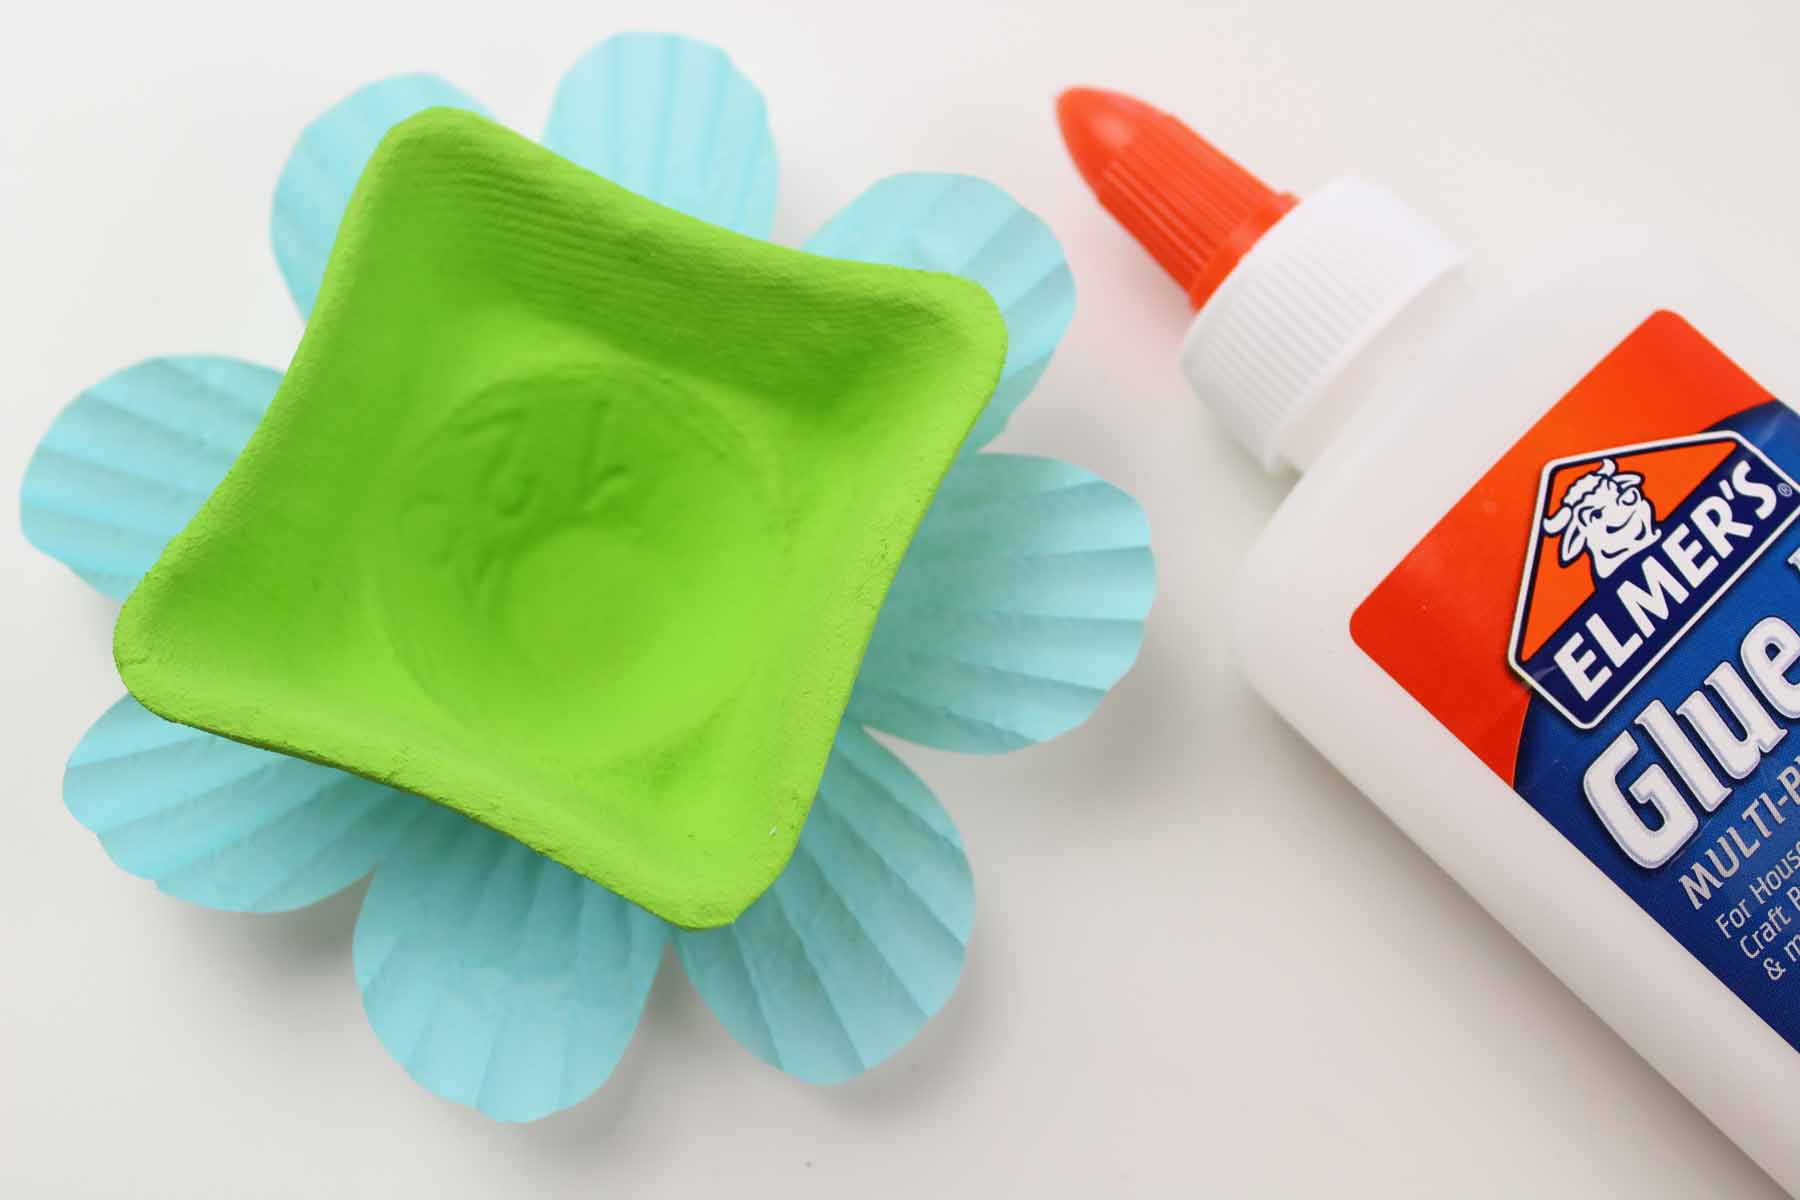
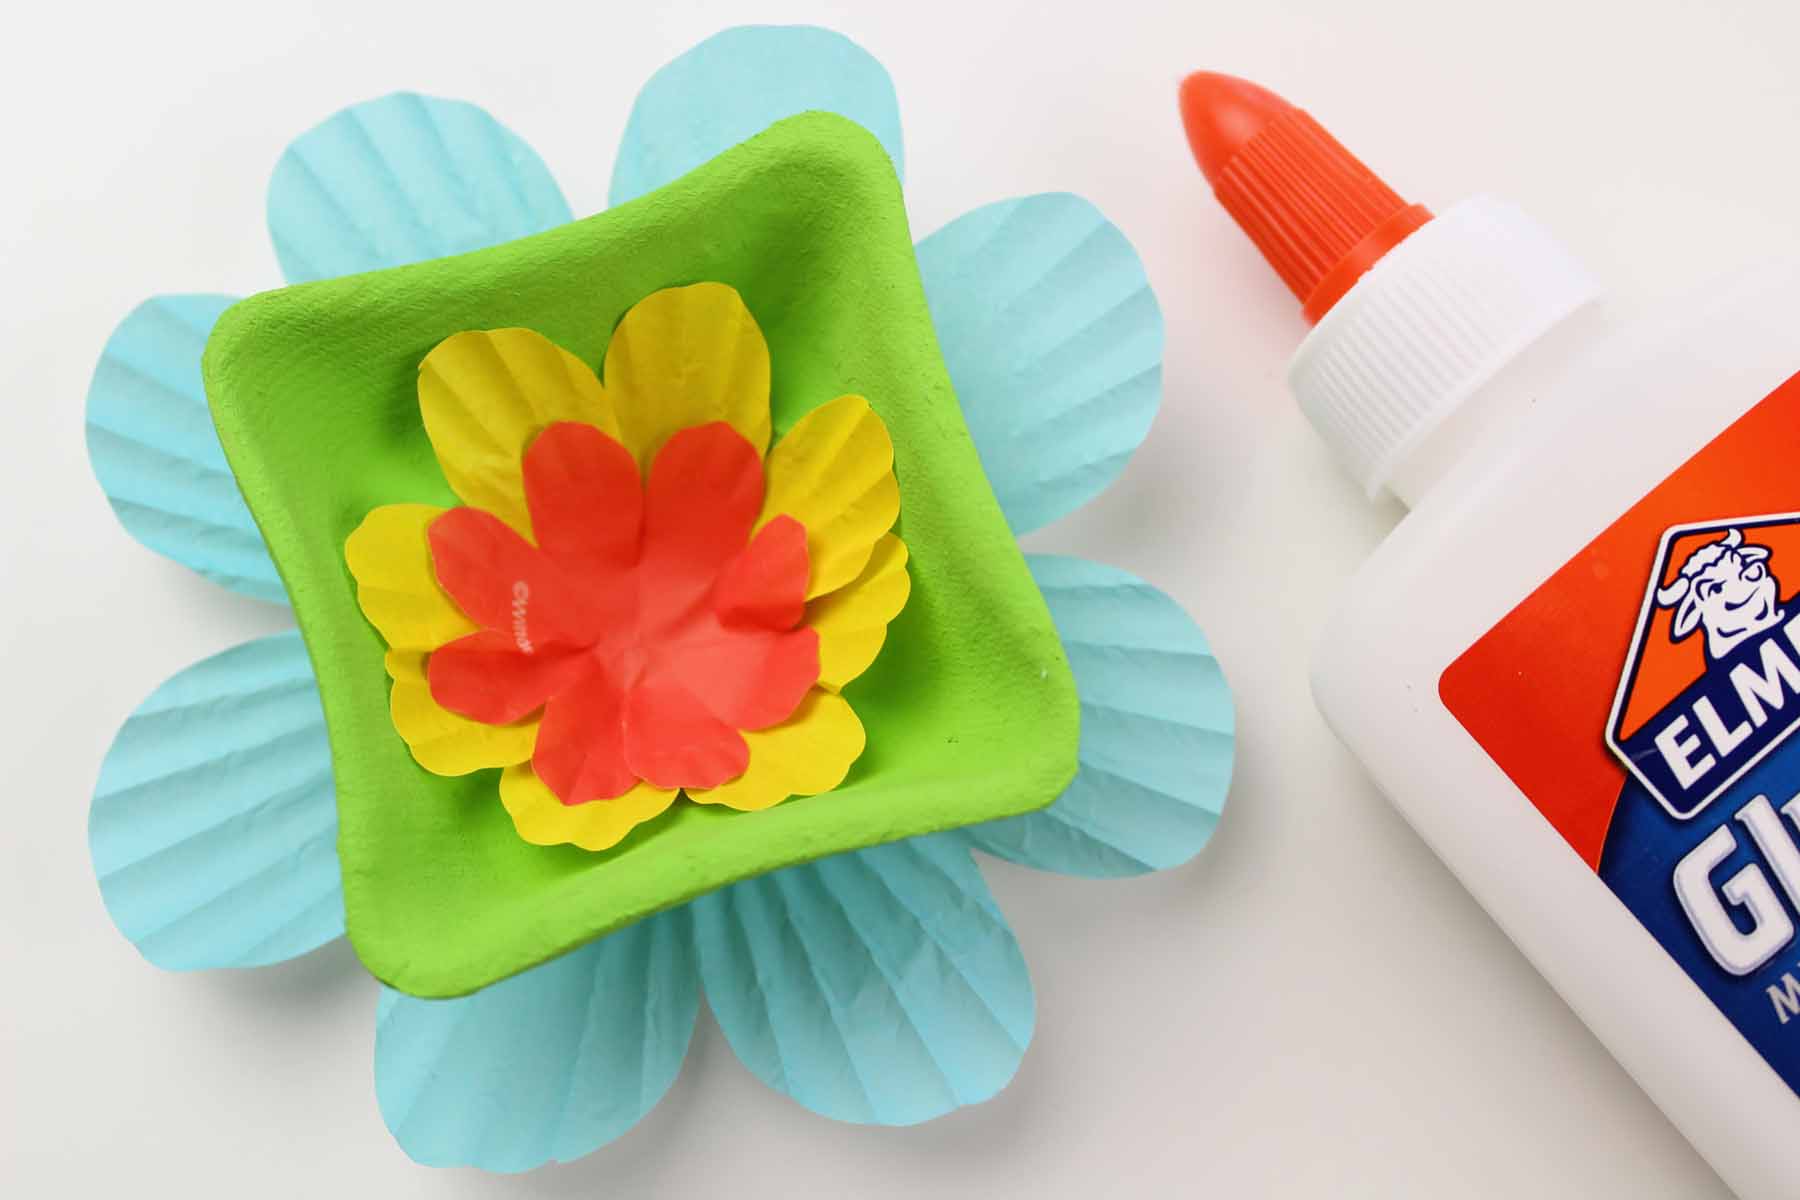
Once the drink carrier pieces are fully dry, it is time to build the flowers. Start by gluing one of the regular sized liners onto the back of a drink carrier piece.
Next, glue the mini-sized liners on the inside of the drink carrier pieces.
To finish off each flower head, glue a button into the center of the drink carrier flowers.
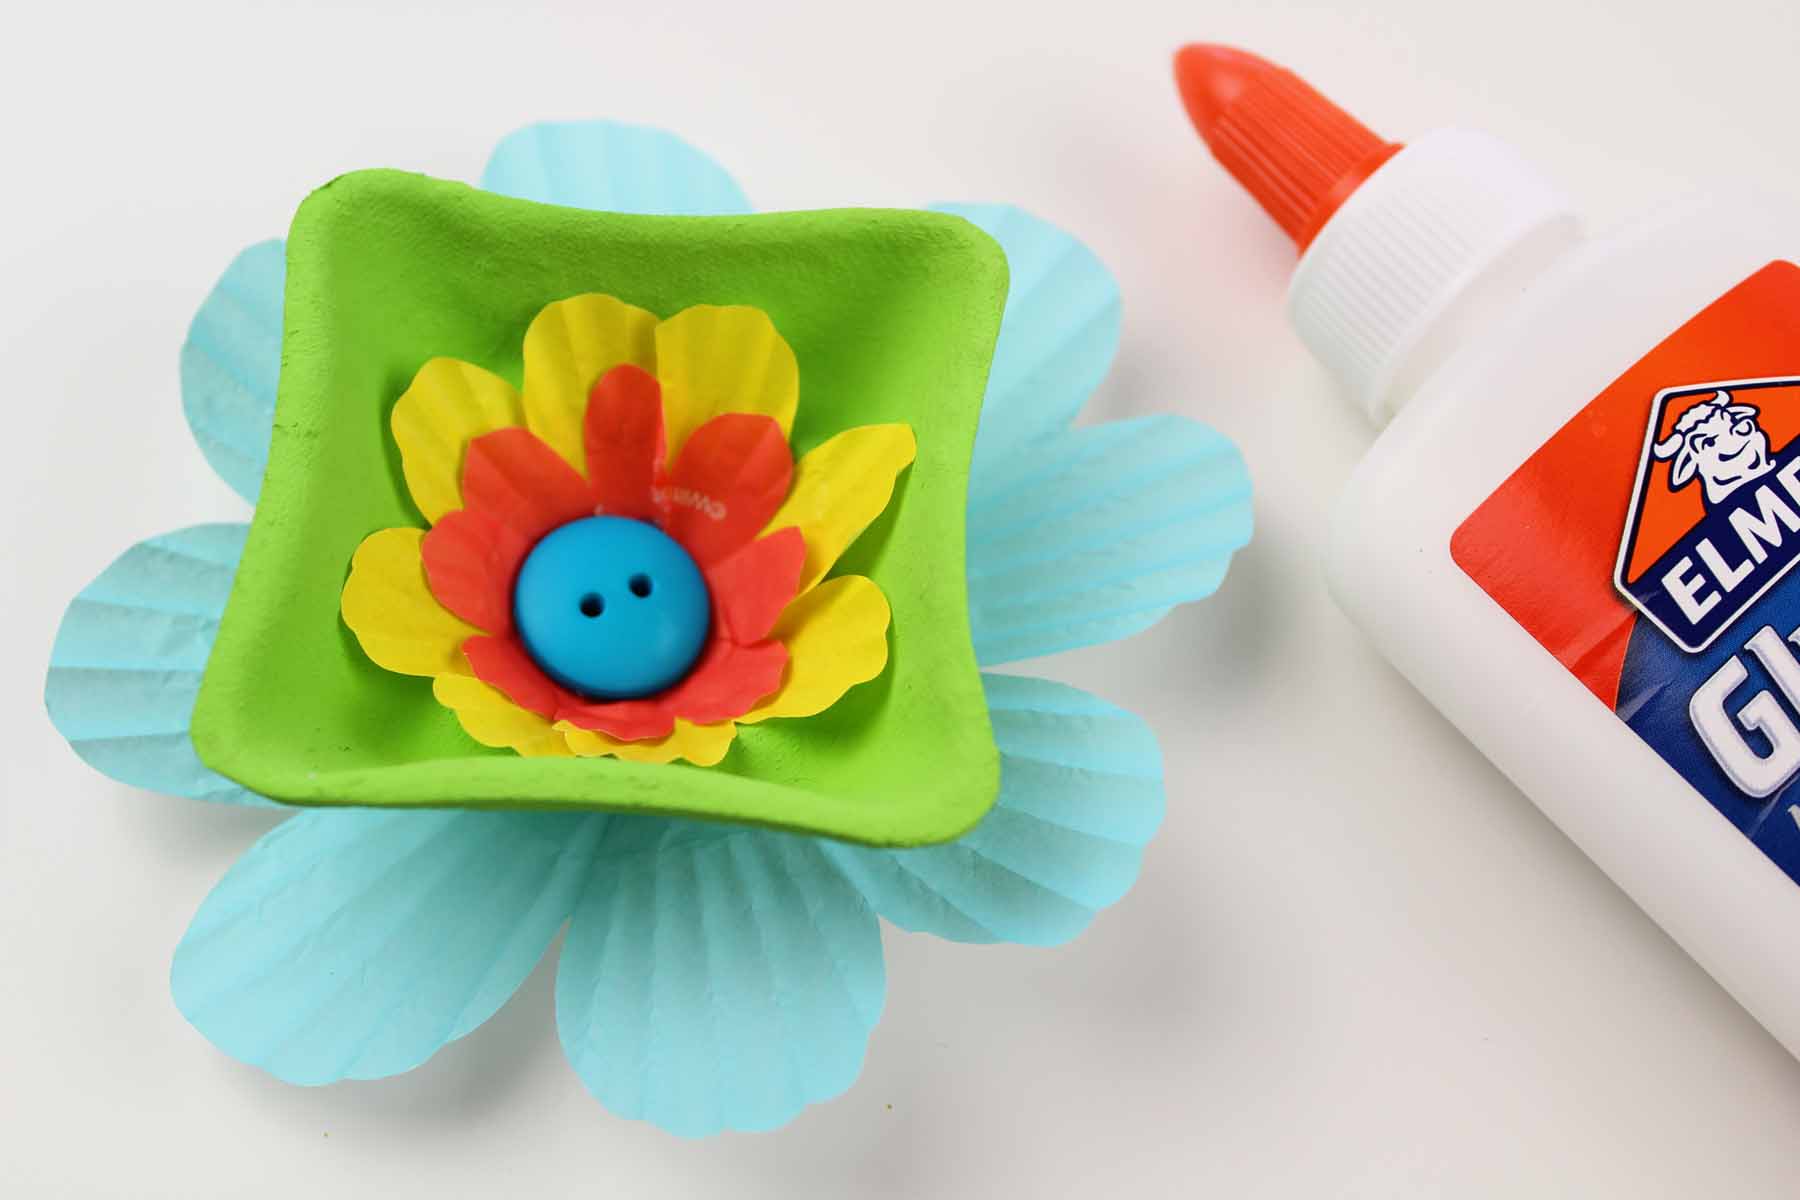
Repeat the steps above until you have your desired amount of flowers.
Once you have finished building your flower heads, it is time to add the stem to pull this easy Mothers Day craft together. Glue a green paper straw onto white or boldly colored cardstock, then glue the flower on top of the paper straw.
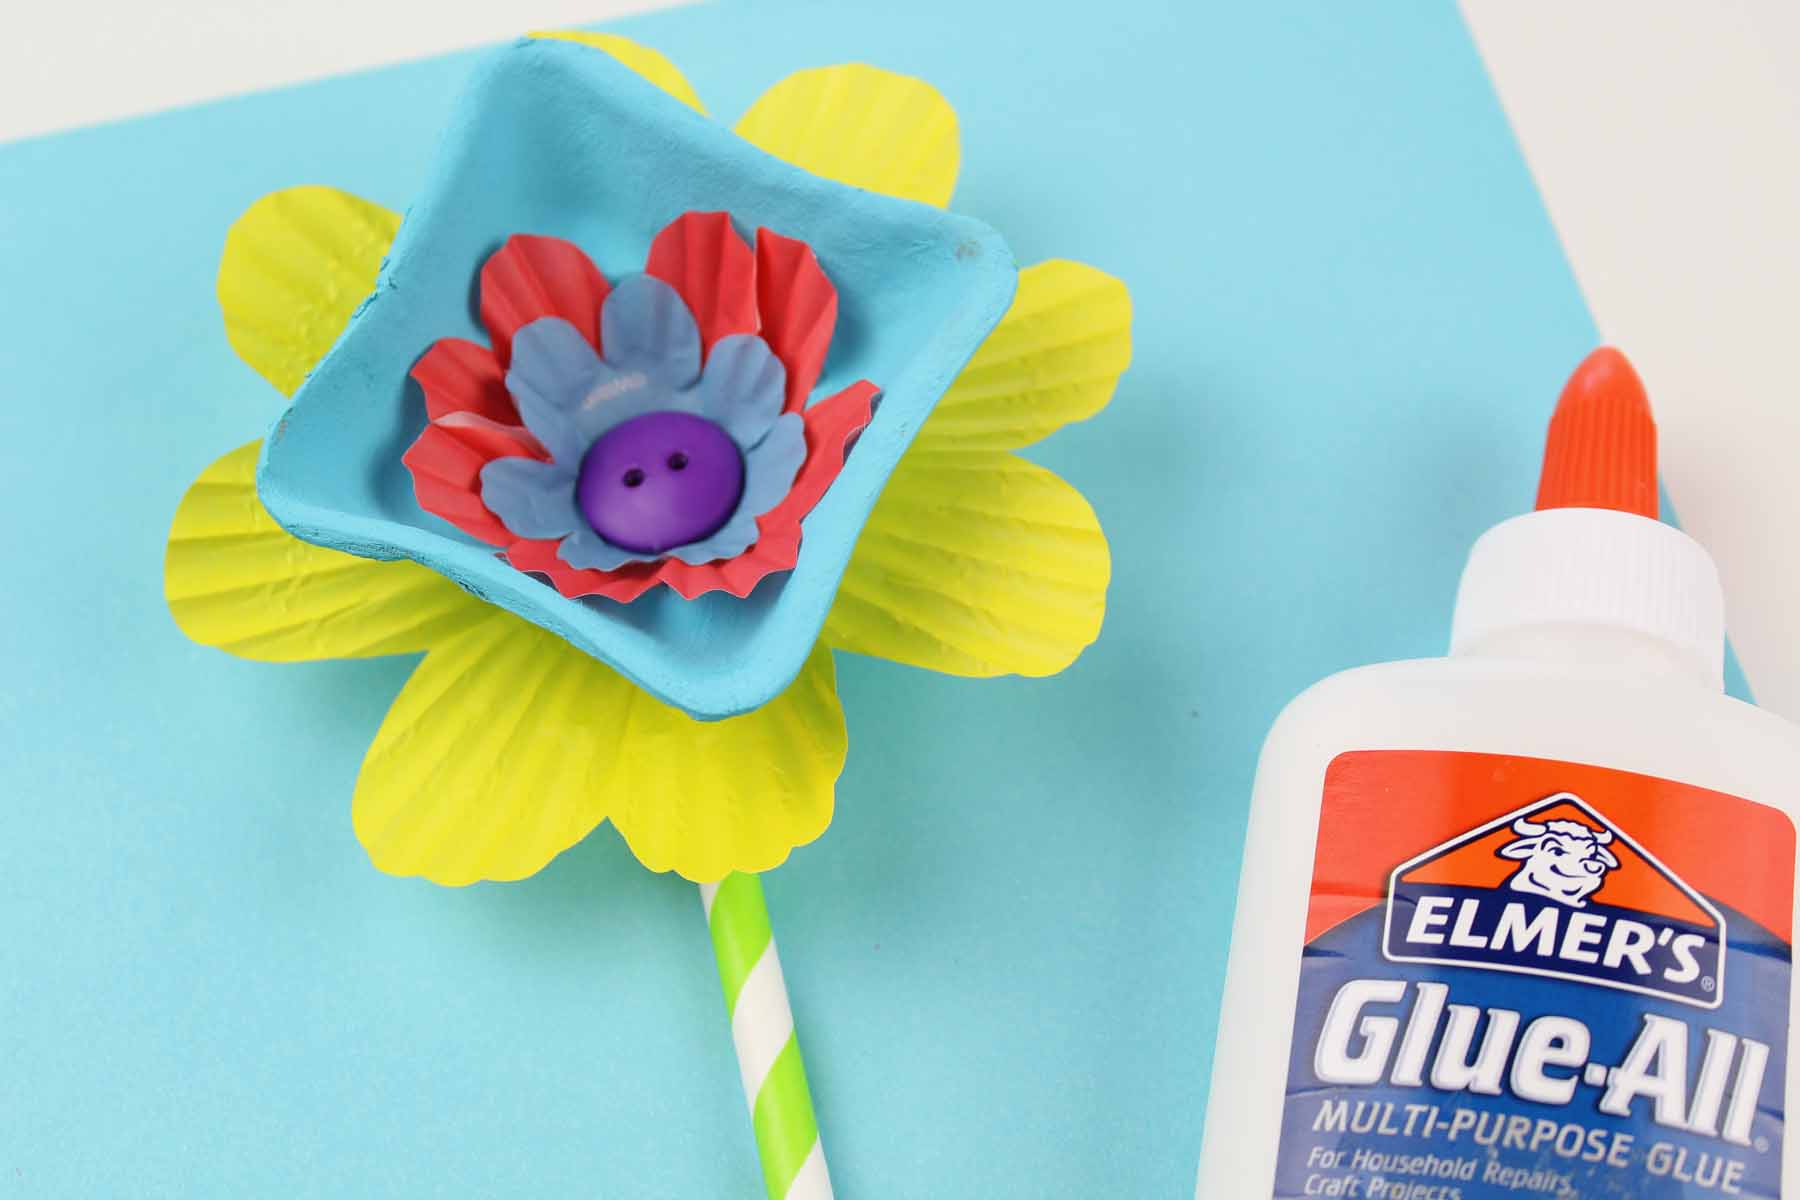
Glue a couple or more flowers onto the cardstock to fill up the bouquet.

Lastly, cut leaves from green cupcake liners and glue them on the sides or behind the paper straws.
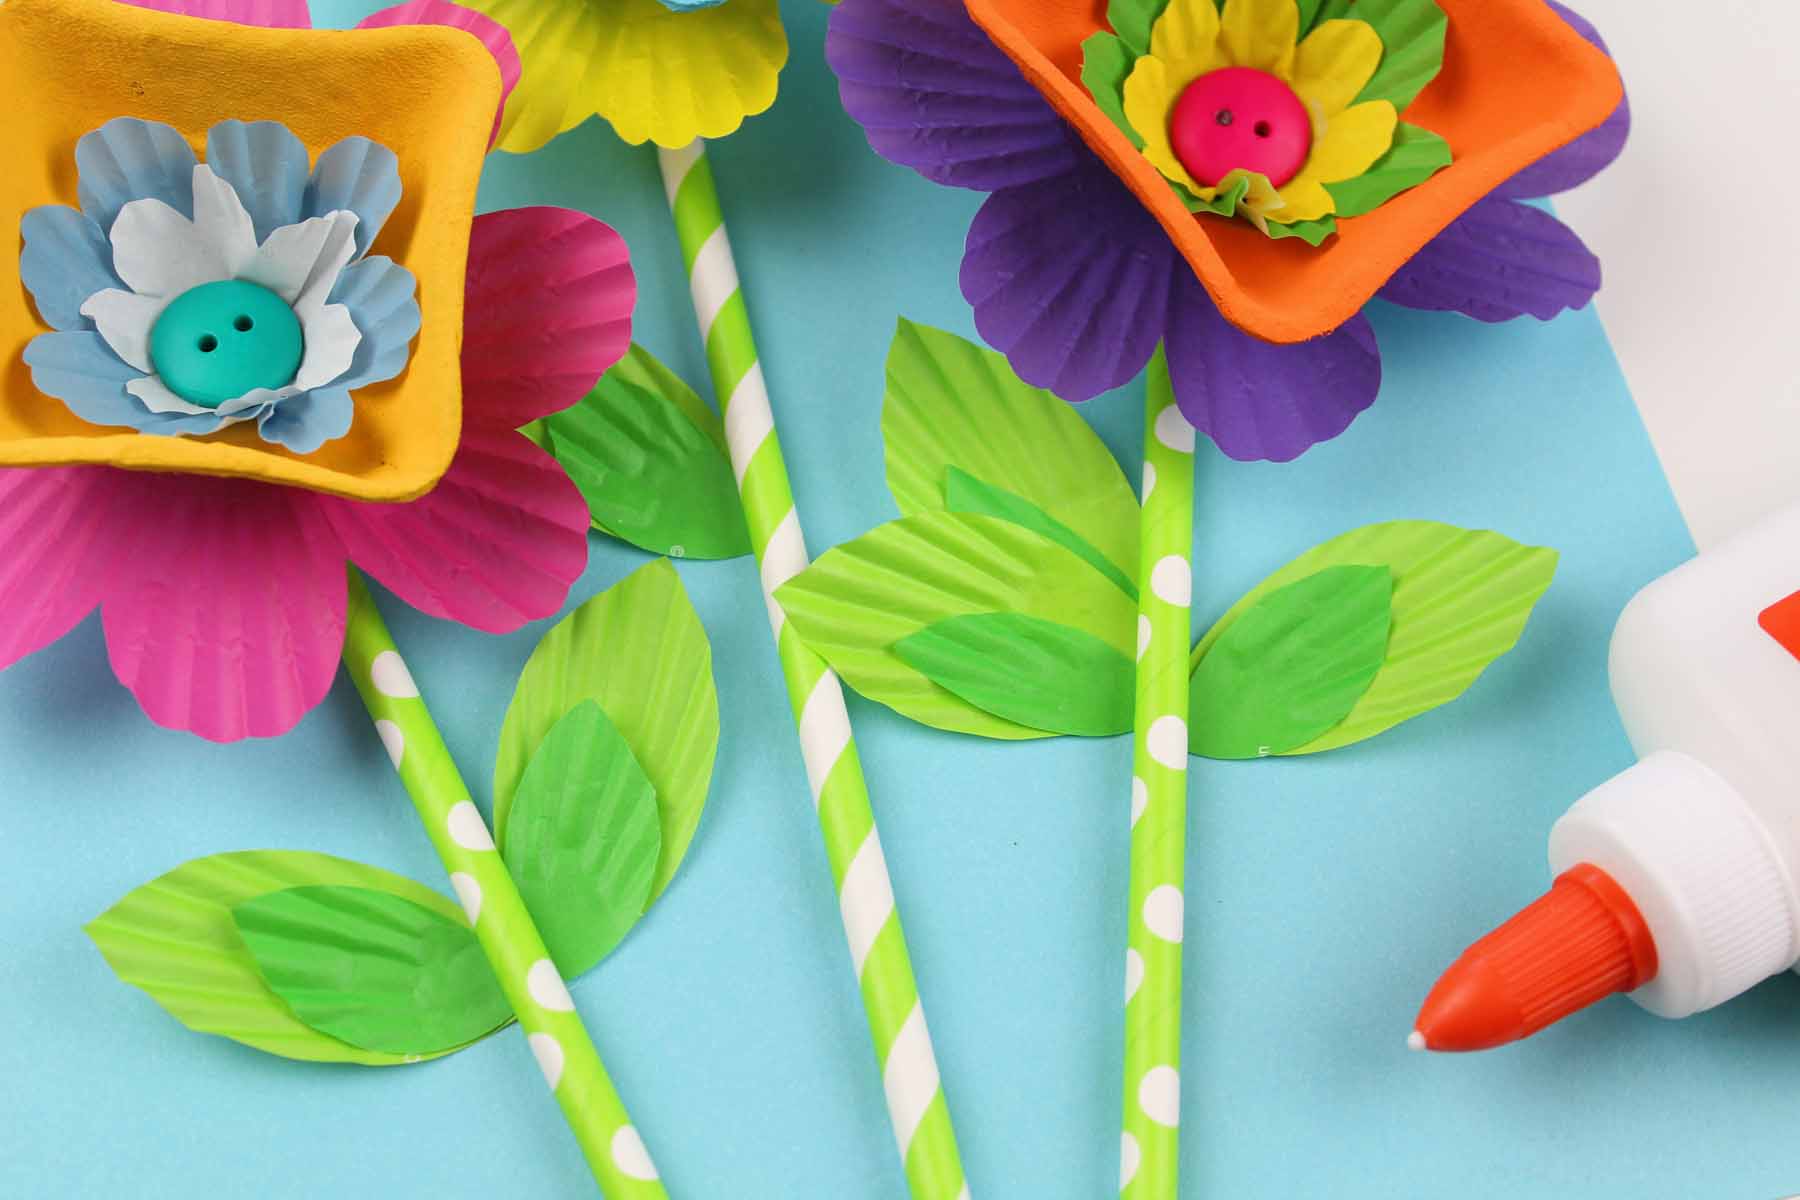
Now your craft is complete!
This is a perfect Mother’s Day craft for kids. It’d be especially great in the classroom. Cheap, easy and it would make the perfect homemade gift for the students to bring home that Mom will love.
Need More Fun Paper Craft Ideas? Check these out!
12 Beautiful Homemade Mother’s Day Gift Ideas!
How to Make Tissue Flowers with Member’s Mark Brand Facial Tissues
15 Wild and Fun Monkey Crafts that Kids Will Go Bananas Over
Drink Carrier Flower Craft
If you love to repurpose items and create something new and beautiful, this Drink Carrier Flowers DIY is perfect for you!
Materials
- Drink Carrier
- Cupcake Liners (regular and mini)
- Paper
- Straws
- Buttons
- Glue
- Paint
Tools
- Paint Brush
- Scissors
Instructions
- Cut the center of the drink carrier out. This step is a bit tough so an adult will most likely need to assist or complete this step.
- Paint the drink carrier pieces bright colors and allow them to dry completely.
- Flatten out the regular and mini-sized cupcake liners and then fold in half.
- Fold the liners a 3rd and 4th time.
- Cut each liner a bit smaller than the next. (refer to the photo)
- Open up the folded liners and press flat.
- Glue the regular sized liner onto the back of the drink carrier piece.
- Glue the mini-sized liners on the inside of the drink carrier pieces.
- Glue a button into the center of the drink carrier flowers.
- Repeat the steps above until you have your desired amount of flowers.
- Glue a green paper straw onto white or boldly colored cardstock. Glue the flower on top of the paper straw.
- Glue a couple or more flowers onto the cardstock.
- Cut leaves from green cupcake liners and glue on the side or behind the paper straws.